

Emergency Steps Before Applying a Stop Leak for Water Pipes
Before you slap any patch or wrap on a pipe, you've got to get the situation under control. Trying to apply a stop leak for water pipes while high-pressure water is blasting all over the place is like using a squirt gun on a campfire—you'll end up soaked, and the repair just won't stick.
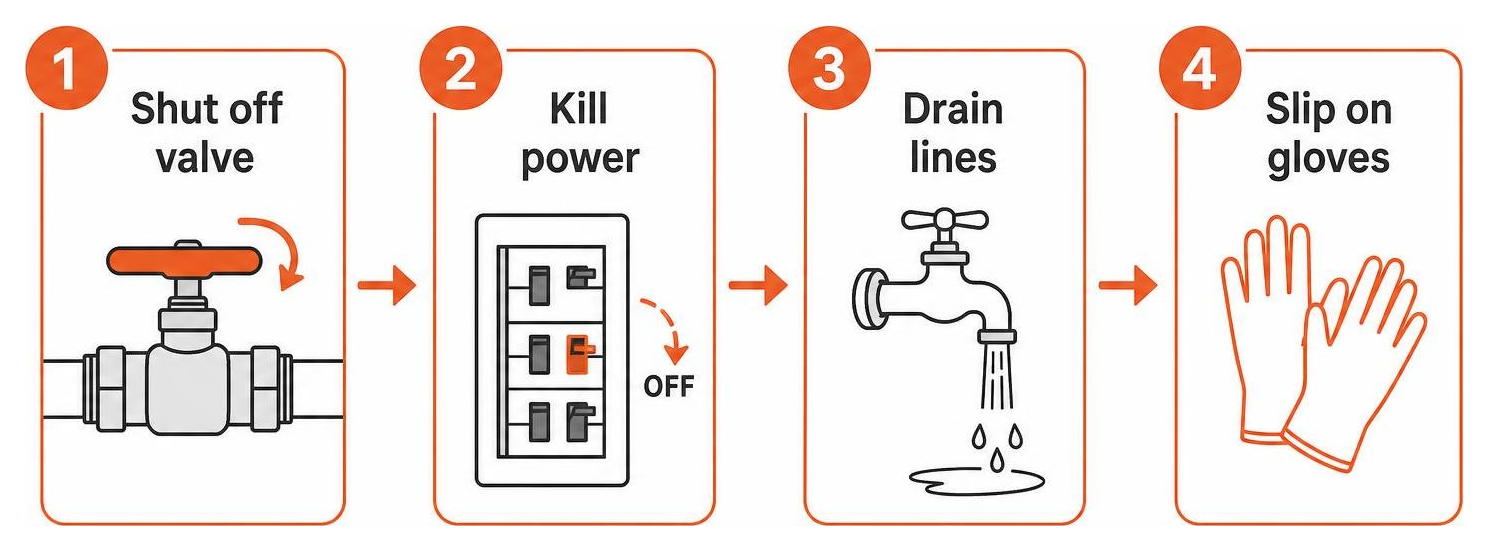
- Find and shut off the main water valve: If the local valve (like the one under your sink or behind your toilet) is stuck or broken, head right to your main water shutoff. In most homes around Seattle, Shoreline, and Edmonds, you'll find this valve down in the basement, in the crawl space, or out by the street near your water meter.
- Kill the power: If water is leaking anywhere near outlets, appliances, or light fixtures, sprint to your breaker box and cut power to those zones immediately. Water and live electricity definitely don't mix!
- Drain line pressure: Once that main valve is closed, open up the lowest faucet in your house (like a basement sink or outdoor spigot) to drain out any leftover water.
- Put on protective gloves: Grab a pair of nitrile or rubber gloves. Plenty of repair materials, like two-part epoxy putties and fiberglass wraps, will stick to your skin or heat up as they cure.
If you're dealing with a massive surge or a gushing pipe right now, check out our guide on an emergency fix for leaking pipe(link verified functional) to stay calm and get things under control fast.
Can You Use a Stop Leak for Water Pipes While the System Is Wet or Under Pressure?
Can you put a patch on without turning off the water? The quick answer is: it's way tougher, but doable for super small leaks.
Normal home water pressure runs anywhere from 40 to 80 PSI. Trying to stick epoxy or regular tape over an active, pressurized gusher almost always fails because the water pressure pushes right past the glue before it can set.
That said, there are a few specialized tools for active pressure fixes:
- Hot-melt water stop needles: Pros use expanding rubber plugs on a T-wrench that slide right into a leaking pipe to block up to 60 PSI while you work on a joint.
- Mechanical rubber patches with clamps: You can wrap a thick piece of rubber right over an active pinhole and crank down a heavy-duty stainless clamp to squish the rubber against the hole and stop the leak mechanically.
- Active-leak fiberglass wraps: High-end composite wrap kits let you smash a ball of mixed epoxy right into the inner wrap layer, placing it directly over a wet pinhole leak before tightly wrapping the fiberglass bandage around the pipe.
Even though these tricks exist, drying off the pipe gives you a way better seal. Whenever you can, turn off the water, bleed the line, and dry the pipe off. Wiping down the pipe lets adhesives and self-fusing tapes get the clean surface contact they need to stick tight. If you suspect an unseen leak in your plumbing system, you can learn how to Detect Leaks - Seattle Public Utilities(link verified active and functional) through their official meter-monitoring guides.
DIY Materials and Choosing the Right Pipe Fix
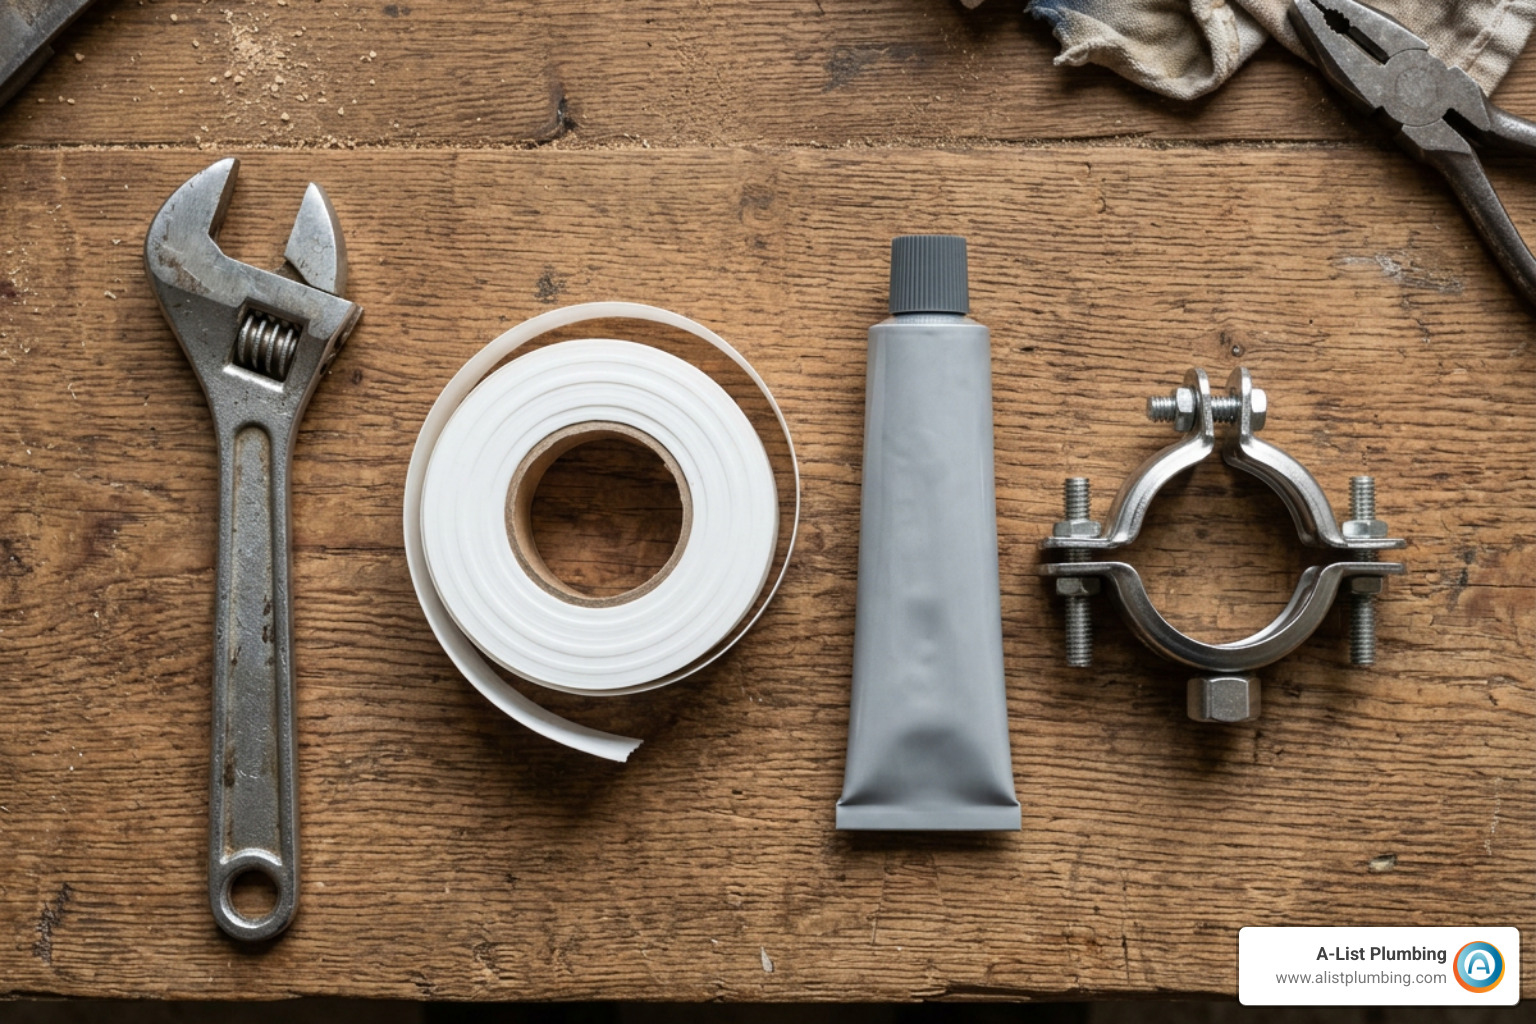
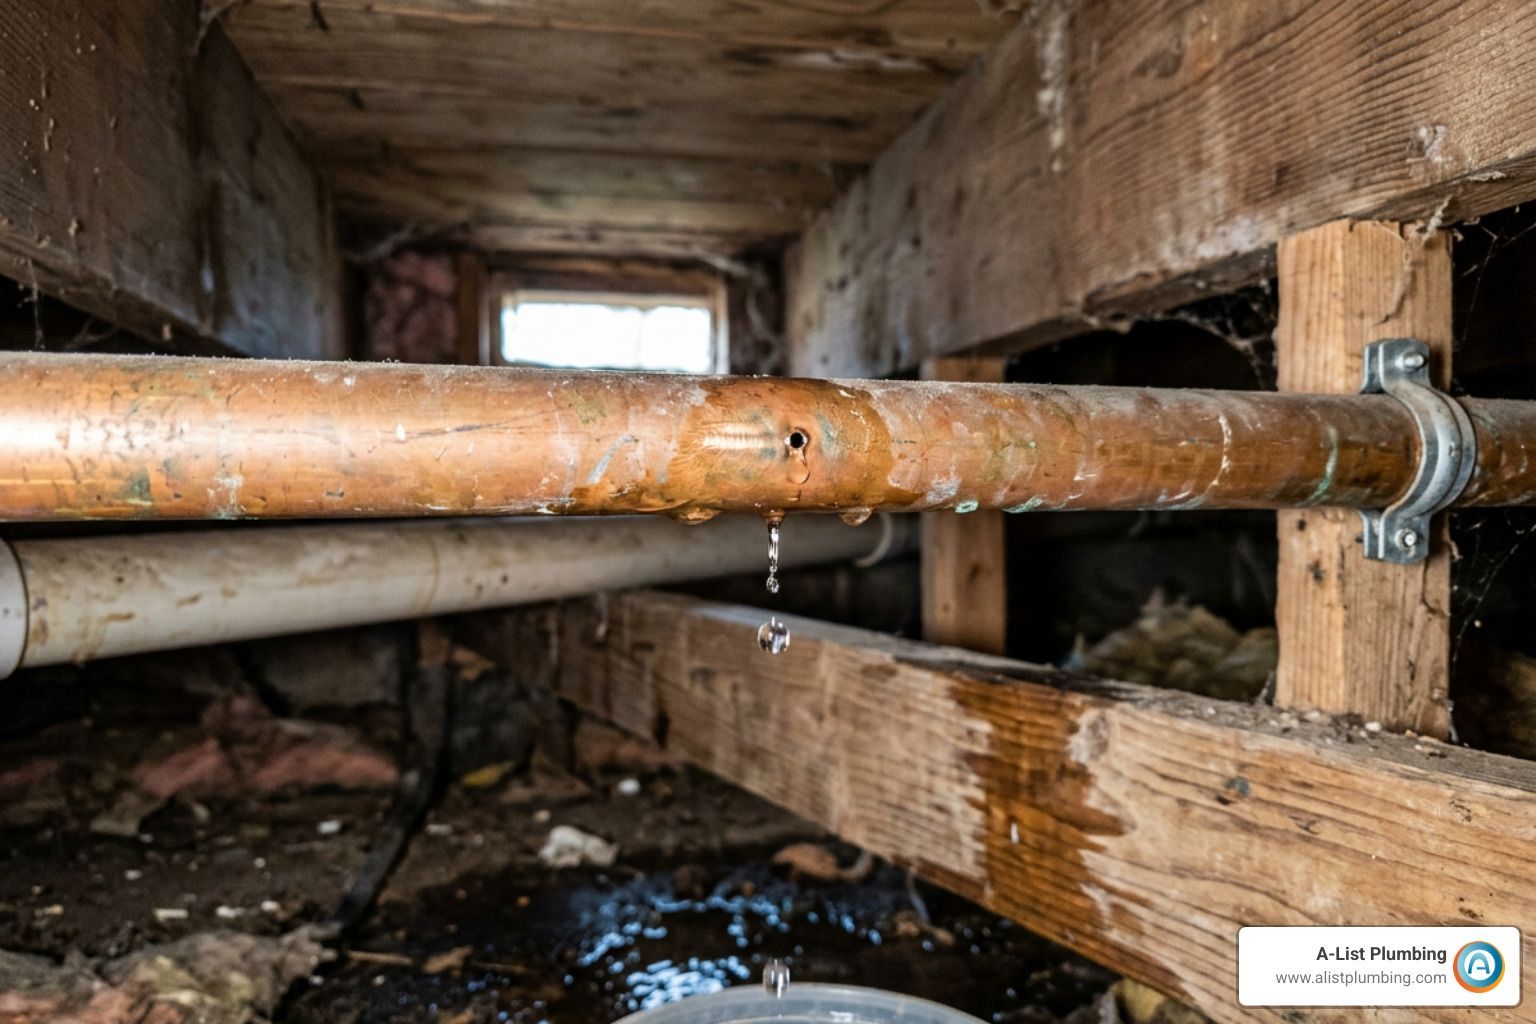
Not all leaky pipes are built the same. A tiny pinhole from corrosion on an old copper pipe needs a totally different fix than a cracked PVC drain or a loose PEX line. Picking the best stop leak for water pipes comes down to your pipe material, water pressure, and what the leak looks like.
Leaky pipes usually happen because of three main culprits:
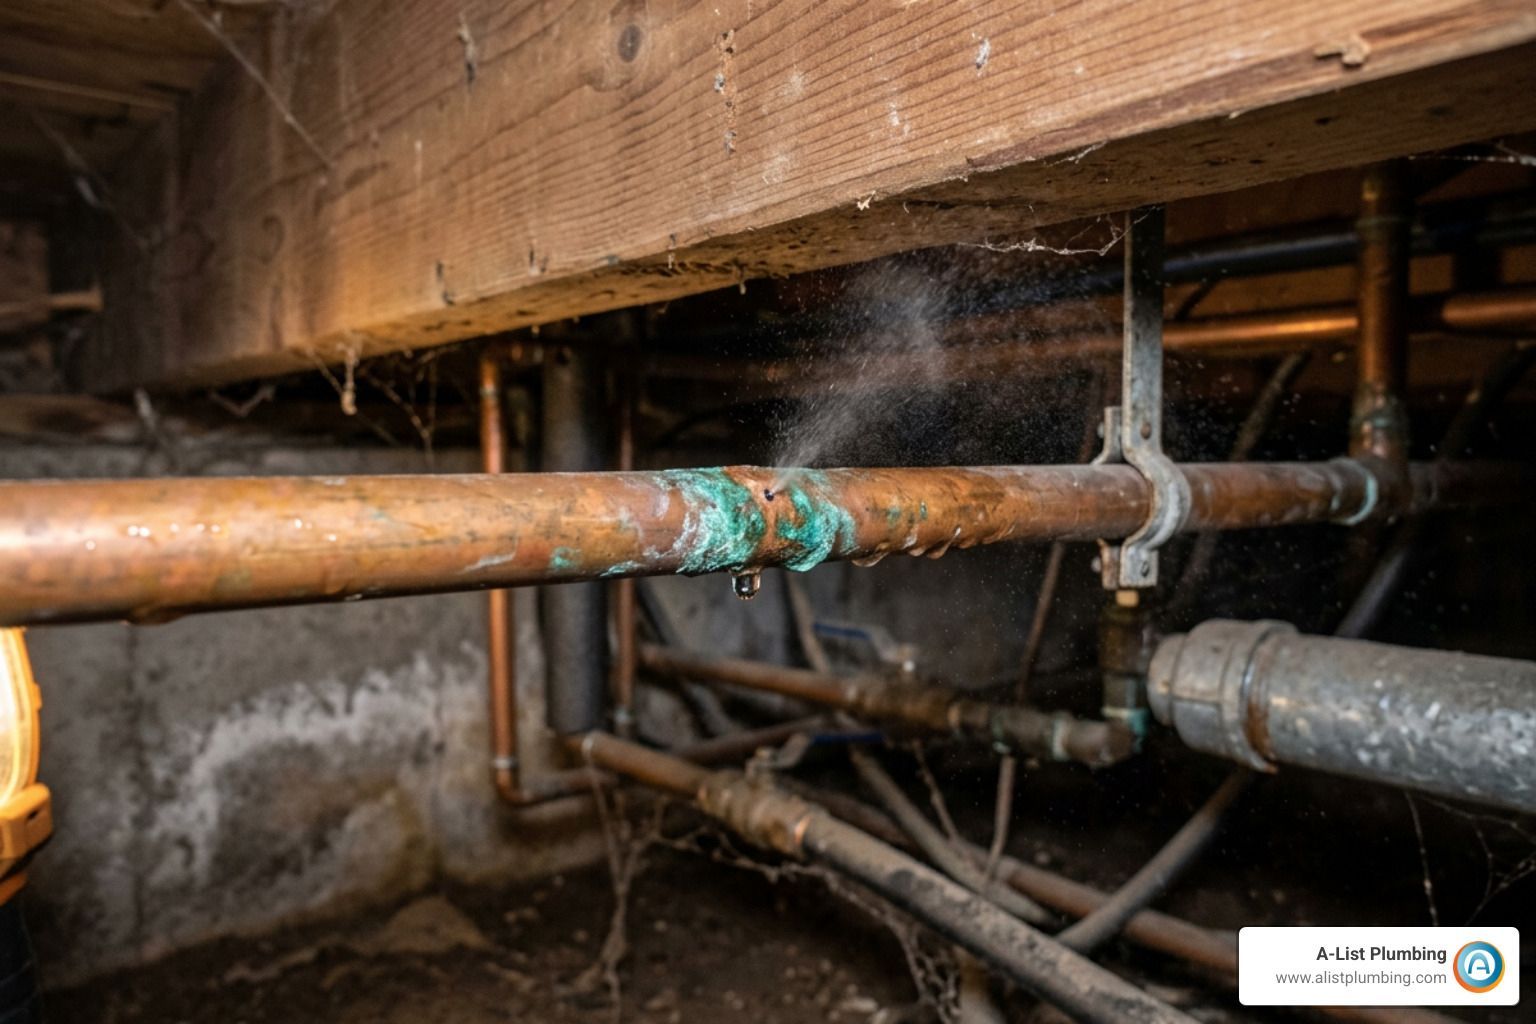
- Pipe corrosion: Metal pipes (especially copper and galvanized steel) get old and react with minerals in the water, eating away tiny pinholes over time.
- Freezing pipe bursts: Cold winter spells in Bothell and Lynnwood freeze trapped water, splitting open copper, CPVC, or PEX pipes.
- High water pressure spikes: Pressure spikes over 80 PSI strain weak spots, popping crimp rings and loosening threaded joints.
Choosing the Right Stop Leak for Water Pipes by Material
To pick the right fix, match your patch kit to the pipe material you've got:
- Copper Piping: Copper holds up to high pressure, but pinholes like to pop up from corrosion. Self-fusing silicone tape, epoxy putty, and stainless steel pipe repair clamps work great on copper. If you're seeing green crust or active drips on your copper lines, take a look at our guide on copper water pipe leaking issues.
- PVC and CPVC Lines: Super common in drain lines and newer supply pipes. CPVC (cream or tan) and PVC (white) do great with epoxy putties, rubber-and-clamp patches, and fiberglass repair wraps.
- PEX Tubing: PEX (red for hot, blue for cold, or white) rarely splits from freezing, but connection fittings can leak if crimp rings loosen up. PEX needs mechanical re-crimping or push-to-connect slip fittings instead of messy glues.
- Galvanized Steel: Older homes around Seattle often have galvanized iron pipes that rust from the inside out. Heavy-duty rubber repair clamps are usually the only temporary patch strong enough to grip onto rough, rusty steel.
Drinking Water Safety Warning: If you're patching a pipe that supplies drinking water to your kitchen or bathroom, make sure your repair stuff is NSF/ANSI 61 certified. Products like Fix Stix™ epoxy putty carry this rating, meaning they won't leach nasty chemicals into your tap water.
Temporary Pipe Repair Products Comparison
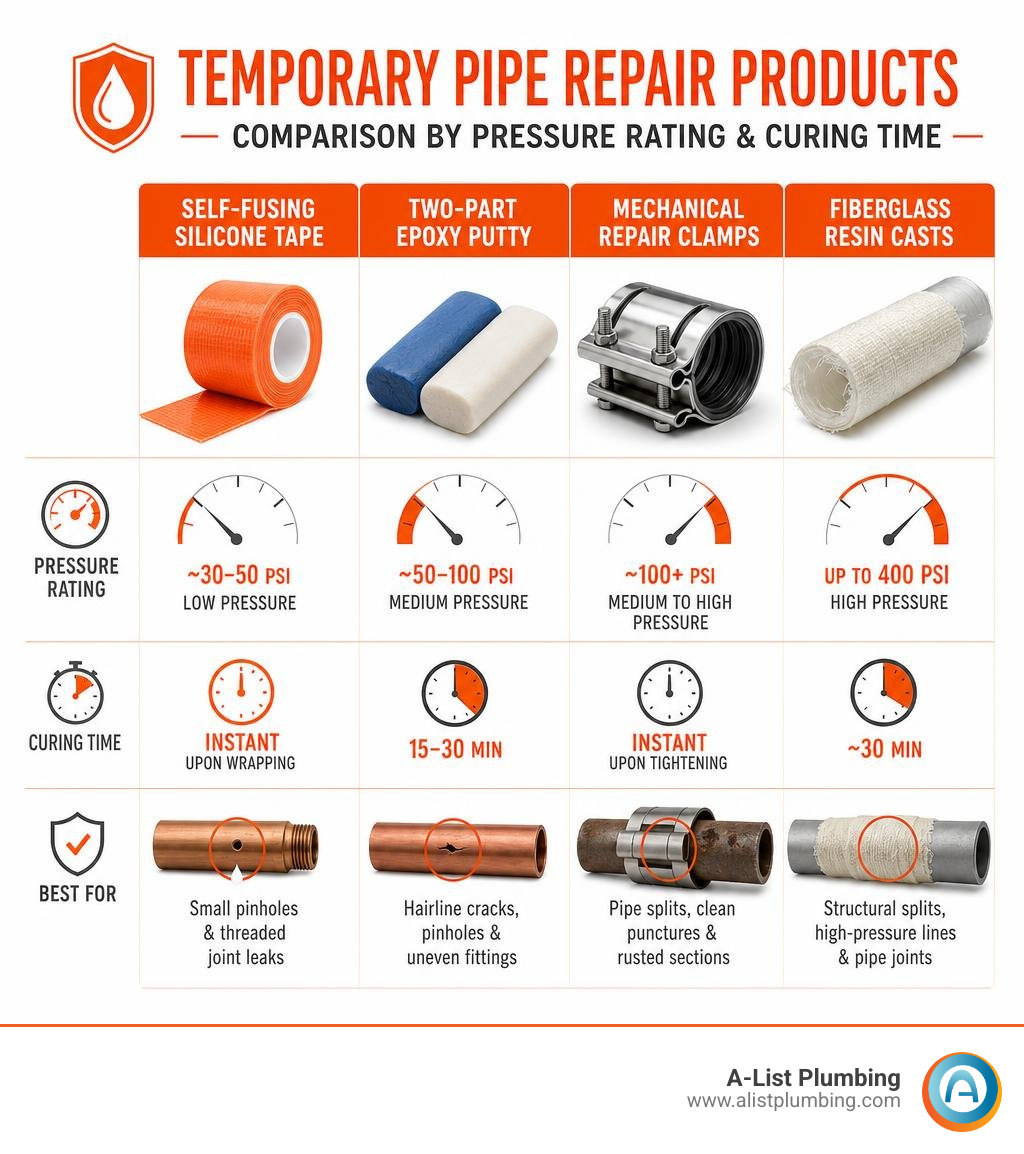
- Self-Fusing Silicone Tape: Rated for lower pressure (~30–50 PSI). Cures right away as you wrap it. Best for small pinholes and leaky threads.
- Two-Part Epoxy Putty: Rated for medium pressure (~50–100 PSI). Sets in about 15–30 minutes. Perfect for fine cracks, pinholes, and tricky fittings.
- Mechanical Repair Clamps: Rated for high pressure (~100+ PSI). Works immediately when tightened. Great for splits, punctures, and rusty spots.
- Fiberglass Resin Casts (e.g., Stop It®): Rated for super high pressure (up to 400 PSI fully cured). Cures in 30 minutes. Best for structural splits, high-pressure lines, and pipe joints.
Step-by-Step Guide to Applying Temporary Pipe Patch Repairs

Before you put on any product, prepping the surface is key. Grab some 80-grit sandpaper, emery cloth, or a wire brush and clean off the area around the leak really well.
For metal pipes, scrape off rust, paint, and scale until you see bright metal. For PVC or CPVC, scuff up the shiny plastic finish so adhesives can bite into it. Wipe off any dust and clean it with a rag.
Method 1: Applying Self-Fusing Silicone Tape
Silicone tape doesn't have sticky glue on it; instead, it fuses to itself when you stretch it, creating a solid rubber sleeve right over the leak.

- Clean and dry the pipe completely.
- Anchor the tape: Unroll a few inches, peel off the protective plastic liner, and press the end down firmly on the pipe a couple of inches away from the leak.
- Stretch while wrapping: Pull the tape tight—stretching it to about double its original length—as you wrap it around the pipe.
- Overlap by 50%: Spiral the tape across the leak, overlapping each wrap by half its width. Keep wrapping until you're 2 inches past the leak on both sides.
- Finish gently: On the last layer, don't stretch the final inch. Just press it down flat against the layer underneath so it won't peel up.
Method 2: Applying Epoxy Putty to Pinholes and Cracks
Plumbing epoxy putty comes as a two-part stick with an inner core and outer layer. When you mix them together, it starts a chemical reaction that hardens up like steel.
- Slice off a piece: Cut off enough putty to cover the hole plus an extra half-inch area around it.
- Knead it up: Roll and squish the putty with gloved hands for 1 to 2 minutes until it turns a solid grey color with no streaks. You'll feel it get warm in your hands.
- Smash it over the leak: Force the putty directly into and over the pinhole or crack. Shape it like a little dome over the hole to give the middle extra strength.
- Let it cure: Give it 15 to 30 minutes to harden like rock before turning the water back on.
Method 3: Using Pipe Repair Clamps or Rubber Patches
For bigger cracks or split pipes, mechanical clamps are awesome because they squish a thick rubber pad down onto the pipe.
- Prep a rubber patch: If you're making your own patch, cut a piece of rubber or garden hose slightly bigger than the leak area.
- Smooth sharp edges: Use a metal file to smooth out any jagged metal edges around a burst so they don't puncture your rubber pad.
- Position the pad: Wrap the rubber sleeve around the pipe, centering it right over the crack.
- Put on the clamp: Open up the repair clamp (or heavy-duty hose clamps) and wrap it around the rubber pad.
- Tighten evenly: Alternate tightening the bolts so the clamp presses evenly across the rubber. Don't overtighten it, or you might crush an old, brittle pipe!
If you're dealing with a crack near an elbow, tee, or coupling, check out our complete walkthrough on leaking pipe joint repair(verified functional link).
Method 4: Water-Activated Fiberglass Repair Wraps
Heavy-duty composite wraps use woven fiberglass soaked in water-activated resin. Kits like the STOP IT® PIPE REPAIR SYSTEM By InduMar (BLACK) – Perigee Direct(verified active product link) make a fast, super-strong shell that can hold full household water pressure.
- Plug the hole first: Use the included epoxy plug to block pinholes or smooth out rough edges around cracks.
- Dunk it in water: Open the foil pouch, dunk the fiberglass roll in water for 5 seconds, and squeeze it 3 times to get the resin working.
- Wrap it tight: Wrap the tape tightly over the pipe right away, extending at least 2 inches past the leak on both sides. You've got about 3 to 5 minutes before it sets up!
- Smooth the resin: Put on wet gloves and quickly rub and smooth the wrap in the direction you wrapped it. This pushes the resin into the fiberglass for a tight seal.
- Wait 30 minutes: Let the resin fully harden into a solid plastic shell before turning the water back on.
Fixing Leaks at PEX Pipe Connections
Unlike copper or PVC, PEX tubing almost never cracks down the middle. Leaks almost always happen at connection points when a metal crimp ring works itself loose.
- Check the connection: Look at the copper or stainless crimp ring holding the PEX line on its fitting.
- Test with a gauge: Slide a PEX go/no-go gauge over the ring. If the "No-Go" slot slips over the ring, it means the ring wasn't crimped tight enough.
- Re-crimp it: Place a PEX crimp tool squarely over the loose ring and squeeze until the tool snaps closed.
- Check it again: Test with your gauge to make sure the ring is snug and secure.
Testing Your Fix and Cleaning Up Water Damage
Once your patch product has fully hardened, it's time to test out your work:
- Turn the main water back on slowly: Don't just slam the main valve open! Slowly turn the handle so water fills the pipes gently without creating a pressure shock (water hammer) that could pop your patch off.
- Look closely for moisture: Check around the edges of your epoxy, tape, or clamp for any tiny water drops.
- Wipe with a paper towel: Drag a dry paper towel along the bottom of the repair area to catch any tiny leaks right away.
If your temporary fix is holding strong, turn your attention to cleanup. Standing water under cabinets can rot wood subfloors and start growing mold within 24 to 48 hours.
- Soak up standing water: Use towels, sponges, or a wet/dry shop vacuum to clear out water.
- Disinfect the area: Mix 1 ounce of household bleach with 4 gallons of hot water and scrub down wood surfaces, cabinet bottoms, and walls that got wet.
- Dry everything out: Set up fans or a dehumidifier blowing into open cabinets to dry out particle board and subfloors completely.
If you want more tips on picking the right repair option, check out our guide on the best way to fix a leaking pipe and take a look at what to expect cost-wise in our guide on the cost to fix leaking pipe.
Frequently Asked Questions About Leaky Water Pipe Repairs
How long can a temporary leak fix stay in place?
A temporary stop leak for water pipes(like epoxy putty, silicone tape, or a pipe clamp) is built to buy you time—not to stay on forever. Depending on your water pressure, temperature changes, and pipe vibrations, a quick fix might hold for a few days or even a couple of weeks.
That said, leaving a temporary patch on long-term is asking for trouble and could lead to a massive burst later on. Be sure to schedule a professional plumber to swap out the damaged pipe section as soon as you can.
Can I use these methods to fix a leaking pipe behind a wall?
We strongly recommend against using temporary DIY patches on hidden pipes behind walls, ceilings, or under floorboards. If a temporary wrap or clamp fails behind drywall, you won't even notice until water ruins your drywall, rots your framing, or destroys your flooring.
If you think you've got an active leak hidden inside a wall, check out our guide on how to fix leaking pipe in wall and call a licensed pro who can safely locate and fix the pipe.
What should I do if a temporary pipe leak patch fails?
If your patch blows off or water starts spraying around the edges:
- Shut off the main water valve immediately.
- Relieve line pressure by opening up lower faucets in the house.
- Soak up standing water to keep your subfloors and flooring safe.
- Call in the pros: Get in touch with a licensed professional for fast burst pipe repair service.
Conclusion
A temporary stop leak for water pipes can really save your bacon when a sudden leak catches you off guard. Whether you wrap a tiny pinhole with self-fusing silicone tape, slap on some epoxy putty over a crack, or clamp down a heavy rubber patch, these quick DIY fixes give you control right when you need it most.
Just keep in mind: temporary patches are just an emergency stopgap, not a permanent fix. Once you've got the water under control and your floors dried off, it's time to call in the pros to replace that damaged pipe for good.
At A-List Plumbing, we've got over 22 years of experience, clear upfront pricing, and same-day emergency help all across Lynnwood, Edmonds, Shoreline, Bothell, and the Greater Seattle area. Whether you need a copper pipe spliced, old PEX fittings swapped out, or main water line work, our team is ready to jump in 24/7.
Need a permanent fix for a leaking or burst pipe? Reach out to us today through our Emergency Plumbing Services page to get an expert plumber out to your place fast!