

A Hidden Pipe Leak Can Destroy Your Home — Here's What to Do
Fixing a leaking pipe in wall spaces is urgent — water behind drywall causes mold, rot, and structural damage fast.
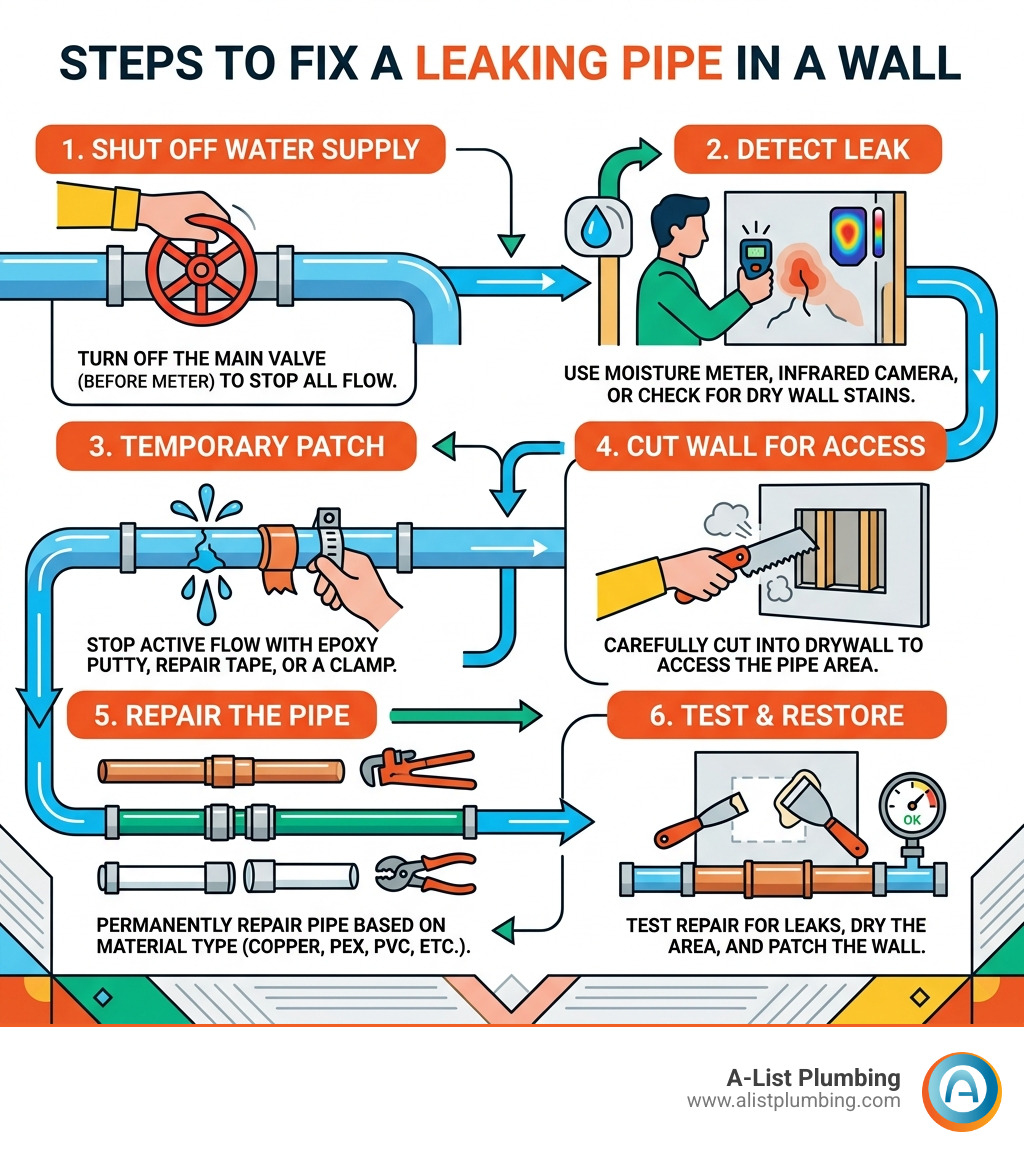
Quick steps to fix a leaking pipe in a wall:
- Shut off your main water supply valve(usually on the foundation wall, before the meter)
- Locate the leak using a moisture meter, infrared camera, or by checking for wet drywall and stains
- Apply a temporary fix — epoxy putty, pipe repair tape, or a pipe clamp — to stop active water flow
- Cut into the drywall to access the pipe for a permanent repair
- Repair the pipe based on material type (copper, PEX, PVC, or galvanized)
- Test the repair, dry the area, and patch the wall
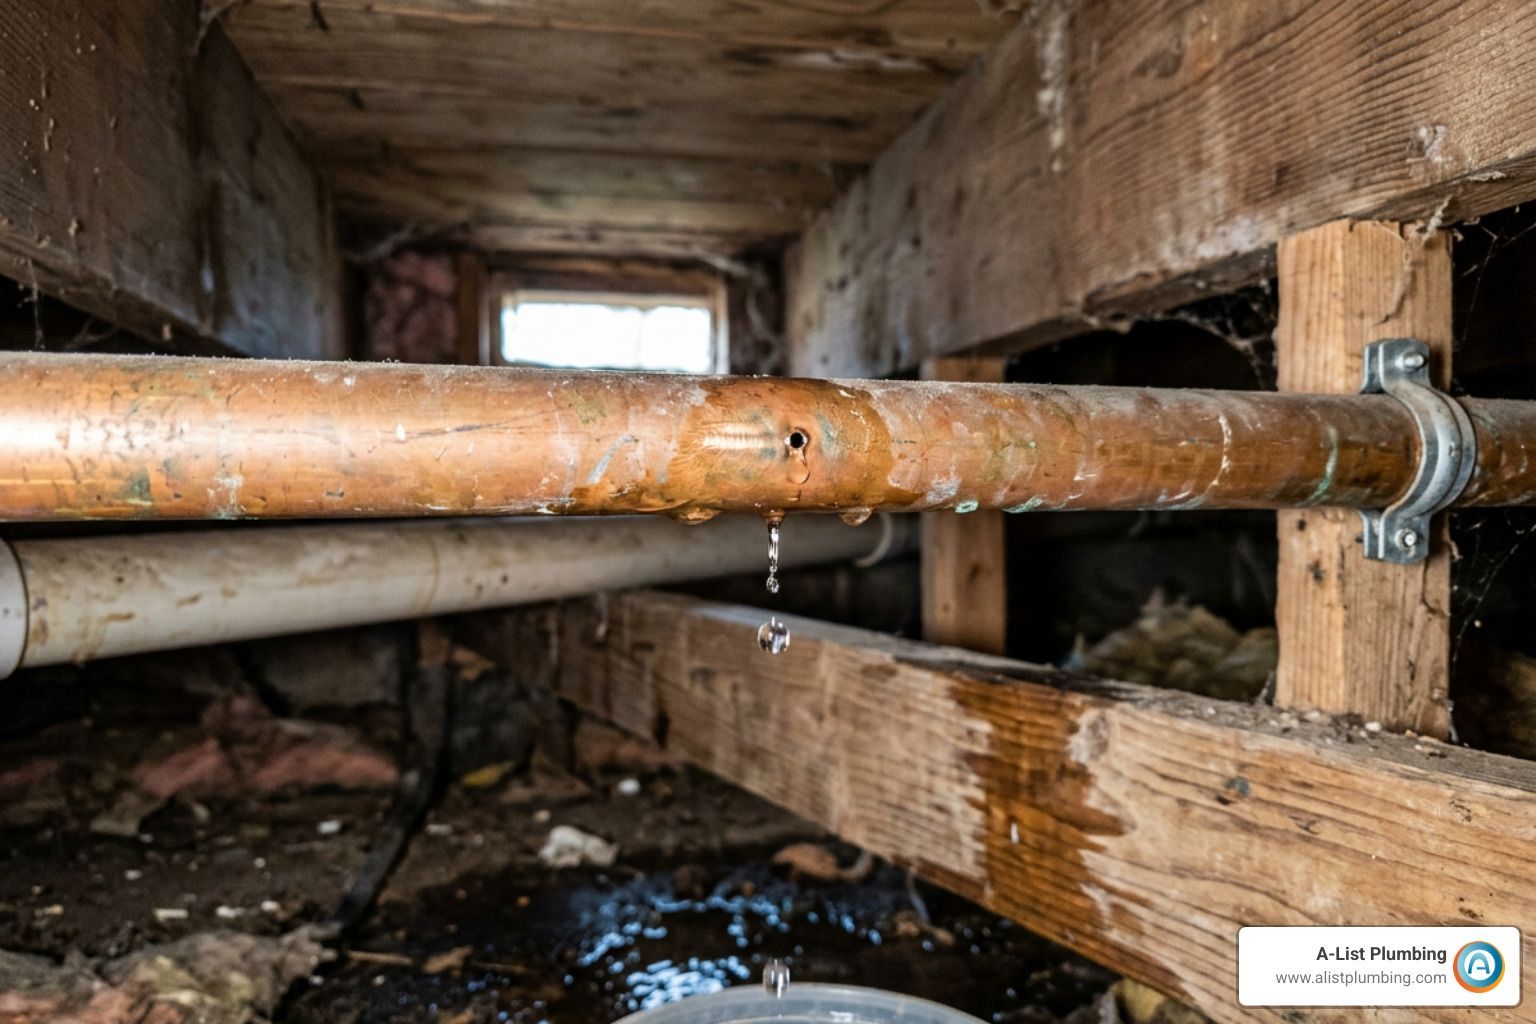
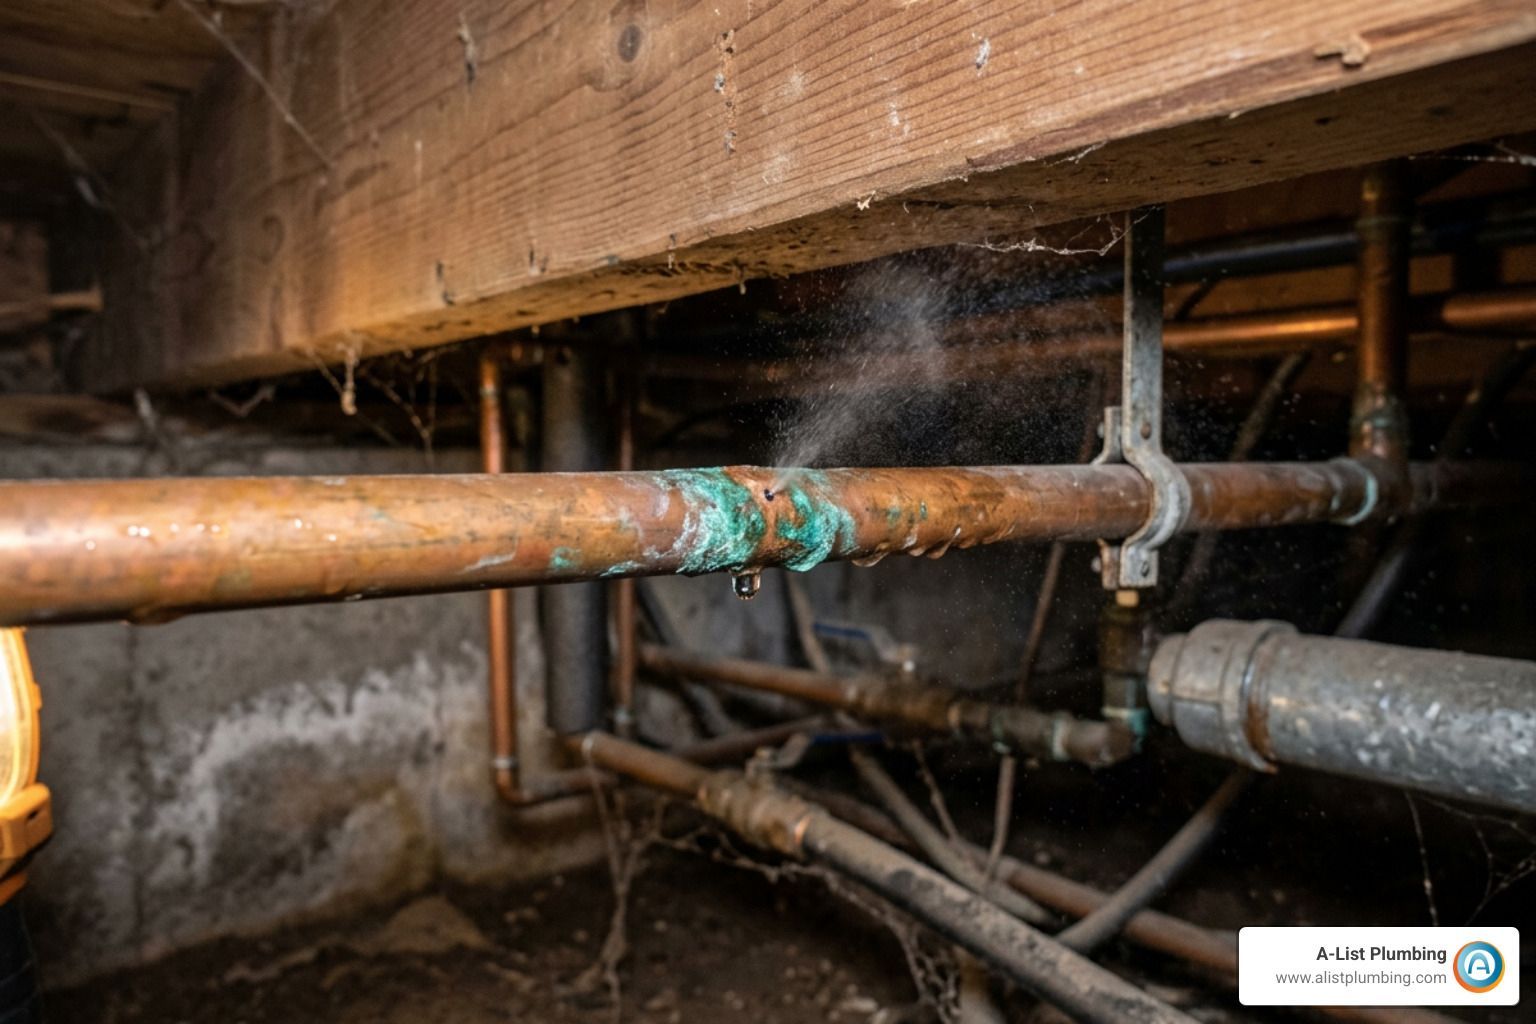
The tricky part? The leak often isn't where you think it is. Water travels along studs and joists before soaking through, so the wet spot on your wall may be feet away from the actual break.
A small drip left unchecked can quietly rot wood framing, spike your water bill, and create the dark, damp conditions that mold thrives in — all inside a wall you can't see.
I'm Heath Shockman, owner of A-List Plumbing since 2011, and I've spent years helping Greater Seattle homeowners fix leaking pipes in walls — from pinhole copper leaks to burst PEX lines in freezing Northwest winters. In this guide, I'll walk you through exactly how to find, access, and repair a hidden wall leak safely.
Identifying Signs and Detection Methods
Detecting a leak early is the difference between a simple patch and a full-scale renovation. Because water is sneaky, it follows the path of least resistance, often traveling down wall studs or along floor joists before it finally makes its grand appearance on your ceiling or baseboards.

Keep an eye (and ear) out for these common red flags:
- Water Stains: Discolored, yellowish, or brownish patches on drywall or ceilings.
- Peeling Paint or Bubbling Wallpaper: Moisture trapped behind the surface pushes the finish away from the wall.
- Musty Odors: That "old basement" smell indicates mold or mildew is already growing in the dark, damp wall cavity.
- Hissing or Dripping Sounds: If you hear water running when all faucets are off, you likely have a pressurized leak.
- The Water Meter Test: This is the ultimate proof. Turn off every tap in your house and go look at your water meter. If the little dial is still spinning, water is escaping somewhere.
For a more high-tech approach, we often use moisture meters or infrared cameras. A moisture meter can tell us exactly how saturated a piece of drywall is, while an infrared camera detects temperature differences—since water conducts heat differently than wood or plaster, the leak usually shows up as a cold blue "bloom" on the screen. If you're struggling to pinpoint the source, check out our professional leak detection services.
Immediate Steps to Fix Leaking Pipe in Wall Emergencies
When you realize a pipe has burst or is spraying inside your wall, panic is a natural reaction. But take a deep breath; your first moves are the most important for minimizing damage.
1. Shut Off the Water
Locate your main water shut-off valve immediately. In the Lynnwood and Seattle areas, this is typically found on the interior foundation wall, often near the water meter or where the main line enters the house. Turn it clockwise until it stops. If the valve is stuck, don't force it—call for help.
2. Drain the System
Once the main valve is off, go to the lowest faucet in your home (like a basement utility sink) and turn it on. Open a faucet at the highest point in the house as well. This allows air into the system and lets the remaining water drain out of the pipes rather than leaking into your wall.
3. Safety First: Power Off
Water and electricity are a dangerous combination. If the leak is near outlets, light switches, or your breaker box, shut off the power to those circuits immediately. Use a noncontact voltage tester to be 100% sure the area is safe before you touch anything wet.
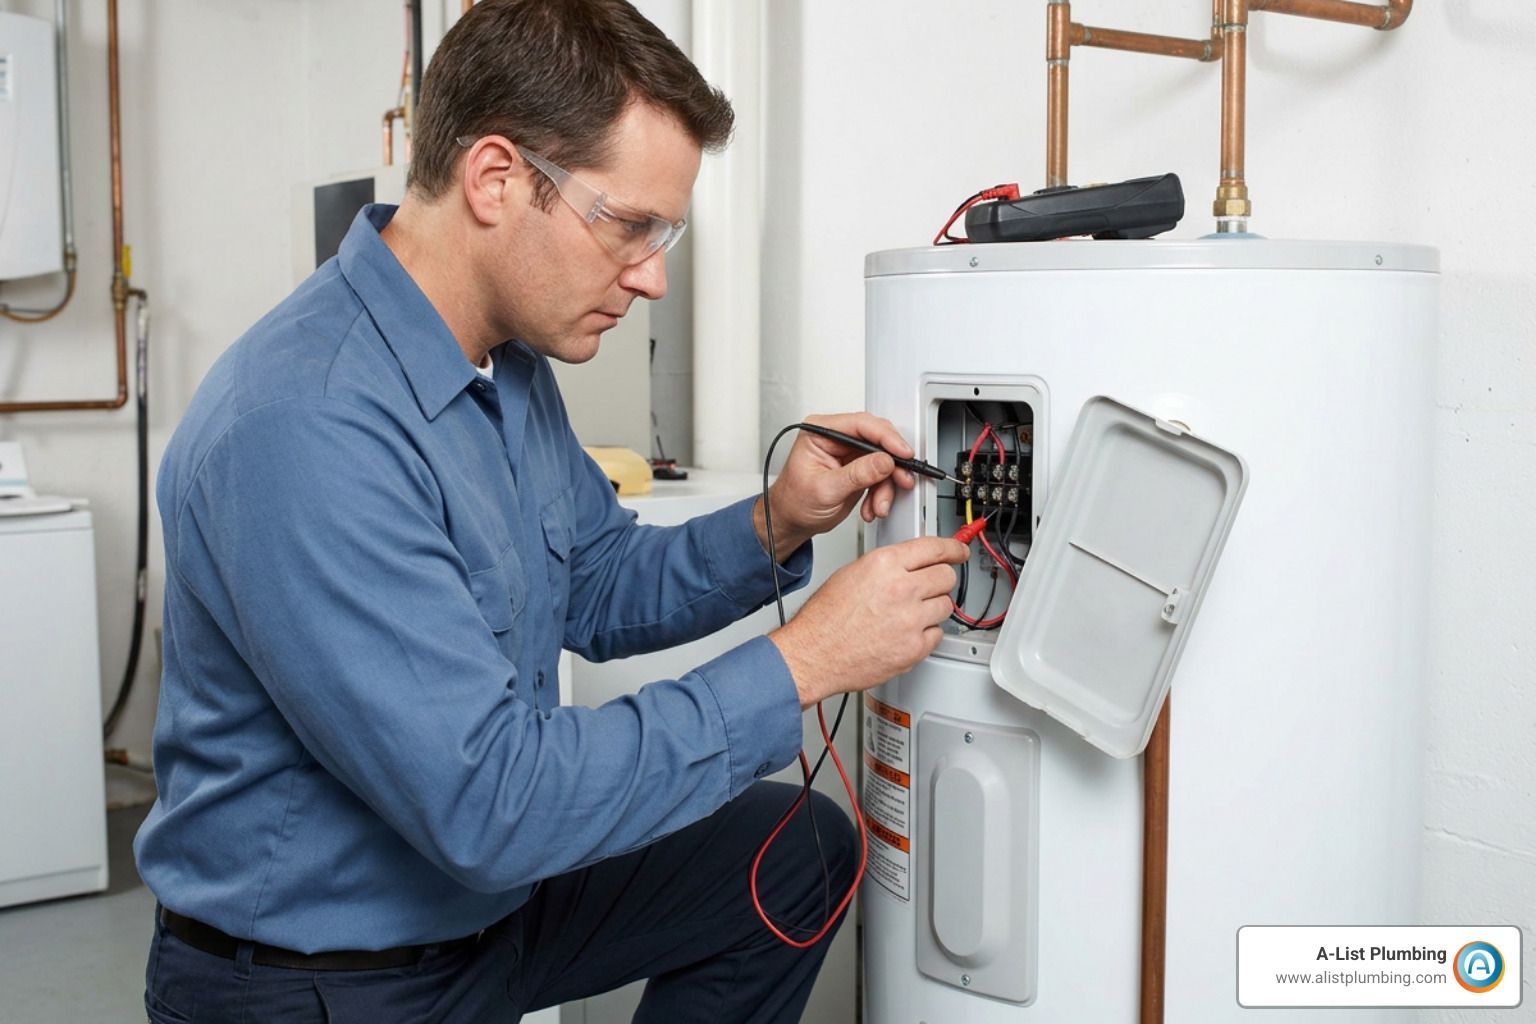
For more general advice on handling these situations, you can refer to this guide on how to fix a leaking pipe. Also, keep in mind that if the leak is coming from a specific appliance, you might need to look into water heater leaks specifically.
Step-by-Step Repair and Restoration Guide
To fix leaking pipe in wall structures effectively, you need to know what you're working with. Different materials require different tools.
| Pipe Material | Common Repair Method | Tools Needed |
|---|---|---|
| Copper | Soldering or Slip Coupling | Torch, Solder, Flux, Pipe Cutter |
| PEX | Crimp Rings or Expansion | Crimp Tool, PEX Cutter, Go/No-Go Gauge |
| PVC/CPVC | Solvent Welding (Cement) | PVC Primer, Cement, Hacksaw |
| Galvanized | Threaded Replacement | Pipe Wrenches, Threaded Nipples |
Before you start, gather a drywall saw, utility knife, and a deburring tool. For a deep dive into professional techniques, check out this complete professional guide.
Locating the Source to Fix Leaking Pipe in Wall Cavities
Don't just start hacking at your wall! Use a stud finder to locate the framing. Once you’ve identified the most likely "wet zone," use a utility knife or drywall saw to cut a small inspection hole.
Pro Tip: Mark the center of the wet spot, but water travels. Look for "tracking" marks on the studs. Once you see the pipe, you may need to enlarge the hole significantly to have room to work. It’s much easier to patch a 12x12 square of drywall than a tiny, jagged hole.
Permanent Methods to Fix Leaking Pipe in Wall Materials
Once the pipe is exposed, you'll need a permanent fix.
- Soldering Copper: This involves cutting out the leaking section, cleaning the ends until they shine with sandpaper, applying flux, and using a torch to melt solder into a new coupling. Always have a fire extinguisher nearby!
- PEX Crimping: PEX is popular in Seattle because it handles freezing better than copper. If a connection is leaking, you can often re-crimp it using a crimping tool and verify the fit with a go/no-go gauge.
- Slip Couplings: These are "repair" couplings that don't have an internal stop, allowing them to slide fully onto one pipe and then back over the gap. They are lifesavers for tight wall cavities.
For more complex issues, you may need a full broken pipe repair.
How to Fix Leaking Pipe in Wall Damage Safely
Safety isn't just about the pipe; it's about the environment.
- Wear Gloves: Old insulation can be irritating, and pipe edges are sharp.
- Check for Wires: Most plumbing runs through the same stud bays as electrical wiring. Use a noncontact tester before you start cutting.
- Remove Wet Insulation: If your wall has fiberglass or cellulose insulation, and it’s wet, it must come out. It won't dry on its own and will become a breeding ground for mold.
Post-Repair Testing and Prevention
You've patched the pipe—congratulations! But don't close that wall just yet.
The Pressure Test
Turn the water back on slowly. Have a helper watch the repair as the system pressurizes. We recommend checking your home's water pressure with a gauge; it should ideally sit between 40-60 PSI. If your pressure is over 80 PSI, it’s putting massive stress on your joints, and you should install a pressure-reducing valve.
Drying and Remediation
Use a dehumidifier and high-powered fans to dry the inside of the wall cavity for at least 24–48 hours. If you see black spots, use a bleach-free mold cleaner to disinfect the studs.
Prevention Tips
- Insulate Pipes: In our Shoreline and Edmonds service areas, winter freezes are a real threat. Wrap pipes in foam sleeves, especially those on exterior walls.
- Annual Inspections: A quick professional look-over once a year can catch a corroding copper joint before it becomes a flood.
- Avoid Chemical Cleaners: These can eat through older pipes from the inside out. Stick to mechanical snakes or enzymatic cleaners.
Frequently Asked Questions about Wall Leaks
How much does it cost to fix a leaking pipe in a wall?
If you go the DIY route for a minor leak, your costs for materials like epoxy putty or a basic clamp are usually under $50. However, professional repairs typically range from $150 to $500, depending on how hard the pipe is to reach and the materials involved. This doesn't usually include the cost of repairing the drywall afterward.
Can I fix a leaking pipe without cutting the wall?
Technically, you can apply temporary sealants or epoxy putty through a very small hole, but we don't recommend it. A fix leaking pipe in wall scenario almost always requires cutting the drywall to ensure the repair is sound and to dry out the interior to prevent mold. Temporary fixes are just that—temporary. They buy you time until a plumber arrives.
What are the risks of ignoring a hidden pipe leak?
Ignoring a leak is a recipe for disaster. Beyond the skyrocketing water bills, you're looking at:
- Structural Rot: Water softens wooden studs and joists, which can eventually lead to property collapse in extreme cases.
- Toxic Mold: Mold can start growing within 24 to 48 hours, leading to serious respiratory health risks.
- Electrical Hazards: Water can find its way into junction boxes, causing shorts or even house fires.
Conclusion
Finding a puddle where there shouldn't be one is every homeowner's nightmare, but now you have the tools to handle it. Whether it's a pinhole leak in Bothell or a burst line in Seattle, the key is acting fast: shut off the water, find the source, and decide if it's a DIY job or a professional emergency.
At A-List Plumbing, we bring 22 years of experience to every job. We offer same-day availability and transparent pricing because we know that when your wall is leaking, you don't have time to wait. From Lynnwood to Greater Seattle, we’re here to ensure your plumbing stays where it belongs—inside the pipes.
Contact our experts for professional plumbing services today!