

When a Pipe Leaks, Every Minute Counts
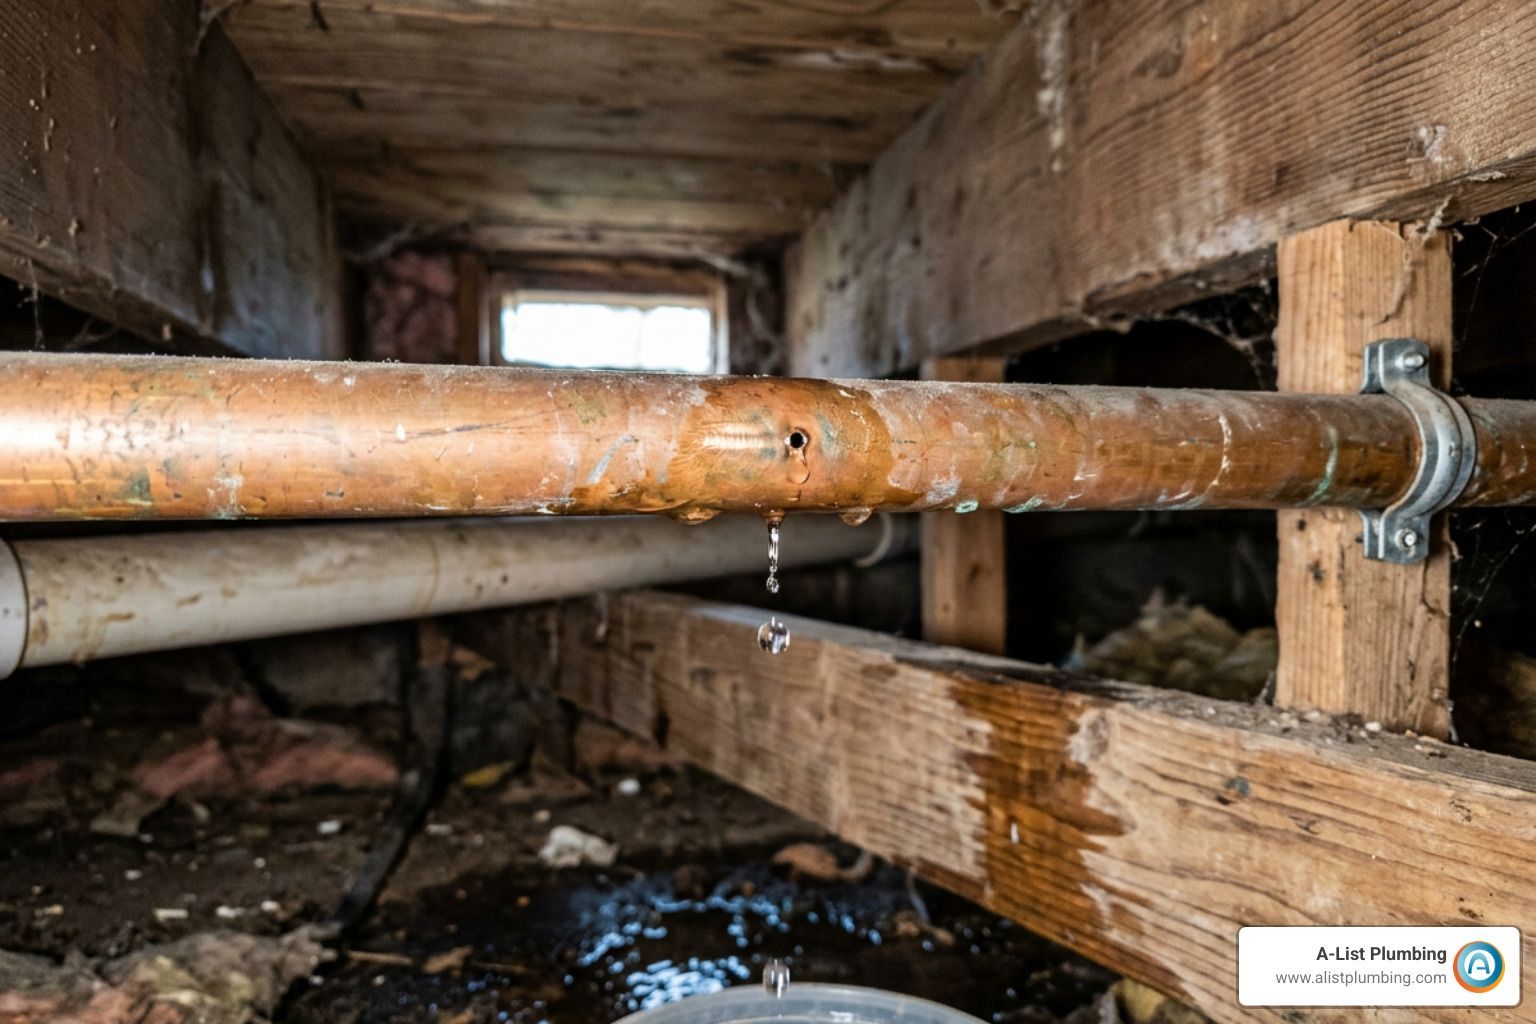
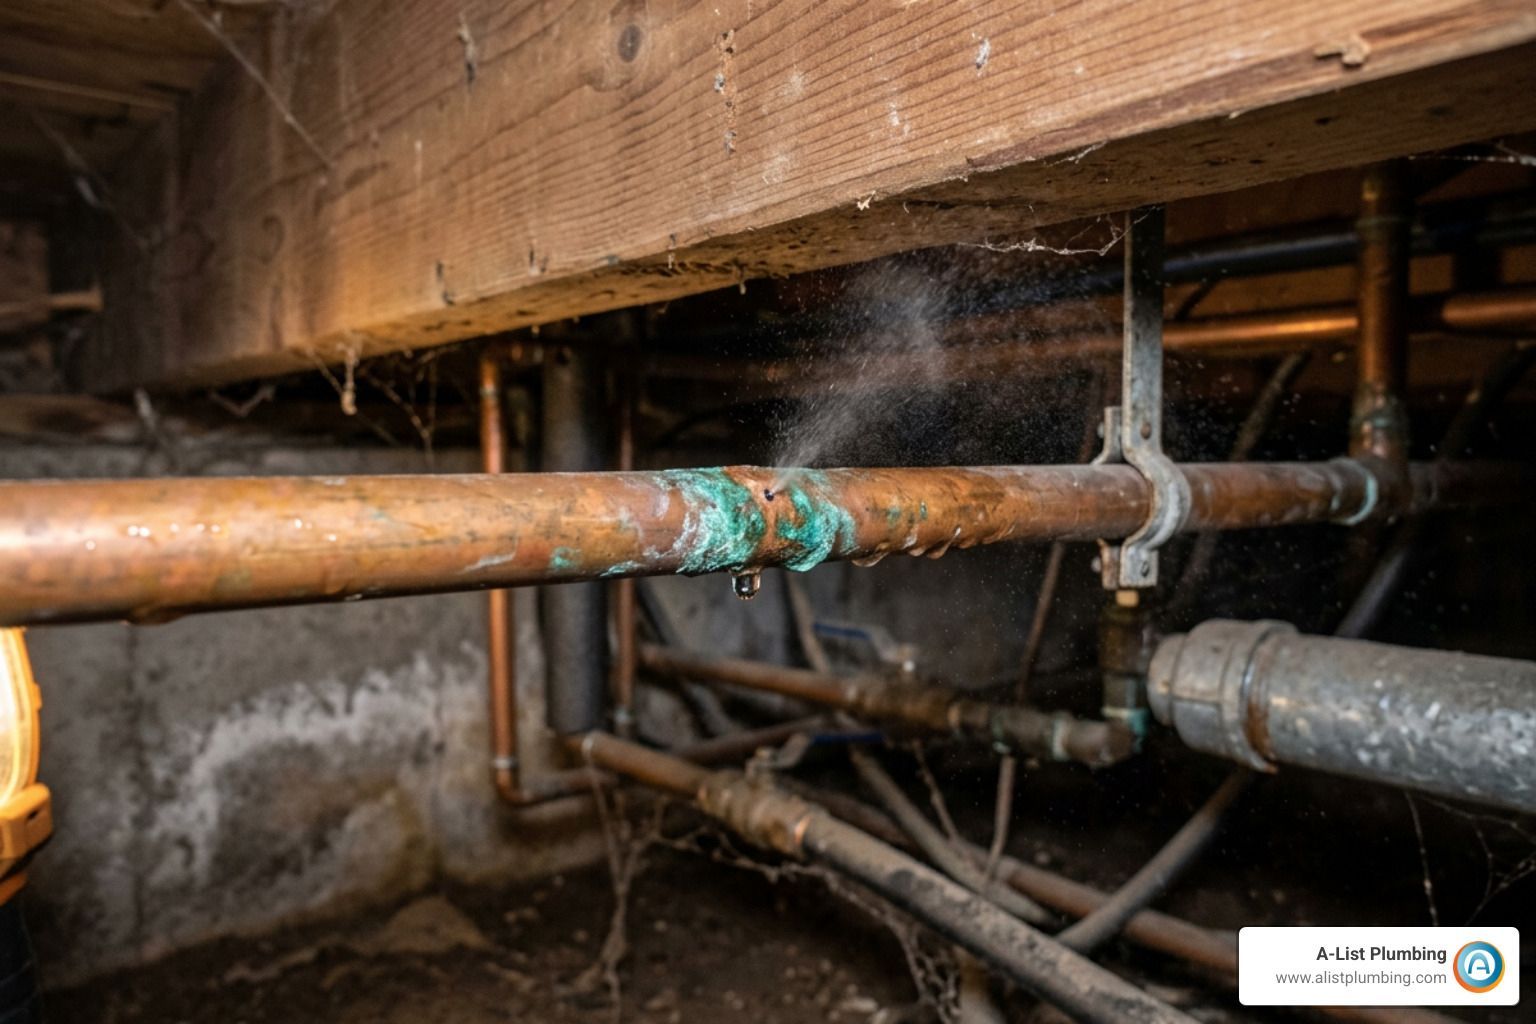
Emergency fix for leaking pipe situations can cause hundreds — sometimes thousands — of dollars in water damage if you don't act fast. Even a slow drip can add $20 to $150 to your monthly water bill. A burst pipe can ruin floors, rot wood, and trigger mold growth within 24 hours.
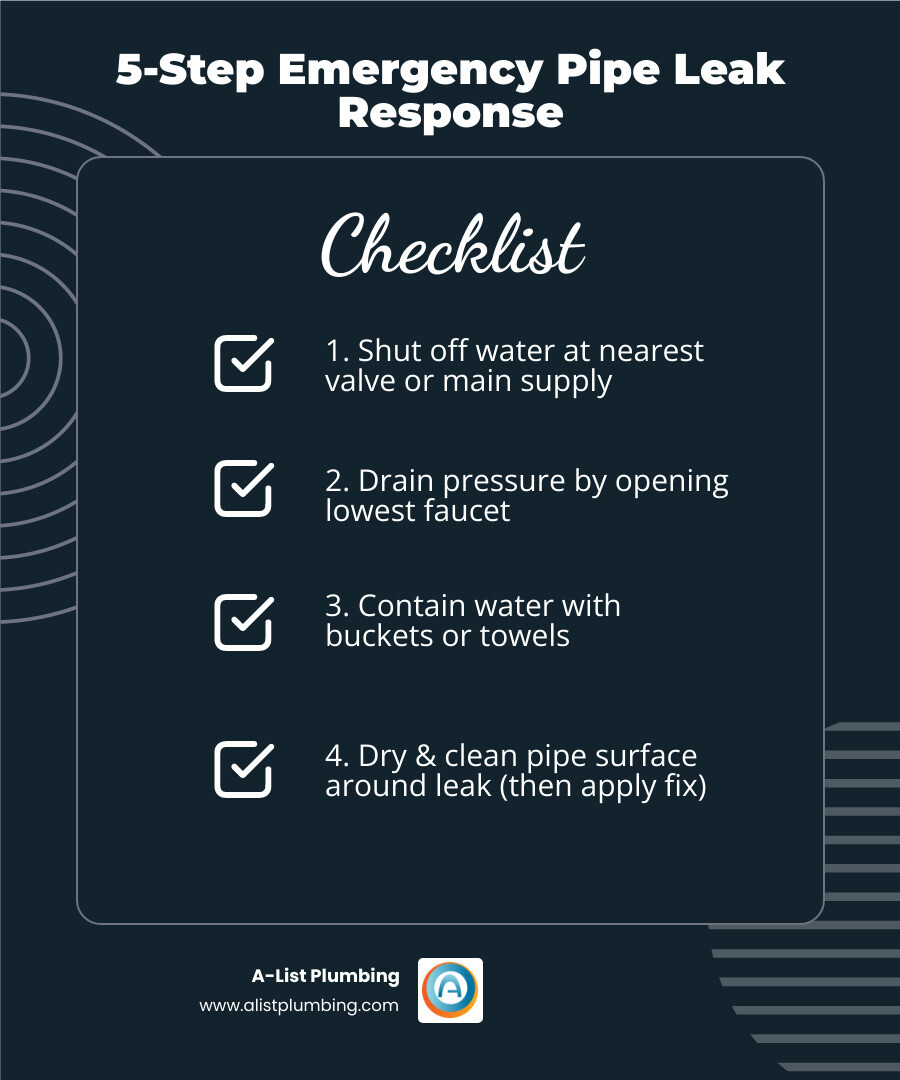
Here are the five emergency steps to take right now:
- Shut off the water at the nearest shutoff valve or the main supply valve
- Drain the pressure by opening the lowest faucet in your home
- Contain the water with buckets or towels to limit damage
- Dry and clean the pipe surface around the leak
- Apply a temporary fix — silicone tape, epoxy putty, or a repair clamp — until a plumber arrives
These steps work for most common leaks: pinhole leaks, cracked pipes, and leaky joints. The sections below walk you through each repair method in detail.
I'm Heath Shockman, owner of A-List Plumbing since 2011, and I've handled countless situations requiring an emergency fix for leaking pipe across the Greater Seattle area — from frozen pipe bursts in winter to corroded joints in older homes. In this guide, I'll show you exactly what to keep on hand and how to use it so you can stop the damage fast.
Immediate Steps: What to Do Before the Emergency Fix for Leaking Pipe
When you hear that dreaded "hiss" or see water pooling under your sink, your adrenaline will spike. Take a deep breath. The goal of an emergency fix for leaking pipe is containment first, repair second.
Locate the Main Shutoff
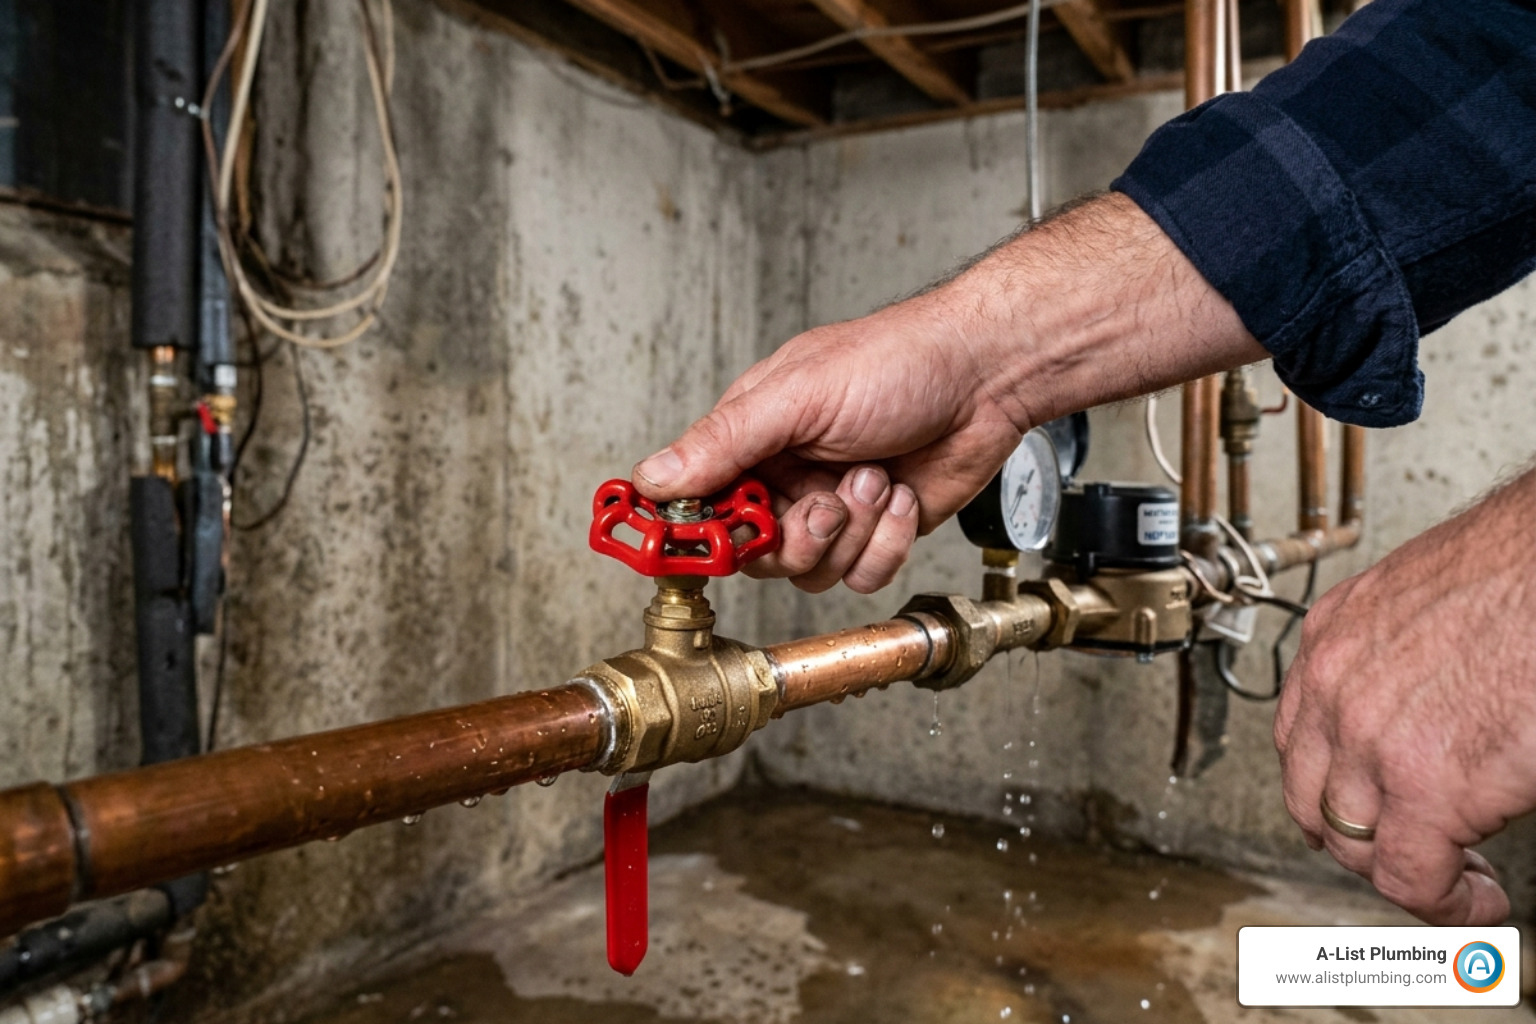
Before you even reach for a roll of tape, you must stop the flow. If the leak is at a fixture (like a toilet or sink), look for the local shutoff valve directly behind or under it. Turn it clockwise to close it. If the pipe itself is spraying, you need the main water shutoff. In many Seattle and Lynnwood homes, this is located in the basement, a crawlspace, or near the water heater. In some cases, it may be at the water meter near the street.
Relieve the Pressure
Once the main valve is off, there is still water trapped in your pipes. Go to the lowest faucet in your home (usually a basement utility sink or an outdoor hose bib) and open it. This drains the remaining water out of the system so it doesn't continue to bleed through the leak while you are trying to work.
Ensure Electrical Safety
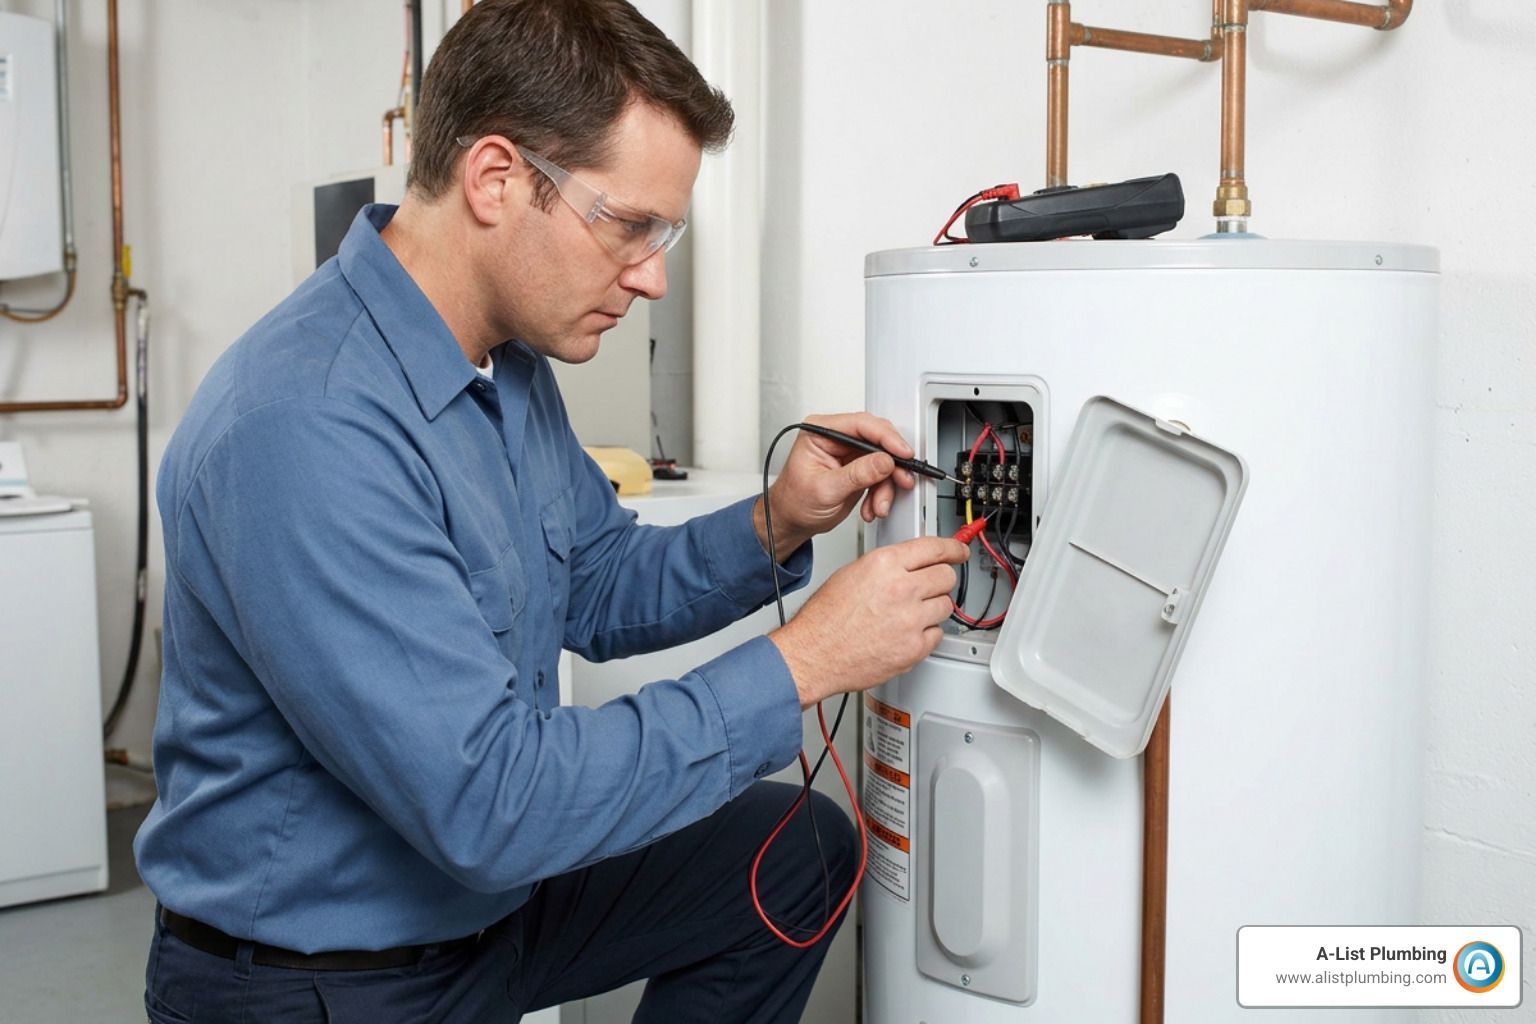
Water and electricity are a lethal combination. If the leak is near an outlet, breaker box, or appliance, do not touch the pipe. Use a non-contact voltage tester to ensure the area is safe. If there is any doubt, shut off the power at the main breaker before proceeding with a Broken Pipe Repair.
Prepare the Surface
An emergency fix for leaking pipe will only hold if the surface is ready. Use towels to dry the pipe thoroughly. Most adhesives, like epoxy or tape, struggle to bond to wet, slimy, or corroded surfaces. If the pipe has green oxidation (common on copper) or rust, a quick hit with some sandpaper will help your repair materials grab hold.
Building Your $50 Emergency Repair Kit
You don't need a van full of professional tools to save your home from a flood. We recommend every homeowner in the Greater Seattle area keep a small "Plumbing First Aid" kit. For about $50, you can buy enough time to wait for a professional.
| Material | Best For | Approx. Cost |
|---|---|---|
| Self-Fusing Silicone Tape | Joint leaks, high-pressure pinholes | $12 - $15 |
| Epoxy Putty | Cracks, holes in rigid pipes | $8 - $10 |
| Stainless Steel Hose Clamps | Securing rubber patches | $2 - $5 |
| Rubber Gasket Sheet | Large punctures (use with clamps) | $5 - $8 |
| C-Clamp & Wood Block | Flattening out a patch | $10 |
Essential Tools
Beyond the materials above, ensure your kit includes:
- Nitrile Gloves: Epoxy putty can irritate the skin, and old pipes are often dirty.
- Sandpaper/Emery Cloth: To roughen smooth surfaces for better adhesion.
- Non-contact Voltage Tester: To check for "hot" water (the dangerous kind!).
- Screwdriver/Hex Wrench: For tightening hose clamps.
Learning How to Fix a Leaking Pipe is significantly easier when you aren't hunting for a screwdriver while your basement fills with water.
Step-by-Step Guide: Applying an Emergency Fix for Leaking Pipe
The method you choose depends on where the leak is located. A pinhole in the middle of a straight pipe is handled differently than a failure at a threaded joint.
Pinhole Leaks and Small Cracks
For tiny "geyser" leaks in copper or galvanized steel, the goal is compression. If you are dealing with Broken Pipes Repair in Seattle WA, you might notice these leaks are often caused by age and internal corrosion.
- Clean: Scrub the area with sandpaper until the metal is bright.
- Apply Putty or Tape:(See the specific instructions in the subsections below).
- Test: Turn the water on very slowly to see if the seal holds.
Joint Failures
If the leak is coming from a threaded connection, sometimes a simple "snug" with a wrench is the Broken Pipes Repair in Shoreline WA you need. Be careful not to over-tighten, as you can crack old, brittle fittings. If tightening doesn't work, silicone tape is your best friend for wrapping around the exterior of the joint.
Using Silicone Tape as an Emergency Fix for Leaking Pipe
Self-fusing silicone tape is one of the most versatile tools in your kit. It doesn't have "glue" on it; instead, it bonds to itself through a chemical reaction when stretched.
- The Stretch is Key: Start about two inches to the side of the leak. Press the end of the tape against the pipe and stretch it hard as you wrap.
- Overlapping Layers: Each wrap should overlap the previous one by at least 50%. The tension creates a waterproof, high-pressure seal.
- The Finish: Continue wrapping until you are two inches past the leak on the other side. Squeeze the tape firmly to ensure the layers fuse.
While these Quick Fixes for Burst Pipes are effective, silicone tape usually reaches its maximum bond strength after 24 hours, though it can stop a leak immediately if applied under tension.
Applying Epoxy Putty for Cracks and Pinhole Leaks
Epoxy putty is a two-part stick (base and catalyst). When you knead them together, a chemical reaction occurs that turns the "dough" into a rock-hard plastic.
- Knead: Cut a piece and roll it in your hands (wear gloves!) until the color is uniform. It will start to feel warm.
- Apply: Press the putty firmly over the hole or crack. For Broken Pipes Repair in Lynnwood WA, we often recommend tapering the edges of the putty so it "hugs" the pipe.
- Cure: Most putties harden in 5 to 20 minutes, but check the package. Ensure you use a putty rated for potable water if the leak is on a drinking water line.
- Smooth: Once it’s hard, you can actually sand it down if needed, though for an Broken Pipes Repair in Edmonds WA, aesthetics are usually secondary to staying dry!
Material Compatibility and Safety Precautions
Not every emergency fix for leaking pipe works on every material. Using the wrong method can actually make the damage worse.
Copper and Galvanized Steel
These are rigid metals. They handle epoxy putty and repair clamps very well. However, be wary of "wrenching" on old galvanized pipes. They are often corroded from the inside out, and applying too much torque can cause the entire pipe to snap off at the wall.
PVC and CPVC
Plastic pipes are common in Edmonds and Bothell homes. They are smoother than metal, so you must roughen the surface with sandpaper before using epoxy. Silicone tape is excellent for PVC because it doesn't rely on sticking to the plastic; it sticks to itself.
PEX (Flexible Plastic)
PEX is popular in newer Seattle constructions. Most PEX leaks happen at the crimp rings. If a connection is dripping, you may need a PEX crimp tool to re-tighten the ring. Putty rarely works on PEX because the pipe is flexible; as the pipe moves, the hard putty will pop off. Tape is a better temporary choice here.
Always prioritize safety. If you are performing Emergency Plumbing, keep your work area well-lit and clear of trip hazards. If you are working on Broken Pipes Repair in Bothell WA in a dark crawlspace, always tell someone else in the house where you are.
Identifying Your Pipe Material for the Right Emergency Fix for Leaking Pipe
Before you apply a patch, you need to know what you're looking at:
- Copper: Metallic, penny-colored (or green if old). Used for water supply.
- PVC: Rigid, white plastic. Usually used for waste and drains.
- CPVC: Cream or tan plastic. Used for hot and cold water supply.
- Galvanized Steel: Silver/grey metal. Common in homes built before 1960.
- PEX: Flexible tubing, often red (hot) or blue (cold).
- ABS: Rigid black plastic, used for drains.
Following How to Temporarily Fix a Broken Pipe - DIY Instructions requires matching the clamp or tape to the pipe's outside diameter. A clamp that is too large will never seal, no matter how much you tighten it. This is a common mistake we see during Broken Pipes Repair in Ballard WA.
Frequently Asked Questions about Emergency Pipe Repairs
How long do temporary pipe fixes realistically last?
A temporary fix is exactly that: temporary. While a high-quality repair clamp or silicone tape wrap might hold for several weeks, they are not designed for the long term. Fluctuations in water pressure and temperature will eventually cause the seal to fail. We recommend scheduling a permanent repair within 24 to 48 hours of applying an emergency patch.
Can I use duct tape to stop a high-pressure water leak?
In a word: No. Duct tape is wonderful for many things, but it cannot withstand the 40–80 PSI (pounds per square inch) of a standard home water system. The water will simply find a way under the adhesive and start spraying again within minutes. If you have nothing else, you can try the "pencil trick"—jamming a sharpened pencil tip into a small hole and wrapping it with duct tape—but this is a "seconds-not-hours" solution.
When is it time to stop DIY and call a professional plumber?
You should call us immediately if:
- The pipe is completely burst or "shattered."
- The leak is behind a wall or under a concrete slab.
- You cannot find the main water shutoff.
- The pipe is part of a gas line (never attempt DIY gas repairs!).
- The temporary fix fails to stop the water after two attempts.
Conclusion
Taking the time to apply an emergency fix for leaking pipe can save your home from devastating mold and structural rot. By spending $50 today on a basic kit, you are buying yourself peace of mind for the next time a pipe decides to fail at 2:00 AM.
Once the leak is contained, the work isn't quite over. Make sure to dry the area completely using fans or a dehumidifier to prevent mold. Check your next water bill to ensure your efforts saved you from those high-usage spikes.
At A-List Plumbing, we’ve spent 22 years helping our neighbors in Lynnwood, Edmonds, Shoreline, Bothell, and Seattle navigate these high-stress moments. We offer same-day availability and transparent pricing, so you never have to wonder what the final bill will look like. Whether you need a permanent fix for a patched pipe or help with Water Heater Leaks, we are here to help.
Don't let a small drip turn into a big disaster. If your temporary fix is in place and you're ready for a permanent solution, Contact A-List Plumbing today. We'll get your home back to normal in no time.