
A Leaking Pipe Can Ruin Your Home Fast — Here's What to Do
The best way to fix a leaking pipe depends on the type of leak, pipe material, and how quickly you need a solution. Here's a quick overview:
| Situation | Best Fix |
|---|---|
| Pinhole leak (temporary) | Pipe repair clamp or epoxy putty |
| Joint leak (temporary) | Self-fusing silicone tape or pipe wrap |
| Any leak (permanent) | Cut out damaged section, install slip coupling |
| PEX connection leak | Re-crimp the ring with a go/no-go gauge |
| Leak near electrical areas | Shut off power first, call a pro |
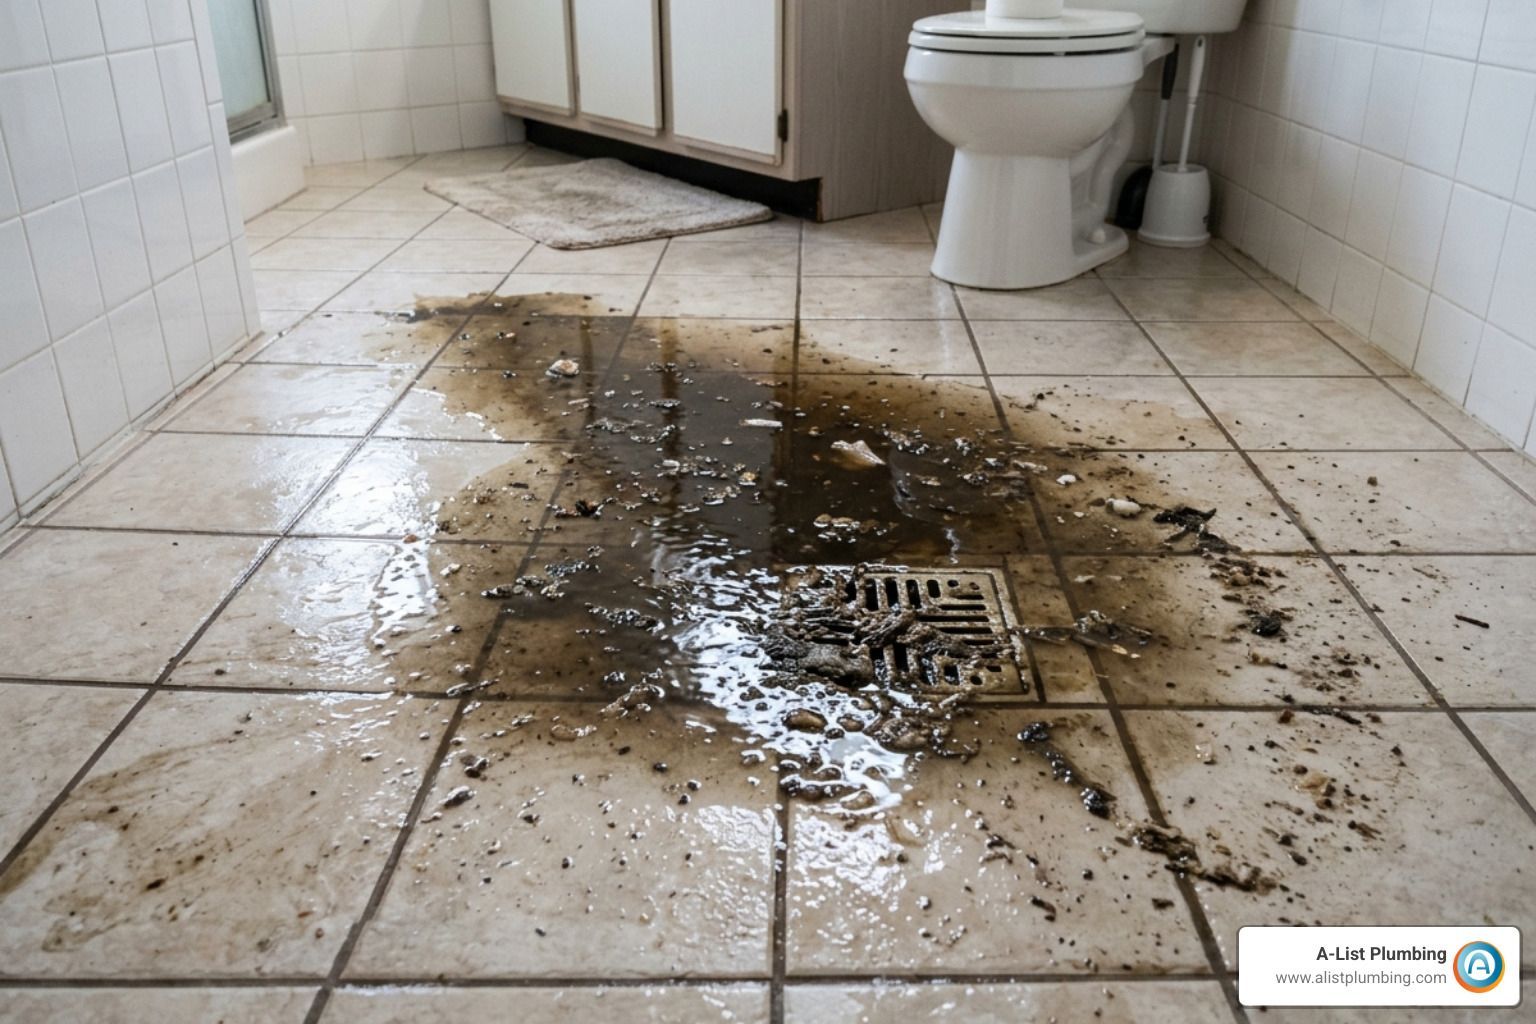
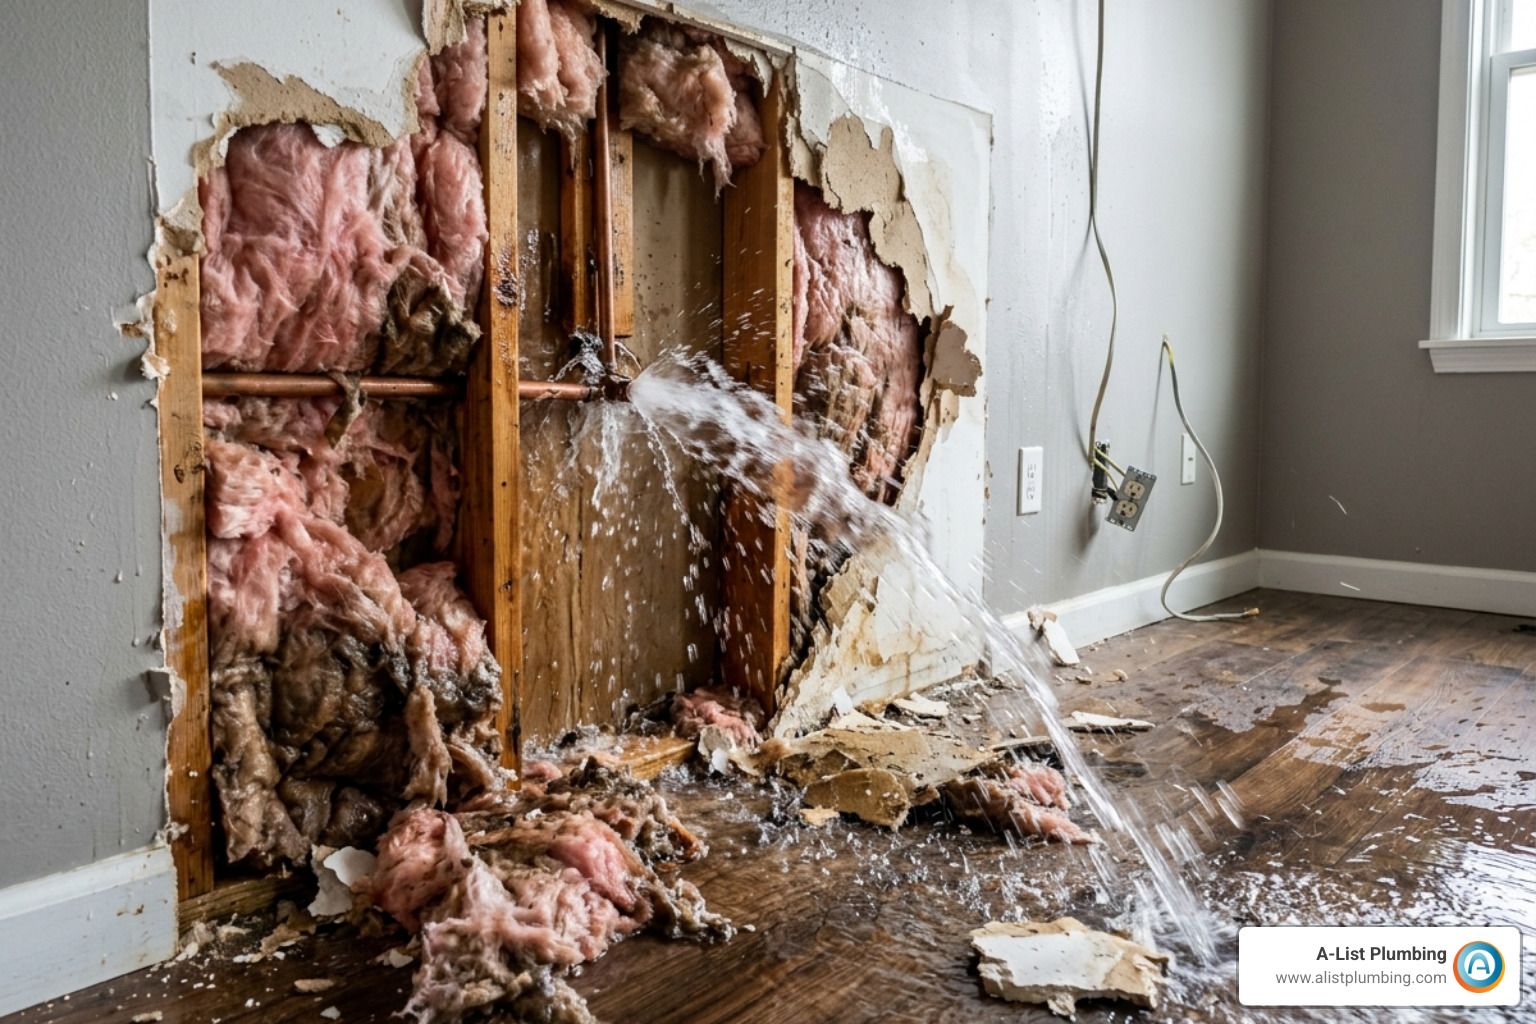
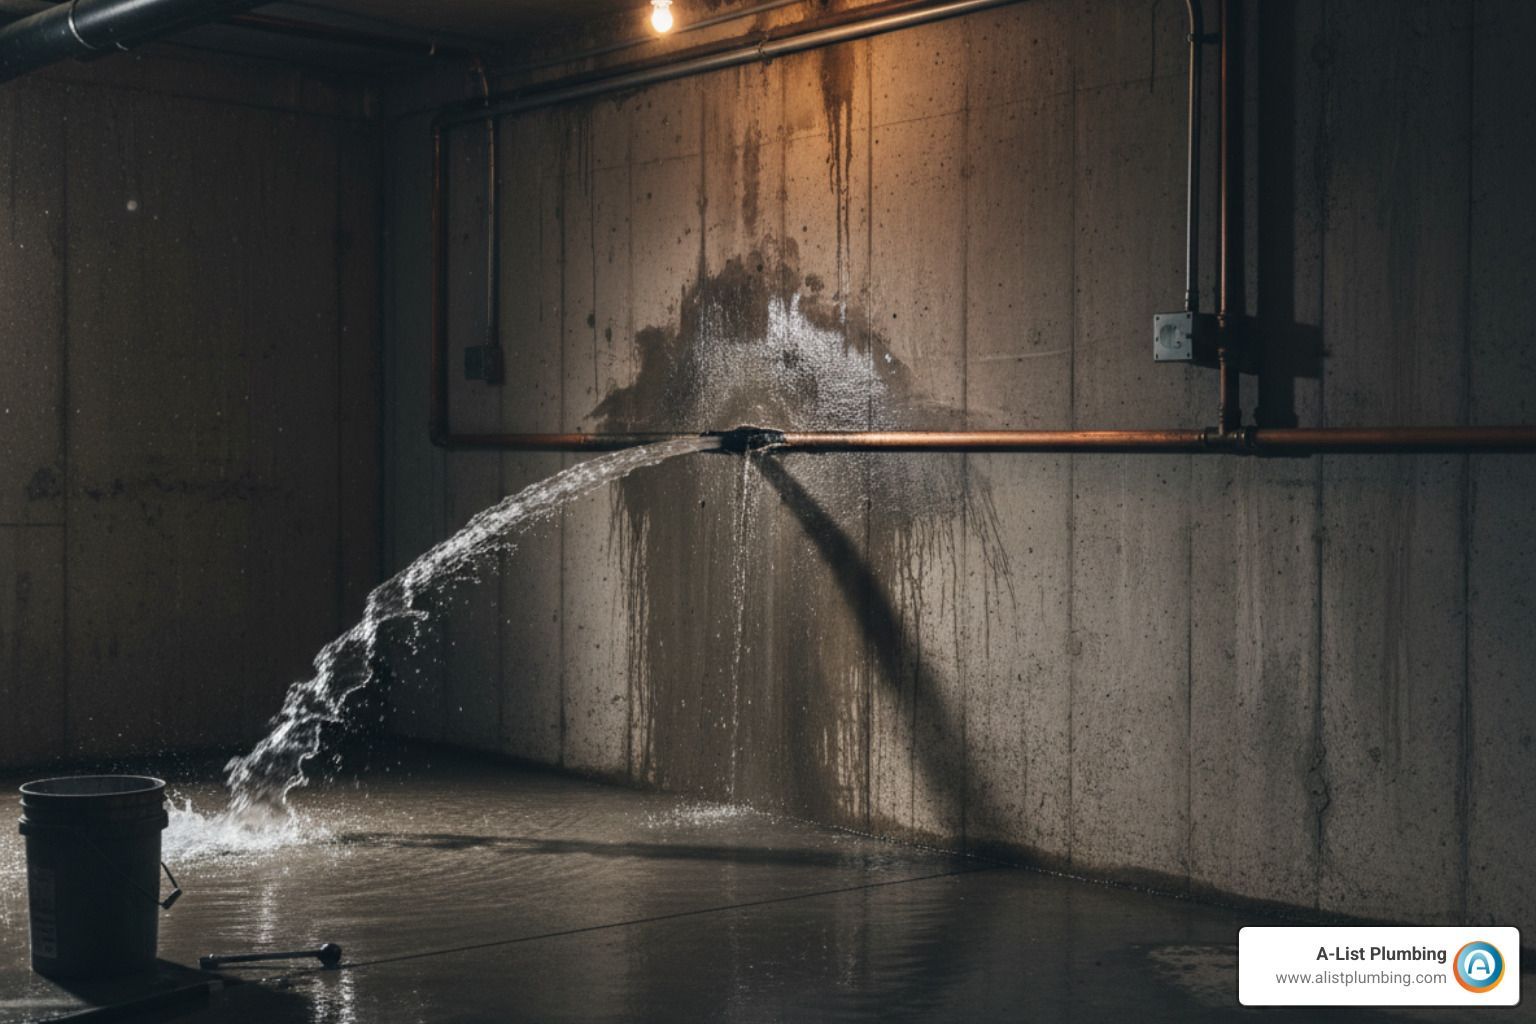
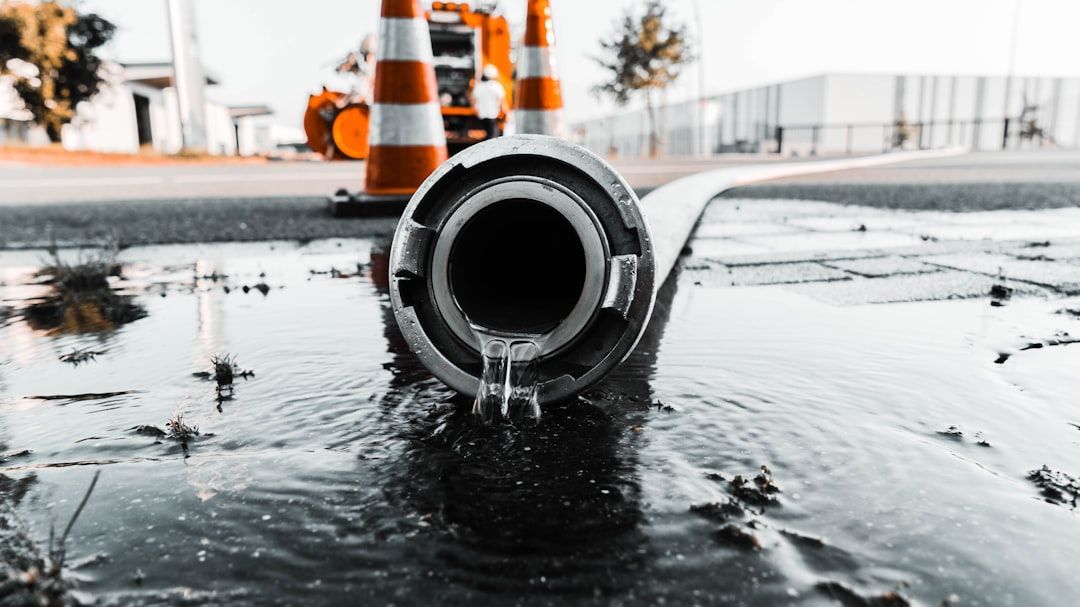
A leaking pipe is never just a minor annoyance. Left unchecked, the average U.S. household wastes 10,000 gallons of water per year from leaks alone — and that's before you count the damage to walls, floors, ceilings, and foundations.
Water in supply pipes travels at around 50 pounds per square inch of pressure. That means even a small crack doesn't drip — it sprays. The faster you act, the less damage you'll face.
This guide walks you through everything: from shutting off the water in an emergency, to choosing the right repair method for your pipe type, to knowing when a DIY fix is enough — and when to call a professional.
I'm Heath Shockman, owner of A-List Plumbing since 2011, with extensive experience diagnosing and repairing residential and commercial plumbing systems across the Greater Seattle area — including the freeze-related pipe failures and root intrusion issues common in the Pacific Northwest. I've seen how knowing the best way to fix a leaking pipe early can save homeowners thousands in water damage repairs. Let's get into it.

Immediate Steps: What to Do When You Find a Leak

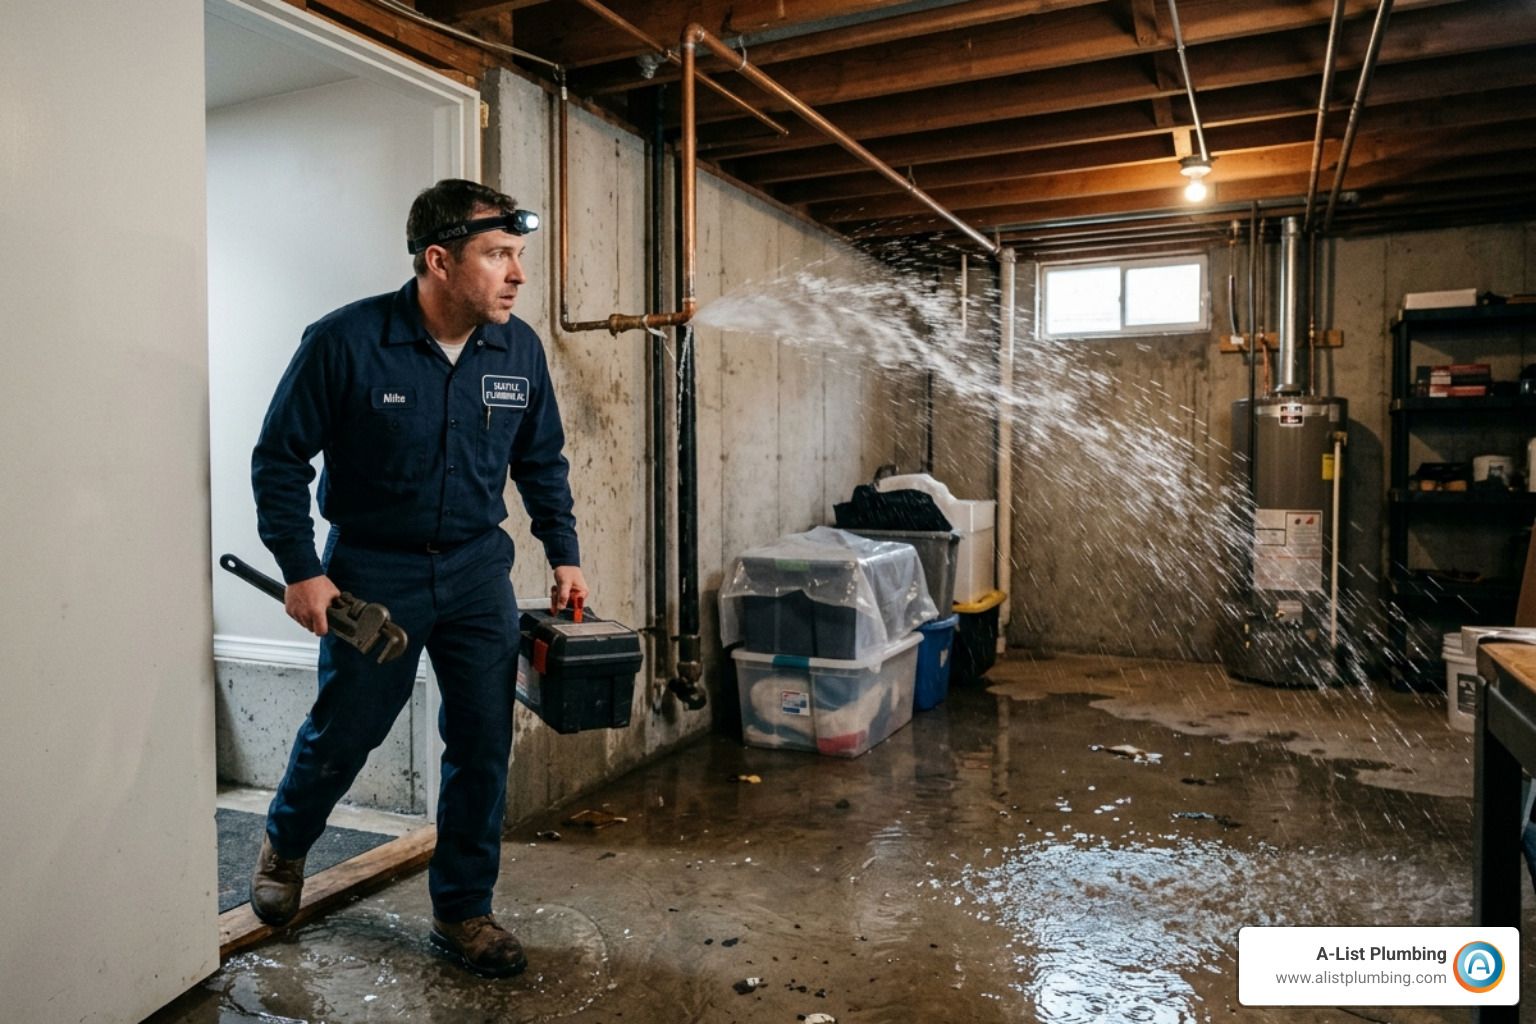
When you hear that dreaded spraying sound or see a dark spot spreading across your ceiling, your first instinct might be to panic. Don't. Take a deep breath and follow these immediate steps to mitigate damage.
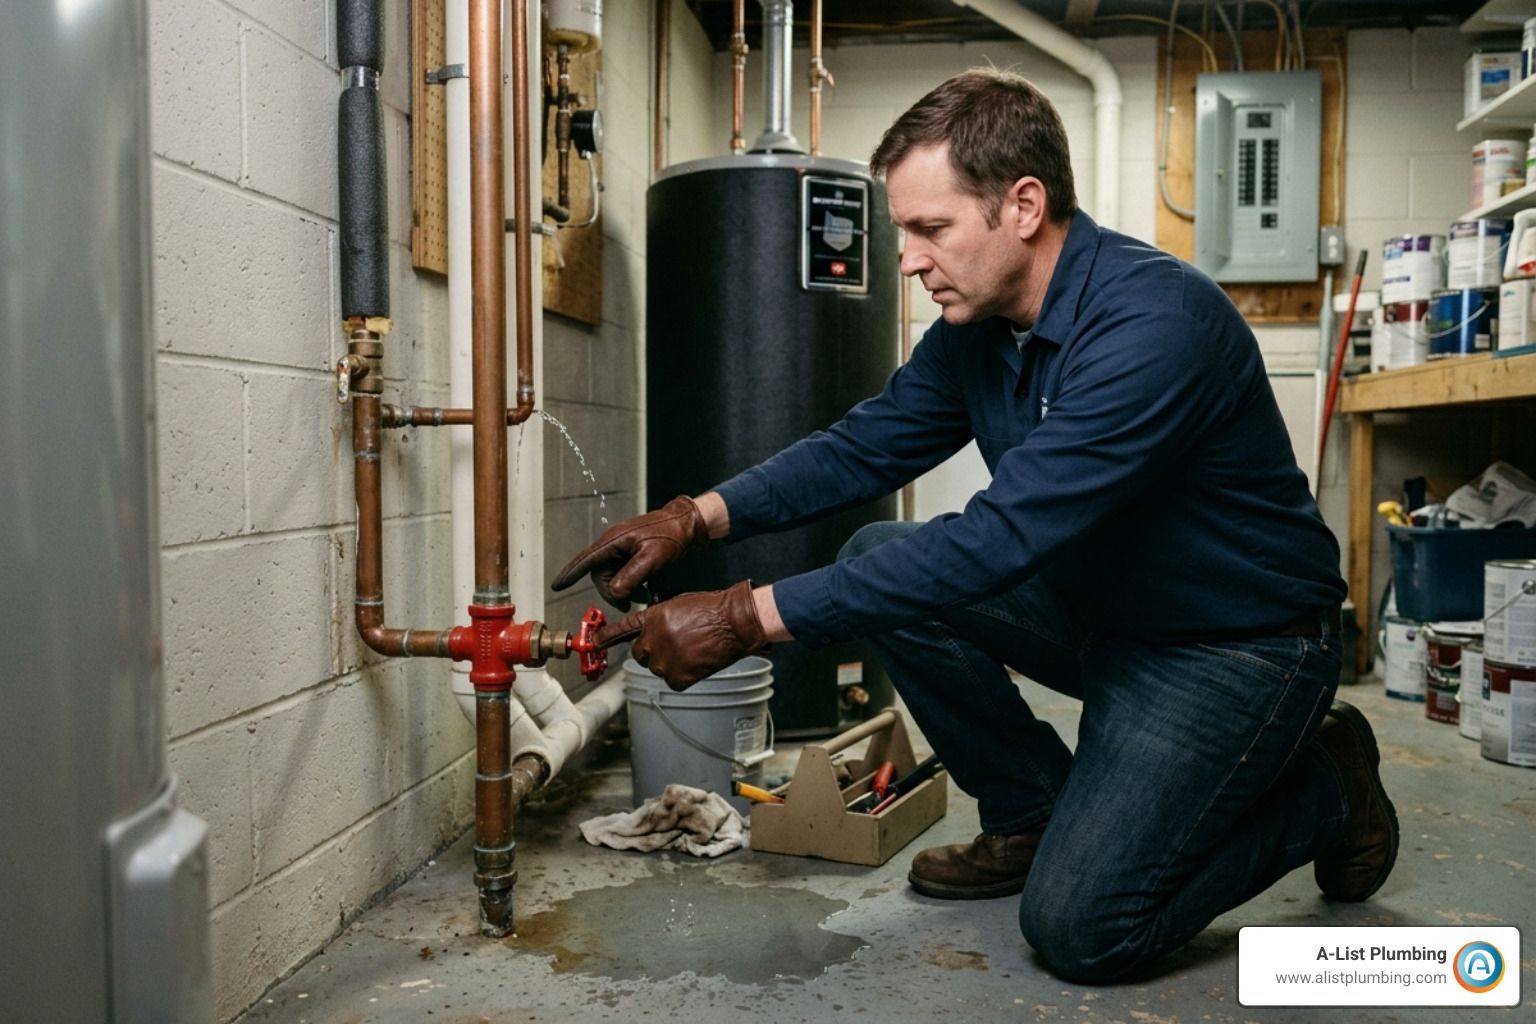
1. Shut Off the Water Supply
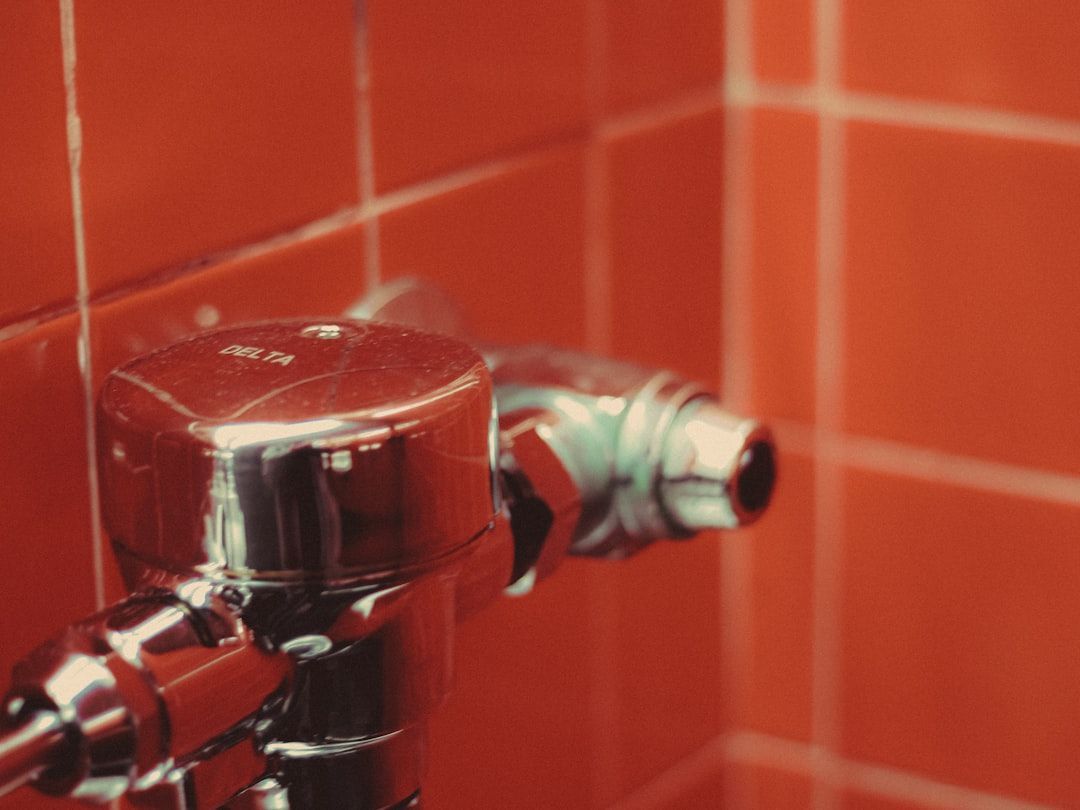
The absolute first priority is stopping the flow. Most fixtures (sinks, toilets) have localized shutoff valves nearby. If the leak is in a main line or behind a wall, you’ll need to locate your home’s main water shutoff valve. In the Seattle and Lynnwood areas, this is often located in the basement, crawlspace, or a water meter box near the street.
- Gate Valves: These look like small wheels. Turn them clockwise until they stop. Be gentle; if they haven't been moved in years, they can be brittle.
- Ball Valves: These have a lever handle. Turn the lever 90 degrees so it is perpendicular to the pipe to stop the flow.
2. Drain the System
Even after the water is off, there is still residual pressure and water sitting in the pipes. Open the lowest faucet in your house (like a basement utility sink) and the highest one to allow air in and water to drain out. This relieves the approximately 50 PSI of pressure that causes water to spray out of the leak.
3. Safety First: Check for Electricity
If the leak is near an outlet, light fixture, or your electrical panel, do not touch anything. Water and electricity are a lethal combination. Use a non-contact voltage tester to ensure the area is safe, or better yet, shut off the power at the main breaker before stepping into standing water. For complex situations involving hidden failures, you can learn more about Broken Pipe Repair to see how professionals handle these risks.
4. Dry the Surface
Once the spraying stops, use towels to soak up standing water. Use a cloth to wipe the leaking pipe completely dry. You cannot apply tape, putty, or clamps effectively to a wet, slimy pipe. According to How to Fix Water Pipe Leaks & Problems , identifying the exact source of a leak is much easier once the pipe is bone-dry.
Identifying Your Pipe Material and Leak Type
Before you run to the hardware store in April 2026, you need to know what you’re working with. Different materials require very different "best ways" to fix them.
- Copper: Common in older and mid-aged Seattle homes. It’s metallic, brownish-orange (or green if corroded), and usually joined by solder.
- PVC/CPVC: Plastic piping. PVC is usually white and used for drainage; CPVC is cream-colored and rated for hot water.
- PEX: Flexible plastic tubing, often red (hot) or blue (cold). It’s become the standard for new builds in Shoreline and Edmonds.
- Galvanized Steel: Found in vintage homes. These are grey, threaded metal pipes. They are notorious for internal corrosion and are very difficult to repair DIY because they become brittle over time.
Common Leak Types
- Pinhole Leaks: Tiny holes often caused by "pitting" corrosion inside copper pipes.
- Joint Failures: Leaks occurring where two pipes meet, often due to degraded glue, loose threads, or failed solder.
- Stress Cracks: Long splits in the pipe, frequently caused by freezing during a cold Washington winter.
| Pipe Material | Common Leak | Recommended Temporary Fix |
|---|---|---|
| Copper | Pinhole | Pipe Repair Clamp |
| PVC | Joint | Epoxy Putty |
| PEX | Connection | Re-crimping |
| Galvanized | Threaded Joint | Pipe Repair Tape |
For residents dealing with aging infrastructure, identifying the material is the first step in Broken Pipes Repair in Seattle WA.
The Best Way to Fix a Leaking Pipe Temporarily
A temporary fix is designed to buy you time — maybe a few days until a plumber can arrive or until you can get the tools for a permanent replacement. Here are the most effective methods.
Pipe Repair Clamps
For a straight section of pipe with a pinhole or small crack, a pipe repair clamp is often the best way to fix a leaking pipe quickly. These kits cost about $10–$15 and consist of a metal sleeve and a rubber gasket.
- Clean the pipe with sandpaper to remove rust or scale.
- Center the rubber gasket over the leak.
- Place the metal clamp over the gasket and tighten the bolts evenly.
Pipe Repair Casts
Similar to a cast for a broken arm, these kits involve a resin-impregnated wrap that hardens into a fiberglass-like shell. These are excellent for irregular shapes or joints where a standard clamp won't fit. You can find detailed steps on using these at How to Fix a Leaky Pipe. If you're in the north end, we often assist with these situations through our Broken Pipes Repair in Shoreline WA service.
Using Repair Tape as the Best Way to Fix a Leaking Pipe Joint
Self-fusing silicone tape is a miracle worker for leaks at joints or angles. Unlike duct tape, it doesn't rely on adhesive; it fuses to itself to create a waterproof, pressurized seal.
- The Technique: Start wrapping the tape an inch before the leak. Stretch the tape significantly as you wrap — this tension is what creates the seal.
- Overlap: Ensure each layer overlaps the previous one by at least 50%.
- Limitation: This is best for low-pressure applications or as a very short-term emergency measure.
Applying Epoxy Putty: The Best Way to Fix a Leaking Pipe Crack
Epoxy putty is a two-part compound that, when kneaded together, hardens into a plastic-like seal.
- Prep: Roughen the pipe surface with sandpaper or a file so the putty has something to "grip."
- Mix: Knead the putty until the two colors blend into one uniform color.
- Apply: Press it firmly over the crack and slightly beyond the edges.
- Cure: Let it sit for the time recommended on the package (usually 30–60 minutes) before turning the water back on.
Permanent Solutions: When to Cut and Replace
While tape and clamps are great for a Saturday night emergency, they aren't permanent. Eventually, the "best way" becomes cutting out the bad section and replacing it.
Copper Pipe Replacement
The gold standard is soldering (sweating) a new section of pipe. However, for DIYers, push-to-connect fittings(like SharkBite) are a popular alternative.
- Step 1: Cut out the damaged section using a tubing cutter.
- Step 2: Deburr the inside and outside of the pipe ends. This is crucial; a burr can whistle or damage the seal of a new fitting.
- Step 3: Mark the depth on the pipe and push the fitting on until it hits the mark.
PVC and CPVC Repairs
You cannot simply "re-glue" a leaking PVC joint. You must cut out the fitting and install a new one using purple primer and solvent cement. Ensure the pipe is completely dry; even a drop of water can ruin a PVC solvent weld.
PEX Crimp Repairs
If a PEX leak is at a connection, it’s often because the crimp ring wasn't tight enough. Use a go/no-go gauge. If the "go" slot doesn't fit over the ring, it needs to be re-crimped. If that fails, cut the ring off and start fresh with a new one. For residents in Lynnwood, we provide expert assistance with Broken Pipes Repair in Lynnwood WA.
DIY vs. Professional Repair Costs and Safety
Is it worth doing it yourself? Let’s look at the numbers.
- DIY Costs: A repair clamp or epoxy kit costs $10–$25. If you need to buy a pipe cutter, deburring tool, or PEX crimper, expect to spend $50–$150.
- Professional Costs: Plumbers typically charge $45 to $200 per hour. A standard pipe leak repair usually ranges from $150 to $700, depending on accessibility (e.g., is it behind a tiled wall?).
When to Call a Pro
We recommend calling a licensed plumber if:
- The leak is hidden: If you see a stain but can't find the pipe, you need professional leak detection.
- It's a main line: Main water lines are under higher pressure and often require permits.
- Galvanized pipes are involved: These pipes often crumble when you try to work on them, leading to a much bigger mess.
- Gas lines are nearby: Never DIY plumbing near gas infrastructure.
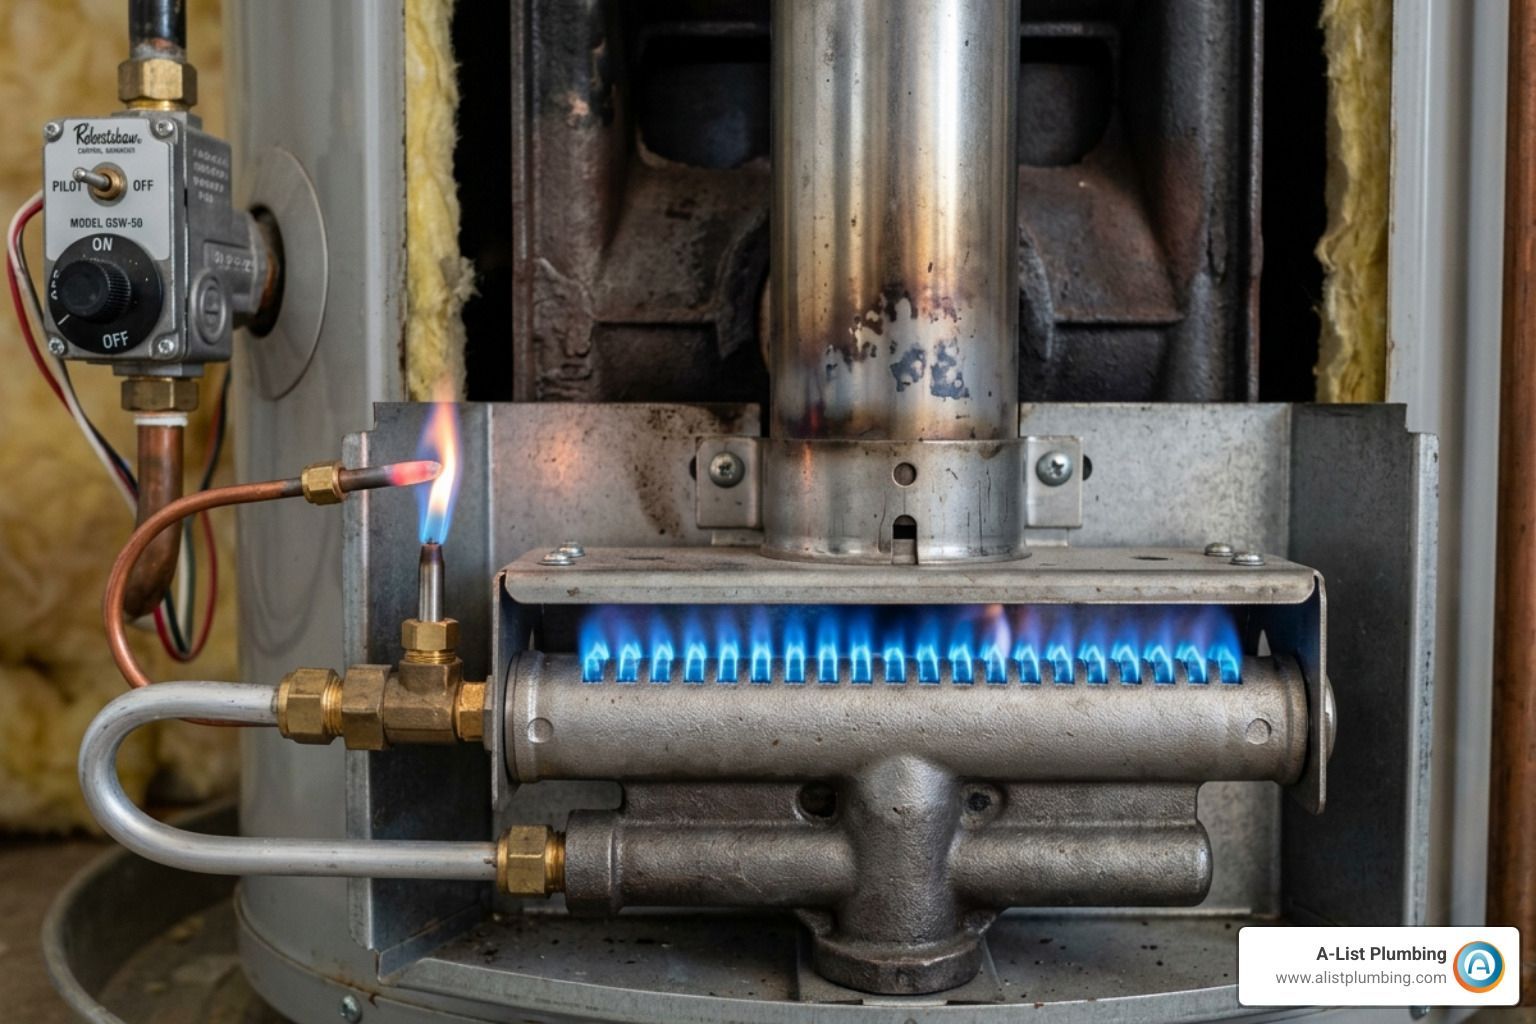
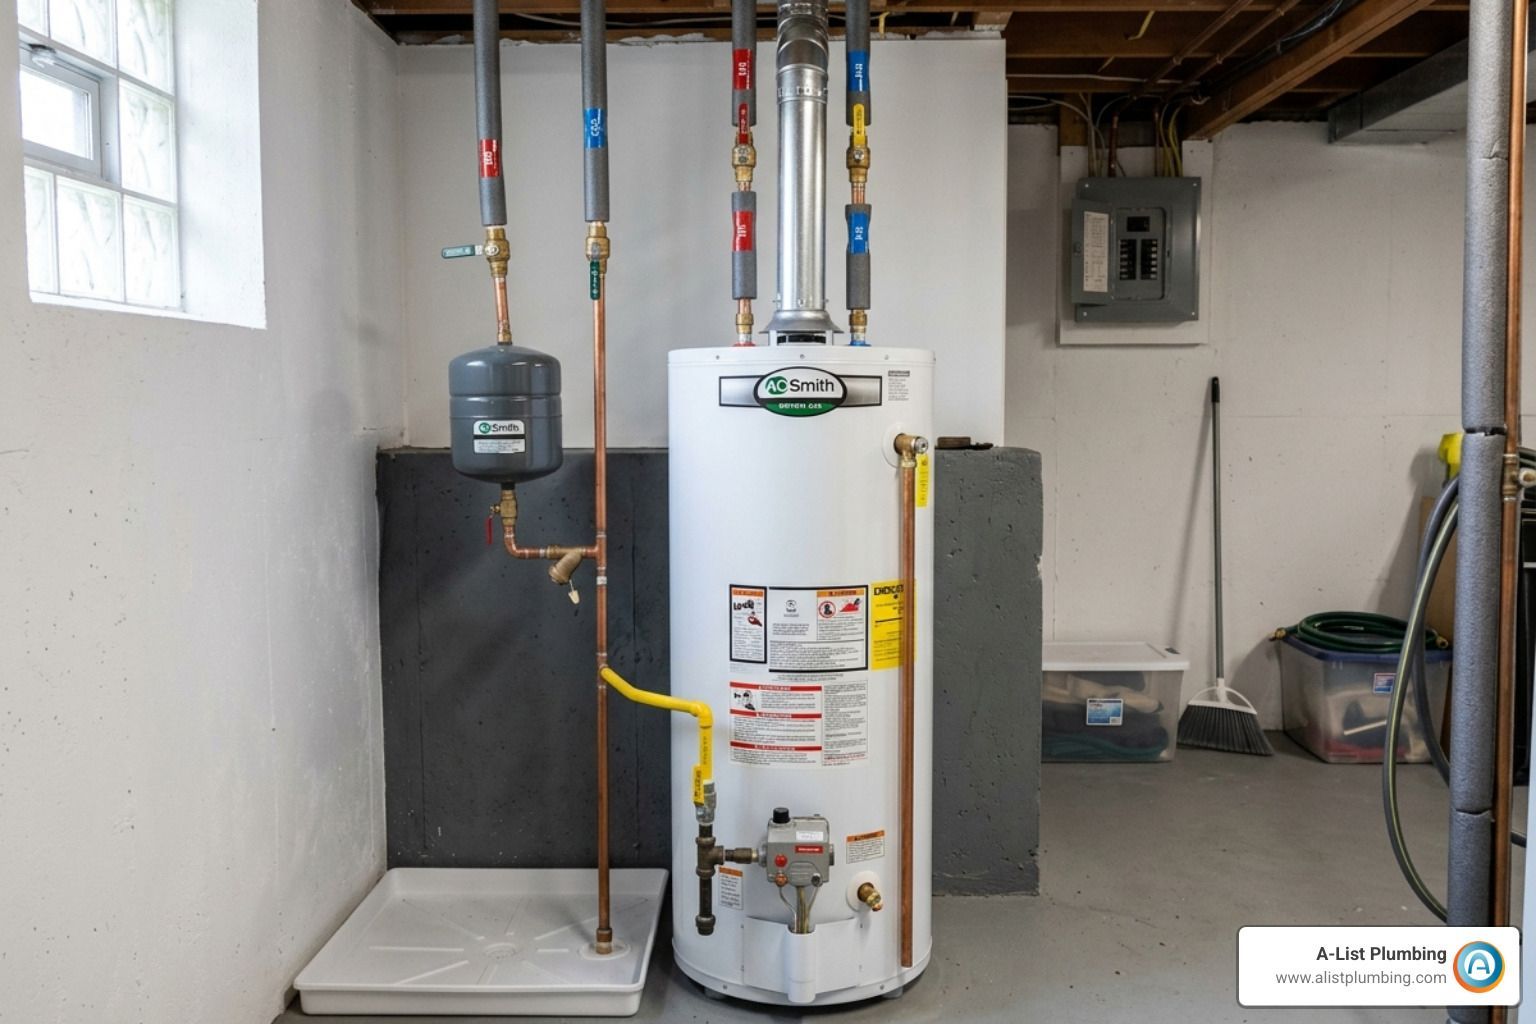
- Water Heater Issues: If the leak is coming from your tank, it might be a pressure or internal corrosion issue. See our guide on Water Heater Leaks for more.
Frequently Asked Questions about Pipe Repair
Can I use duct tape or Flex Seal to fix a leaking pipe?
In short: No. Duct tape is not designed for pressurized water; the adhesive will break down almost immediately. Flex Seal and similar "spray-on" rubber coatings are also not rated for the 50+ PSI found in home water lines. They might slow a drip on a non-pressurized drain pipe, but for a supply line, they are likely to fail and cause even more water damage.
How long does a temporary pipe repair last?
A high-quality pipe repair clamp can theoretically last for months, but it should not be treated as a permanent solution. Temperature fluctuations (especially in our Lynnwood winters) cause pipes to expand and contract, which can eventually loosen a clamp or crack epoxy putty. We recommend scheduling a permanent repair within 24 to 48 hours of applying a temporary fix.
What is the ideal water pressure for home plumbing?
Most homes should operate between 50 and 70 PSI. If your pressure is over 80 PSI, it puts extreme stress on your pipe joints, water heater, and appliances, leading to frequent leaks. You can buy a simple pressure gauge at any hardware store in Bothell or Seattle to test this yourself. If it's high, you may need a Pressure Reducing Valve (PRV) installed.
Conclusion
Finding a leak is stressful, but by following the steps in this guide, you can protect your home from devastating water damage. Whether you choose a temporary clamp or a permanent replacement, the best way to fix a leaking pipe is to act immediately and use the right materials for your specific pipe type.
At A-List Plumbing, we’ve spent over 22 years serving the Lynnwood, Edmonds, Shoreline, Bothell, and Greater Seattle communities. We understand the unique plumbing challenges of the Pacific Northwest, from root-damaged sewer lines to frozen copper pipes. We pride ourselves on same-day availability and transparent pricing, so you’re never left in a soak.
If you’re facing a plumbing emergency or just want a professional to ensure your DIY repair is up to code, we’re here to help. Explore our full range of Plumbing Services to learn more. Don’t let a small drip turn into a major disaster — let the experts handle it.