

Stop the Leak Before It Gets Worse
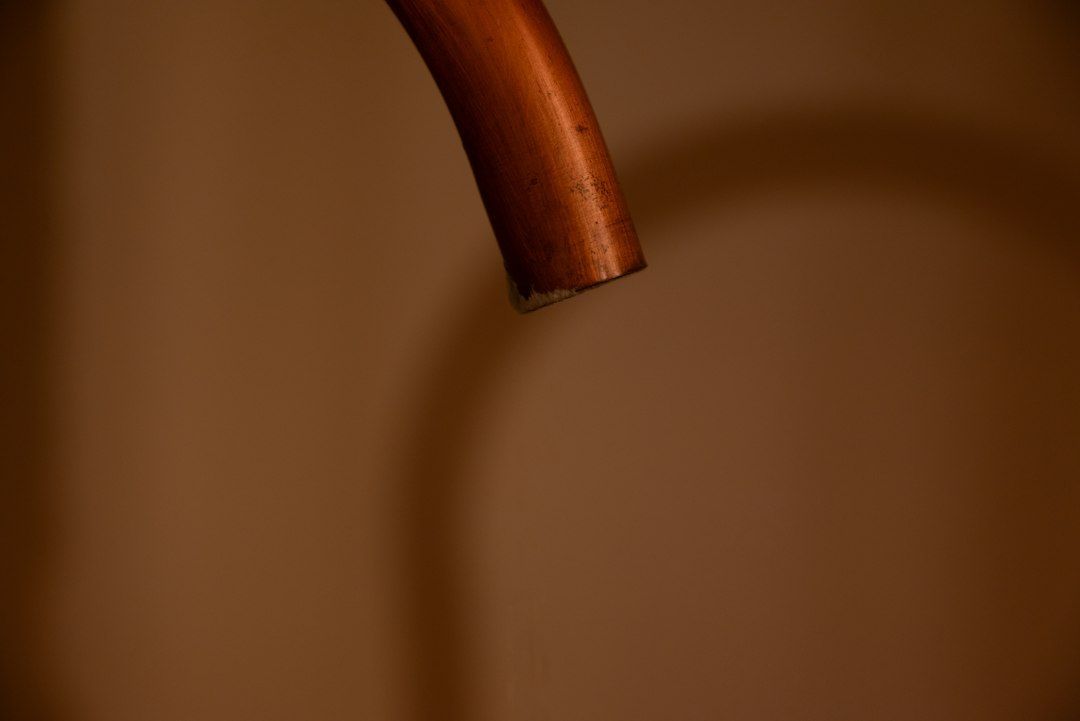
If you've got a tiny pinhole leak in your copper pipe, don't panic: shut off the main water valve, drain the line, slice out the bad section, and pop on a permanent slip coupling. Slapping on a clamp, rubber patch, or epoxy putty works great in a pinch to stop a flood, but it won't hold up forever.
Those sneaky little leaks love spraying a quiet mist inside walls or ceilings way before you ever spot a puddle on the floor. If you notice crusty green-blue buildup, soggy drywall, a funky musty odor, or a surprise jump in your water bill, you'll want to jump on it right away. The easy steps below show you how to shut down the leak, prep your copper, lock in a permanent fix, and test everything out without any stress.
Most pinholes happen when pipes wear down from the inside out. Water chemistry, high flow speeds, grit, old age, and choppy water flow around elbows can chew away at the metal over time. One leak might just be bad luck, but a bunch of them usually means your plumbing is trying to tell you something.
I’m Heath Shockman, owner of A-List Plumbing since 2011. I've spent years getting my hands dirty tracking down leaks and tackling pinhole copper pipe repair all around the Northwest. Let’s walk through why these pesky little holes pop up and what you can do about them.
What Causes Pinhole Leaks in Copper Water Lines?
Dealing with a copper water pipe leaking inside a wall or over your basement ceiling is a real pain. Since 1963, builders have put down over 5.3 million miles of copper tubing in roughly 80 percent of American buildings. Copper is tough stuff, but it definitely isn't indestructible.
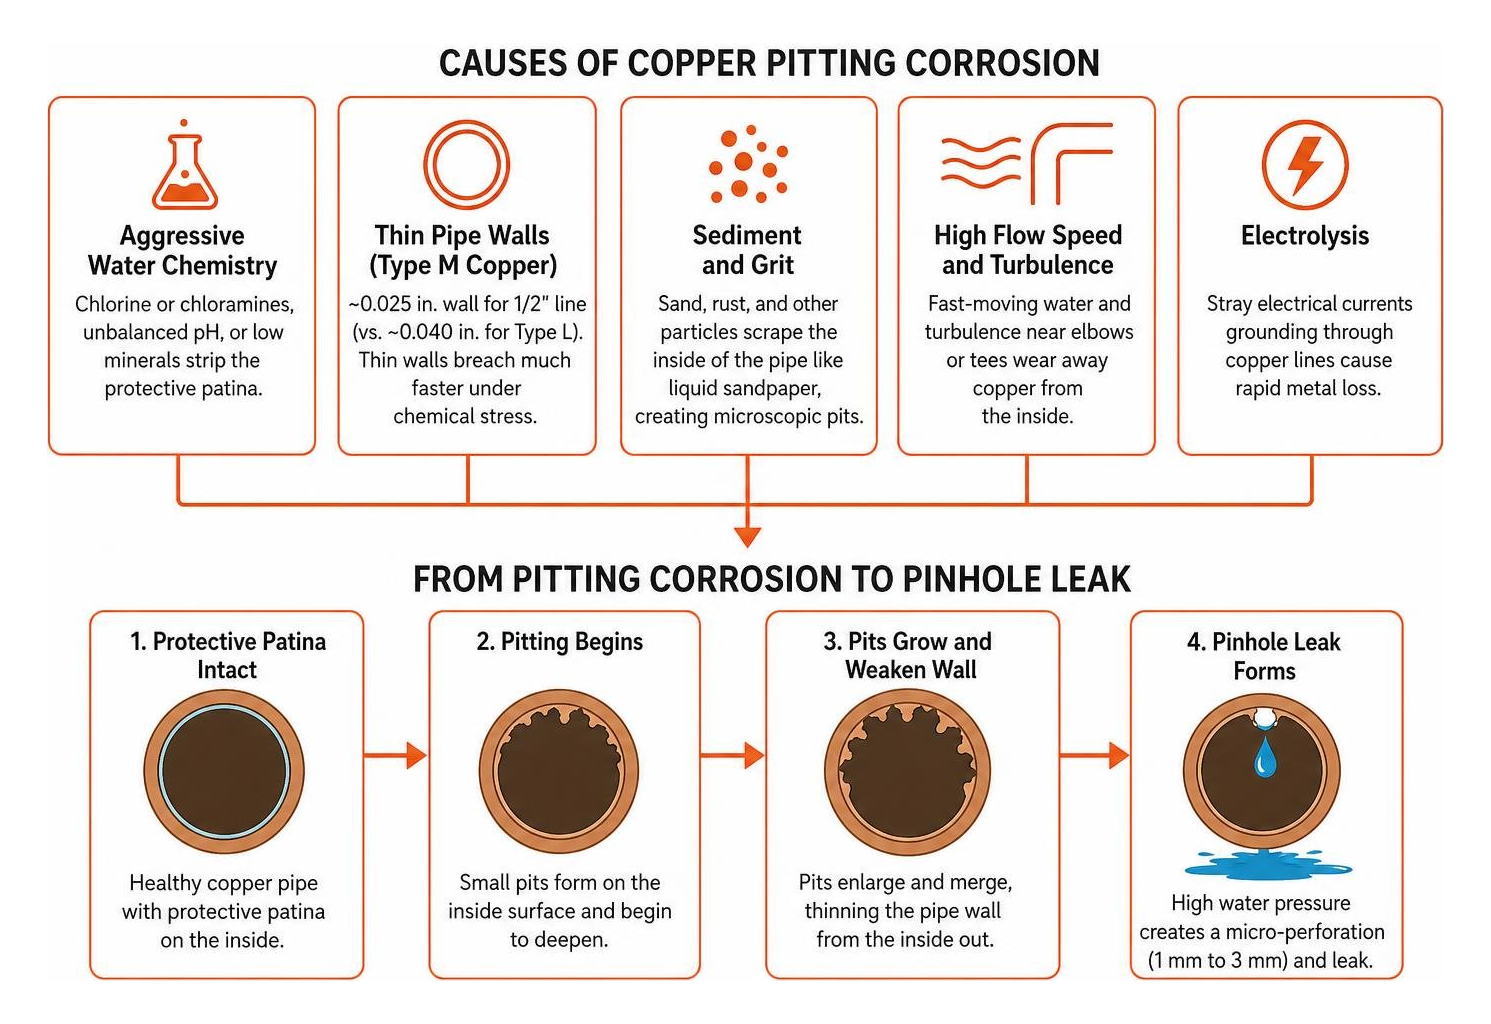
A pinhole leak is pretty much the end result of corrosion chewing through the metal from the inside out. As shown in research on internal pitting corrosion, copper slowly develops tiny internal pits until normal water pressure punches a hole right through (usually about 1 mm to 3 mm wide). A few common culprits kick off this mess:
- Harsh Water Chemistry: City water treated with lots of chlorine or chloramines, wacky pH levels, or super low mineral content can eat away the pipe's natural protective inner coating.
- Skinny Pipe Walls (Type M Copper): A lot of homes have Type M copper, which has super thin walls—around 0.025 inches for a 1/2-inch line (compared to about 0.040 inches on beefier Type L). Thinner walls wear through way quicker under chemical stress.
- Grit and Sediment: Tiny specks of sand or rust blast the inside of the pipe like liquid sandpaper, digging out tiny craters.
- Electrolysis: Stray electrical currents using your copper lines as a ground can pull metal away fast.
The Three Flavors of Copper Pitting
Plumbers usually break copper pitting down into three main buckets:
- Type I Pitting: Shows up in hard, cold water with a pH over 7.4. It loves pairing up with high chlorine levels and digs deep, localized craters under crusty mineral deposits.
- Type II Pitting: Pops up mostly in hot water lines running above 140°F with softer, acidic water (pH under 7.2). It moves fast along horizontal pipe runs.
- Type III Pitting: Happens in cold, soft, alkaline water (pH over 8.0). It leaves patches of powdery blue-green buildup and wide, shallow pits that eventually poke through thin tubing.
Rushing Water and Pipe Wear
Water speed makes a huge difference in how long your plumbing lasts. When water moves too fast, it literally scrubs away the protective oxide layer inside your copper lines.
A good rule of thumb is keeping cold water flow around 8 feet per second (fps) or lower, and hot water loops under 4 to 5 fps. When lines are too small or recirculating pumps are oversized, water turns turbulent around sharp 90-degree elbows, tees, and rough pipe cuts. That constant churning carves out pinholes right by your fittings.
Temporary vs. Permanent Fixes for Leaking Copper Pipes
When water is actively spraying into your living room ceiling, you need an emergency fix for leaking pipe hazards right away. However, you must understand the difference between a temporary patch and a lasting solution.
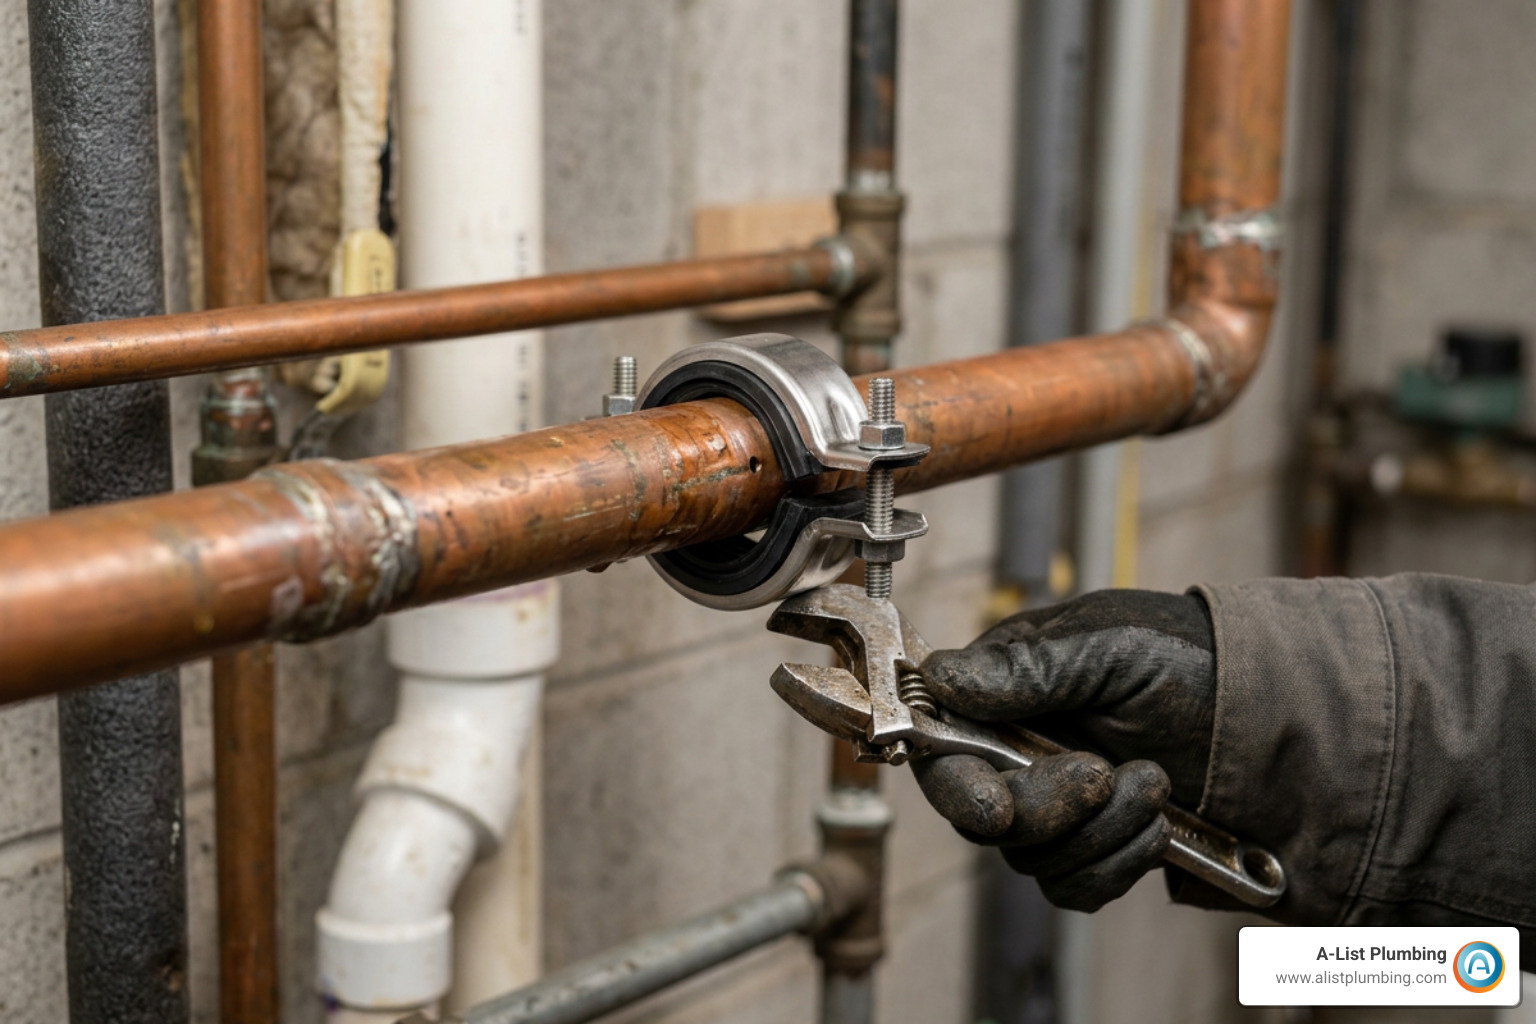
A mechanical saddle clamp lined with a rubber gasket, a silicone wrap, or a two-part plumber's epoxy putty can buy you time to clean up or head to the hardware store. But as established by industry standards for copper plumbing repair, mechanical wrap clamps and epoxy patches are strictly emergency measures.
Over time, water pressure (typically 40 to 60 PSI) forces its way past degraded rubber gaskets, and active pitting continues beneath the patch. A true fix requires replacing the compromised copper section with permanent fittings.
Push-Fit vs. Soldering for Pinhole Copper Pipe Repair
When doing a permanent repair, you have two primary options: push-fit fittings (like SharkBite Max) or traditional sweat soldering using copper slip couplings.
| Repair Method | Pros | Cons | Best Use Case |
|---|---|---|---|
| Push-Fit Slip Coupling | No open flames; fast; works in tight, wet spots; rated to 400 PSI | Higher fitting cost; needs precise deburring | Tight wall cavities, near wood framing, fast DIY repairs |
| Soldered Slip Coupling | Lowest material cost; permanent metallurgical bond; zero mechanical seals | Requires torch, flux, solder, and fire safety gear; pipe must be 100% dry | Open basements, long pipe runs, traditional plumbing |
| Mechanical Clamp (Emergency Only) | Stops active leak without cutting pipe | Temporary only; violates IPC Section 305 for permanent use | Immediate containment while awaiting tools or parts |
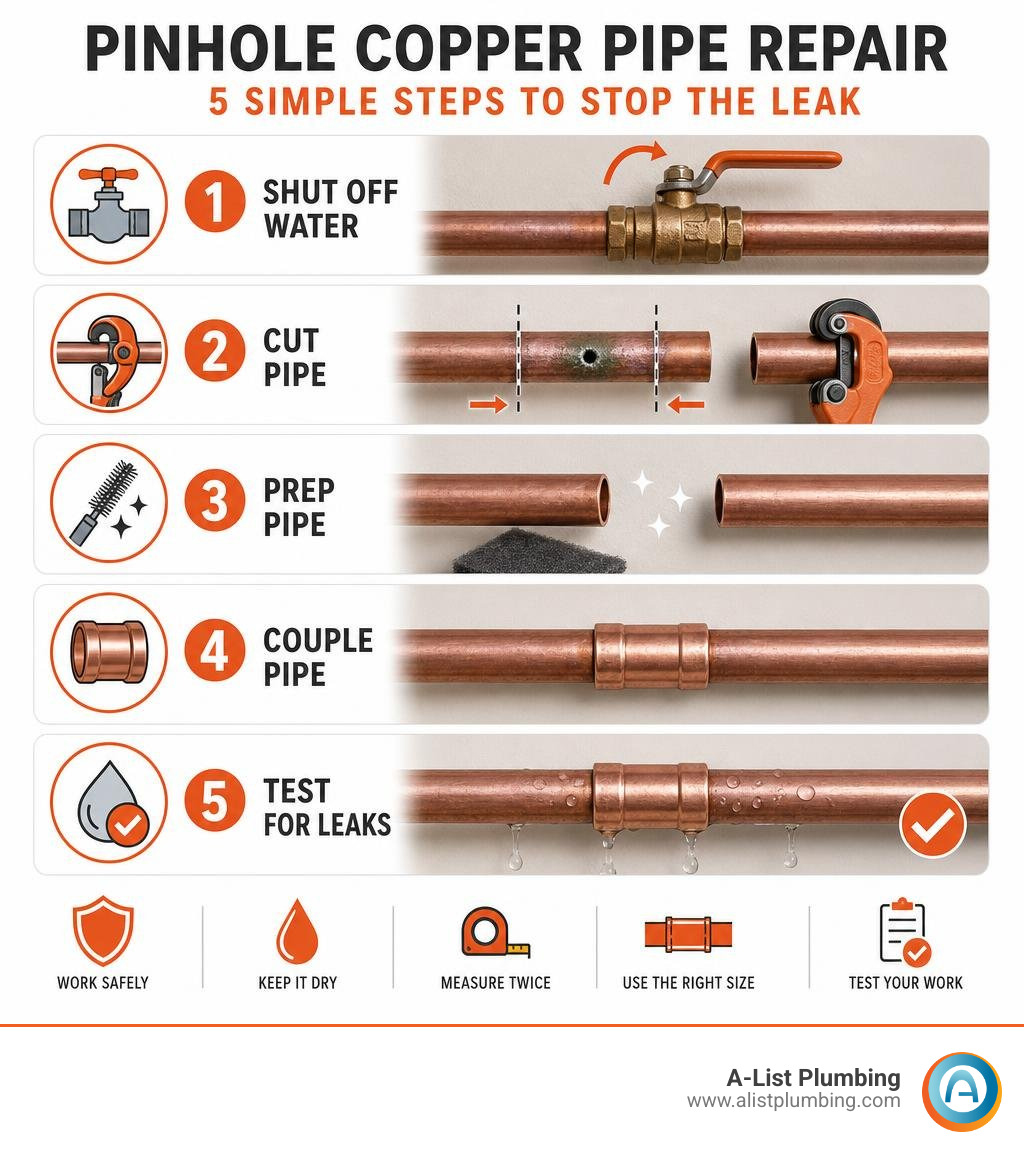
Step-by-Step Guide to Pinhole Copper Pipe Repair
Follow this proven process to complete a permanent repair using the best way to fix a leaking pipe without unnecessary mess.
Step 1 to 3: Water Shutoff, Pipe Cutting, and Surface Prep
- Shut Off the Water and Relieve Pressure: Turn off your home's main water shutoff valve. Open the lowest faucet in the house (such as a basement laundry sink or outdoor hose bib) and the highest faucet to break the vacuum and completely drain the line.
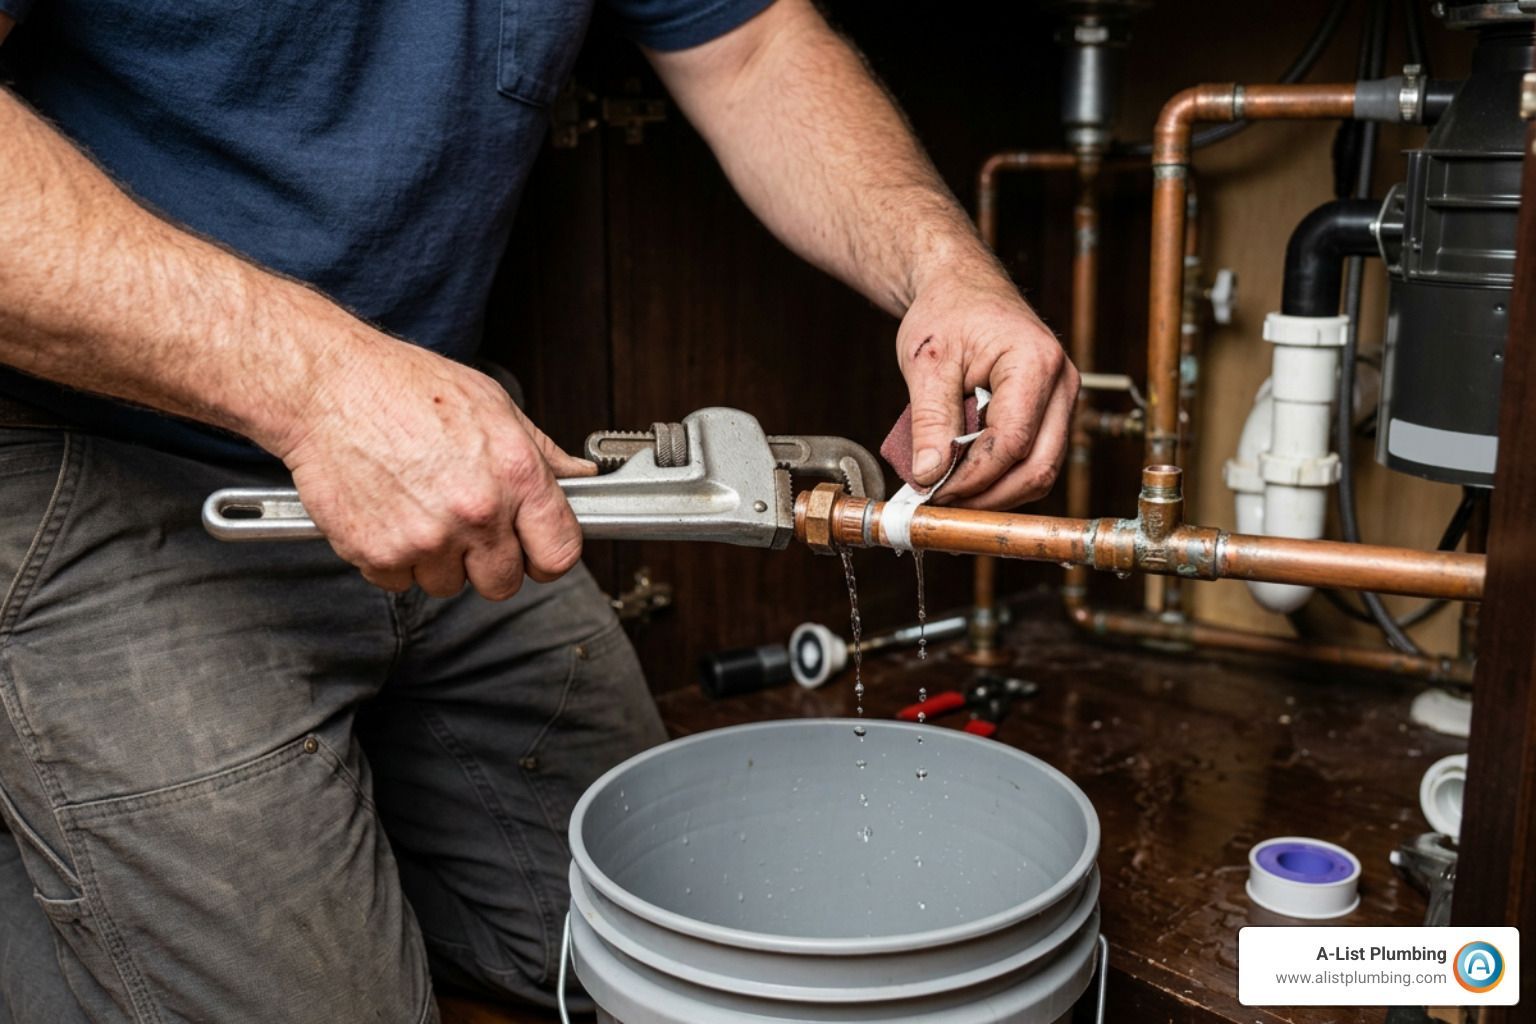
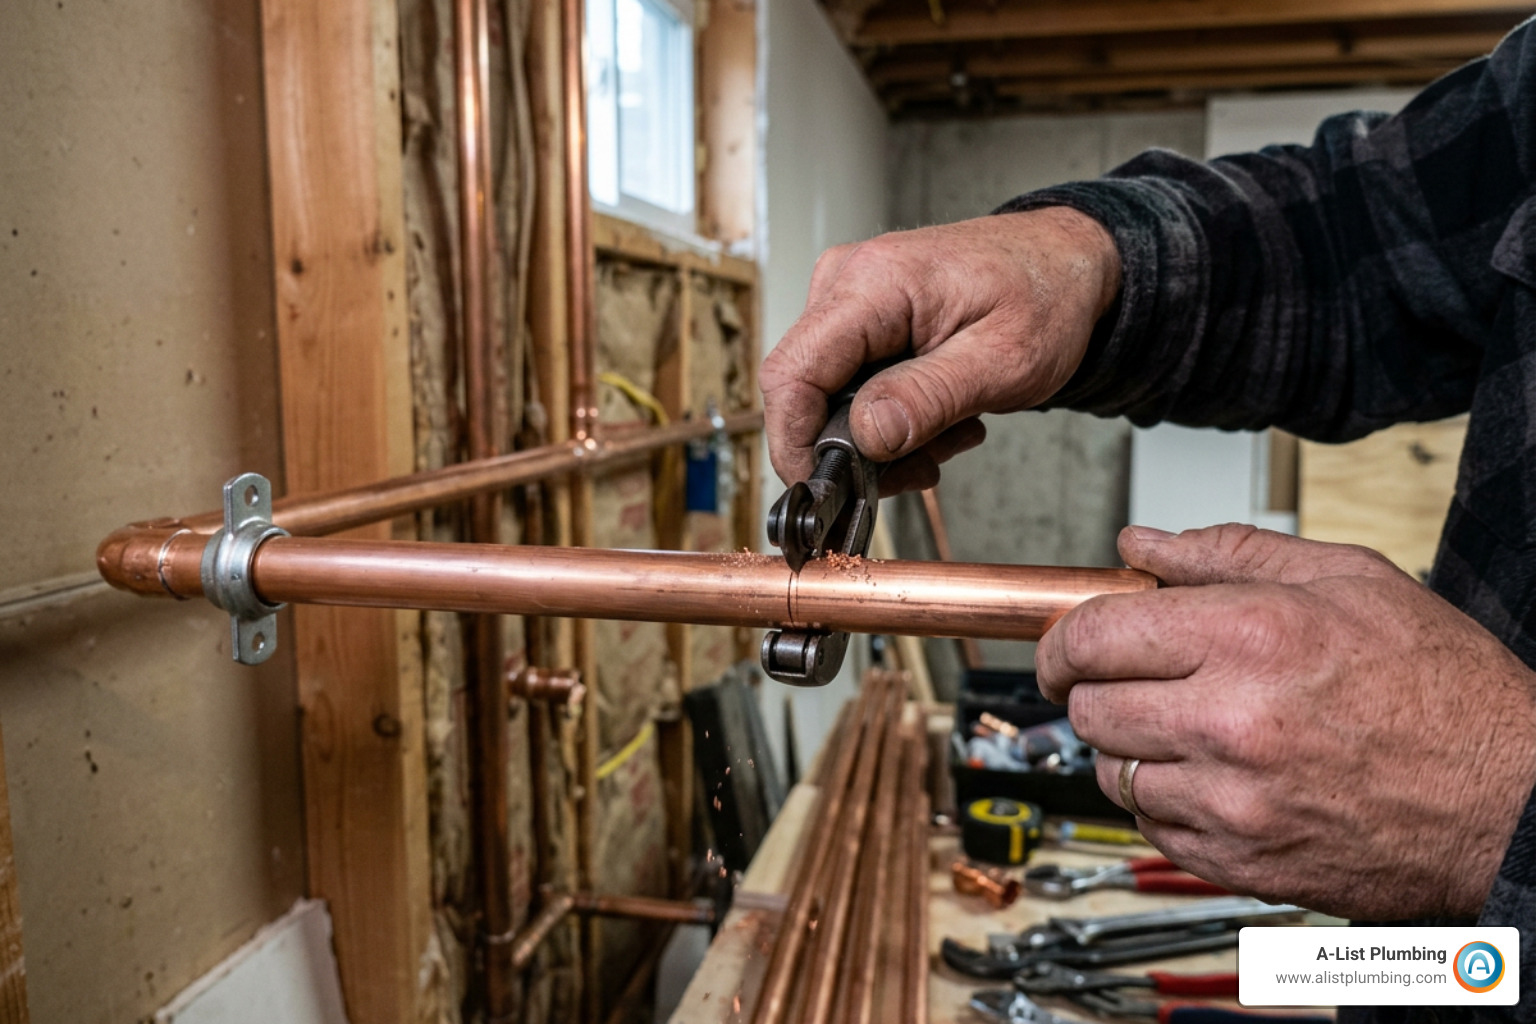
- Cut Out the Damaged Section: Position a mini tubing cutter over the pipe, leaving at least one inch of healthy pipe on both sides of the pinhole leak. Tighten the cutter knob lightly, rotate it around the pipe, tighten slightly more, and repeat until the section cuts cleanly away.
- Deburr and Clean the Copper: Use an inner-outer deburring tool to remove all sharp metal ridges from the cut edges. Burrs create interior water turbulence that leads to future erosion. Use emery cloth or a wire fitting brush to polish the outside of the copper tubing until it is bright, shiny, and free of dirt or oxidation.
Step 4: Installing a Slip Coupling for Permanent Pinhole Copper Pipe Repair
A repair slip coupling (a "nibless" coupling without an internal center stop) is the easiest way to bridge the gap without bending rigid pipes:
- Mark Insertion Depth: Measure half the length of your repair coupling and make a mark on both cut pipe ends using a permanent marker.
- Apply Flux and Position: If you are soldering, brush lead-free flux onto both polished pipe ends and the inside of the slip coupling. Slide the coupling completely onto one pipe end, align the two pipes, and slide the coupling back across the seam until it centers evenly on your depth marks.
- Sweat the Joint (or Seat Push-Fit): If using a push-fit slip coupling, simply slide it into position until it clicks flush against your depth line. If soldering, heat the center of the copper fitting evenly with a propane or MAPP gas torch. Once the copper is hot enough to melt lead-free solder on contact, touch the wire to the joint seam opposite the flame and let capillary action draw the molten solder fully around the fitting.
Step 5: System Re-Pressurization and Testing
Never turn the water on full blast immediately after a repair:
- Allow soldered joints to cool naturally for at least 5 to 10 minutes (never quench hot solder with water, which makes joints brittle).
- Remove any aerators from nearby faucets.
- Slowly open the main water valve partway to let air escape smoothly from the plumbing lines without water hammer shock.
- Once water flows steadily without sputtering, close the faucets and inspect your new coupling with a dry paper towel to verify there is zero seepage.
When to Spot-Repair vs. Repipe Your Home
A single pinhole leak in an otherwise sturdy, modern plumbing system can be resolved with a quick spot repair. However, you need to know when spot fixing is no longer cost-effective.
If your home was built before 1970, or if you encounter multiple pinhole leaks in different rooms within a 12-month window, the issue is systemic rather than an isolated accident. In these situations, attempting to fix leaking pipe in wall cavities repeatedly will quickly surpass the cost to fix leaking pipe issues through a planned repipe.
When your pipe walls thin by more than 50%, repiping the affected branch runs with flexible PEX or thicker Type L copper protects your home from sudden, catastrophic water damage.
Frequently Asked Questions About Copper Pinhole Leaks
How much does a professional plumber charge to fix a copper pinhole leak?
A professional plumber typically charges between $150 and $350 to repair a single, accessible pinhole leak in copper pipe. If the leak is located behind finished drywall, underneath tile, inside a tight crawlspace, or requires after-hours emergency dispatch, total costs increase based on diagnostic time and physical accessibility.
Can I use pipe repair clamps or epoxy putty as a permanent fix?
No. Mechanical saddle clamps and two-part epoxy putties are temporary containment tools meant to buy time until you can properly replace the damaged pipe. Under International Plumbing Code (IPC Section 305), mechanical compression wrap clamps are not recognized as code-compliant permanent repairs for pressurized domestic water supply lines.
How do I locate a hidden pinhole leak behind drywall?
If you hear faint hissing behind a wall or smell damp, musty insulation, look for circular water rings, peeling paint, or green verdigris staining along baseboards. Licensed plumbers use non-invasive acoustic listening discs, thermal imaging cameras, and pinless moisture meters to pinpoint the exact location of the micro-spray before opening drywall.
Conclusion
A pinhole leak might start out tiny, but the water damage it leaves behind can turn into a massive headache real quick. Stopping that spray takes a little patience, the right coupling, and a solid plan to keep the rest of your pipes in good shape. If you run into a tricky spot behind a wall, or if your copper pipes keep springing leaks every few months, don't sweat it. Reach out to our friendly crew at A-List Plumbing or check out our complete broken pipes repair services. We bring 22 years of hands-on experience, straightforward pricing, and same-day help across Lynnwood, Edmonds, Shoreline, Bothell, and the Greater Seattle area to get your water flowing safely again.