

Safety Steps Before Troubleshooting Electrical Issues
If you want to figure out why your water heater breaker keeps tripping without wasting time, your main move is checking the heating elements for resistance and ground faults with a digital multimeter. A cracked element letting water touch live wires is the top culprit behind an instant short. Good 4,500-watt elements read between 10 and 16 ohms across the screws and show infinite resistance (zero continuity) to the metal tank. If an element reads 0 ohms or shows continuity to ground, swapping it out will fix the trip.
Before grabbing any tools, shutting off the juice is a total must. Electric water heaters run on a hefty 240-volt circuit hooked up to a double-pole 30-amp breaker, so play it safe.
Here is the safety routine we stick to on every single visit:
- Shut off power at the breaker panel: Find your electrical panel, locate the double-pole switch labeled "Water Heater," and flip it all the way to OFF.
- Lock it out: If your panel is in the garage, basement, or a busy hallway, slap a piece of tape or a lockout tag over the switch so nobody flips it back on while you're elbow-deep in wiring.
- Pull off the access covers: Unscrew the upper and lower metal panels on the side of the tank. Push back the insulation to see the plastic thermostat covers.
- Test for zero voltage: Never just guess the breaker worked. Grab a reliable non-contact tester or multimeter and check the top incoming terminals on the upper thermostat. Make sure your meter shows zero volts across hot legs and to the metal tank ground before touching a thing.
- Don't dry-fire elements: If you drain the tank during testing or element replacement, keep the breaker off until the tank is completely full of water again. Turning power on to an empty tank burns elements up in under thirty seconds.
Want to see how these setups work from top to bottom? We've verified every resource in this guide for accuracy, and our Electric Water Heater Repair Guide 2026 is fully functional and breaks down the complete anatomy of modern home tanks.
Common Causes of a Water Heater Breaker Trip
When your breaker trips, it isn't doing it to ruin your morning shower. It's stepping in to cut the power before overheating wires start an electrical fire. About two out of three times we get called out for repeat trips, the blame falls on a fried heating element or a stuck thermostat.
Here's what usually triggers these electrical headaches:
- Burned-Out or Shorted Heating Elements: The elements sit right in the water. Over time, sediment builds up on the metal casing, trapping heat until the casing splits wide open. Once water hits the resistance wire inside, electricity shoots straight into the tank, causing an instant ground fault.
- Stuck Thermostats: Most tanks use upper and lower thermostats that take turns heating. If the upper thermostat gets stuck, it might try running both 4,500-watt elements at once. That pulls up to 37.5 amps on a 30-amp circuit, tripping the breaker in a snap.
- Loose or Melted Wiring: Big currents create heat. If terminal screws work loose, arcing occurs and extra heat melts the wire insulation, tripping the breaker's thermal switch.
- Undersized Wiring or Breakers: A 4,500-watt, 240-volt water heater draws around 18.75 amps. Electrical code requires a 125% safety buffer, meaning you need a 30-amp breaker with 10 AWG copper wire. Thinner 12 AWG wire from older setups can overheat quickly.
- Tank Leaks Hitting Terminals: A dripping gasket or rusted seam can let water into the electrical housing. Water touching live terminals causes an immediate short.
- Worn-Out Circuit Breaker: Breakers have internal metal strips that bend when hot. After multiple trips, a weak breaker might trip at just 18 to 20 amps under totally normal loads.
For extra schematics and testing steps, we verified the external link on diagnosing electric water heater problems is working and active for step-by-step circuit testing.
Here's a quick look at common trip symptoms, multimeter readings, and how to tackle them:
| Symptom / Trip Pattern | Electrical Reading (Multimeter) | Most Likely Fault | Recommended Fix |
|---|---|---|---|
| Instant Trip(snaps the second power goes on) | 0 Ohms across element screws or continuity from screw to tank | Direct short circuit or grounded element | Swap the bad element; check wiring |
| Delayed Trip(trips after 5 to 30 minutes of heating) | 10 to 16 Ohms across screws, but high amp draw | Heavy sediment buildup, sticking thermostat, or tired breaker | Flush tank, check amps, replace thermostat or breaker |
| High-Limit Reset Trips(red button on tank pops out) | Normal resistance, but water exceeds 170°F | Stuck thermostat causing runaway heat | Replace upper and lower thermostats together |
| Intermittent Night Trips(trips during heavy use) | High circuit amperage draw exceeding 30 Amps | Both elements firing at once or panel fatigue | Replace upper thermostat; inspect breaker panel |
Diagnosing an Immediate vs. Delayed Water Heater Breaker Trip
The exact moment your breaker trips gives you a massive clue about what's going on.
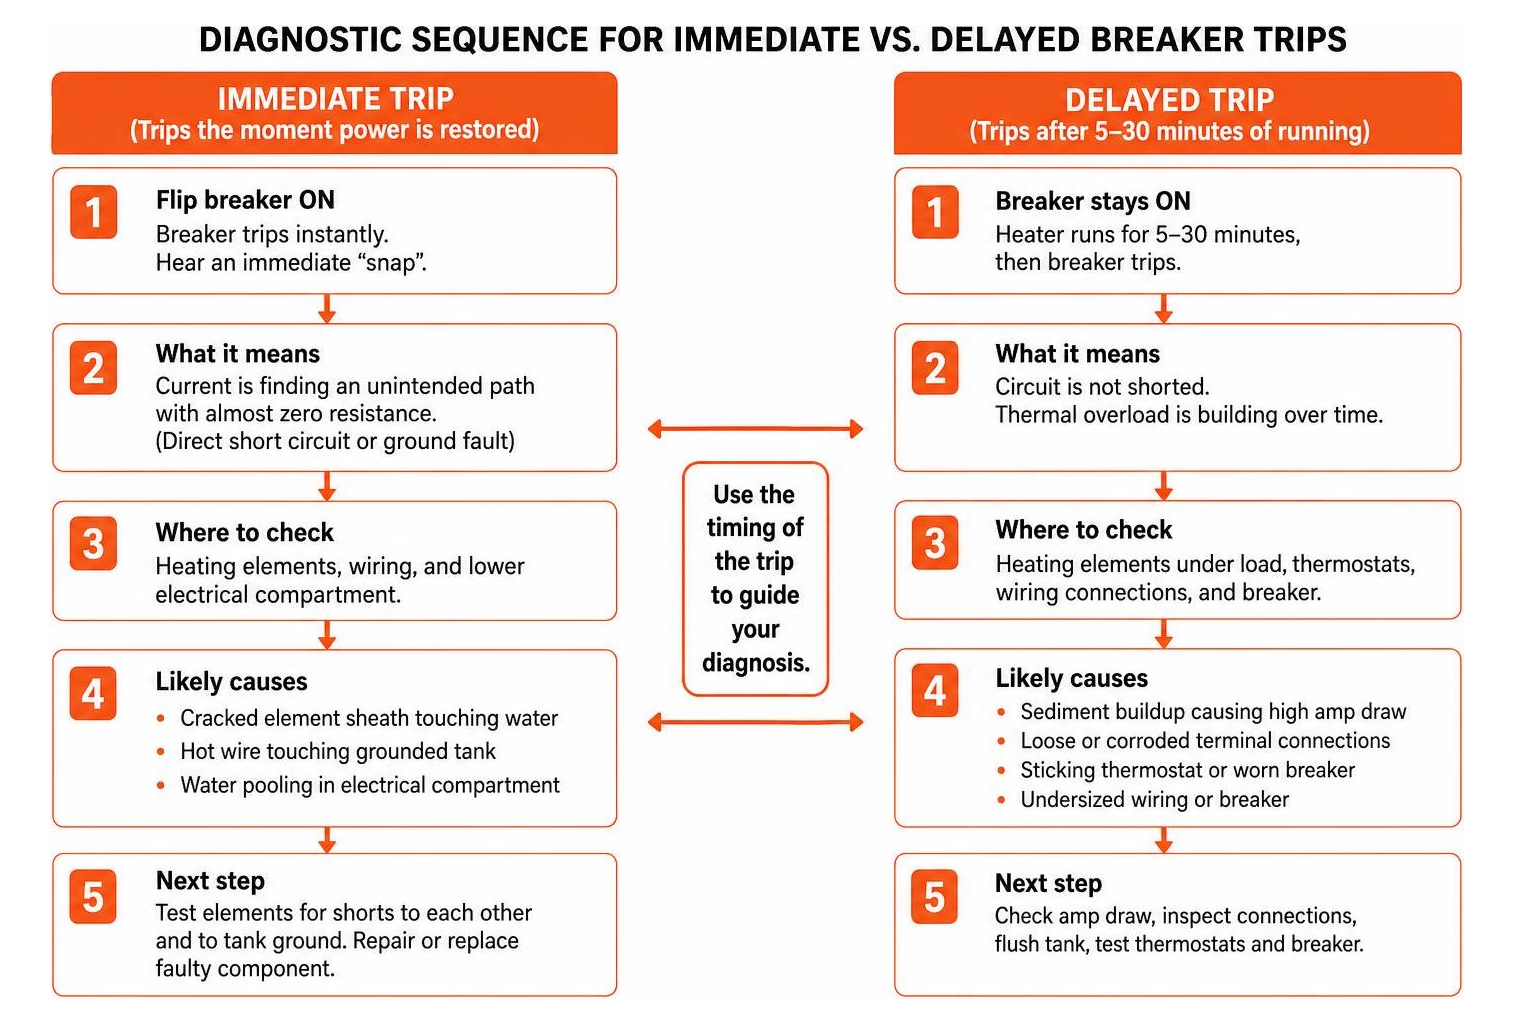
An immediate trip happens right when you flip the switch ON. You get a sharp snap and the handle pops straight to the center position. That points to a direct short circuit or ground fault—usually a cracked element touching water, a hot wire resting on bare metal, or pooled water inside the compartment.
A delayed trip happens after the tank hums along for 5, 15, or 30 minutes. That's a thermal overload rather than a dead short. Thick sediment might be insulating the element and trapping heat, or a loose terminal screw is slowly cooking the wire until the breaker's heat strip cuts the power.
Testing Heating Elements and Thermostats with a Multimeter
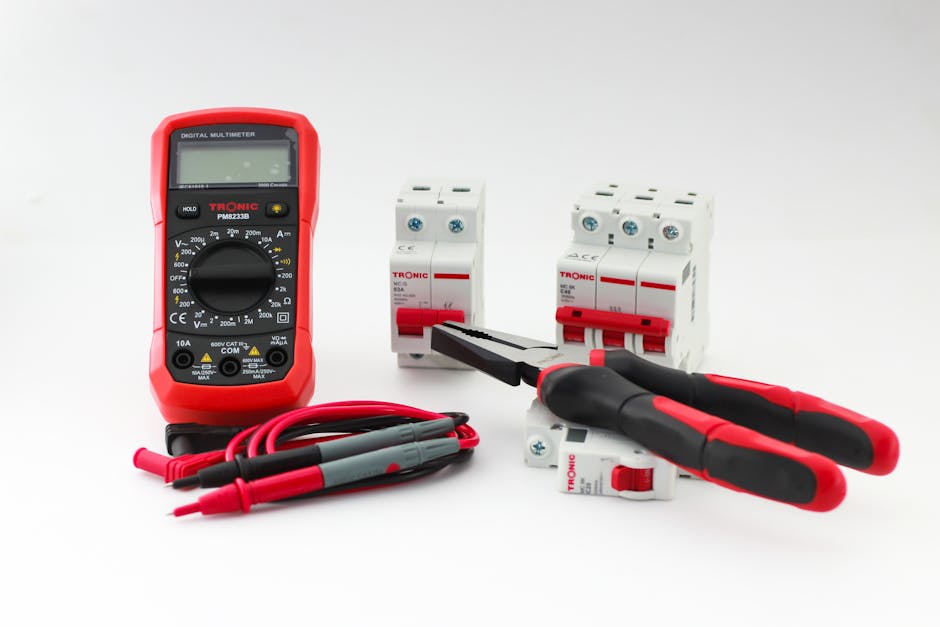
Testing with a multimeter takes all the guesswork off the table. Here's how we test them in the field:
- Cut the power: Make sure the breaker is off and double-check with your voltage meter at the top terminals.
- Unhook the element wires: Loosen the two screws on the element and take the wires off so you don't catch false readings from elsewhere in the circuit.
- Check continuity and resistance:
Set your multimeter to the lowest Ohms (Ω) setting and touch a probe to each screw terminal.
- A good 4,500-watt, 240-volt element should read 10 to 16 ohms.
- A reading near 0 ohms means an internal short.
- An O.L. (Open Loop) or infinite resistance reading means the internal wire is snapped and dead.
- Check for a ground fault:
Leave the meter on Ohms. Put one probe on an element screw and touch the other to the bare metal tank shell or hex flange. Test both screws.
- A healthy element shows O.L. (no continuity).
- Any resistance reading or beep means the element is grounded and done for.
In electric tanks, the lower element gives out first about 80% of the time because it gets buried under sediment. In soft water, elements usually last 6 to 10 years, but hard water can kill them in 2 to 4 years without regular flushing.
We verified all external and internal links here: you can check out heating element failure troubleshooting for extra diagnostic tips, or follow our working guide for restoring hot water supply when your shower goes cold.
Repair Costs, Aging Units, and When to Call a Pro
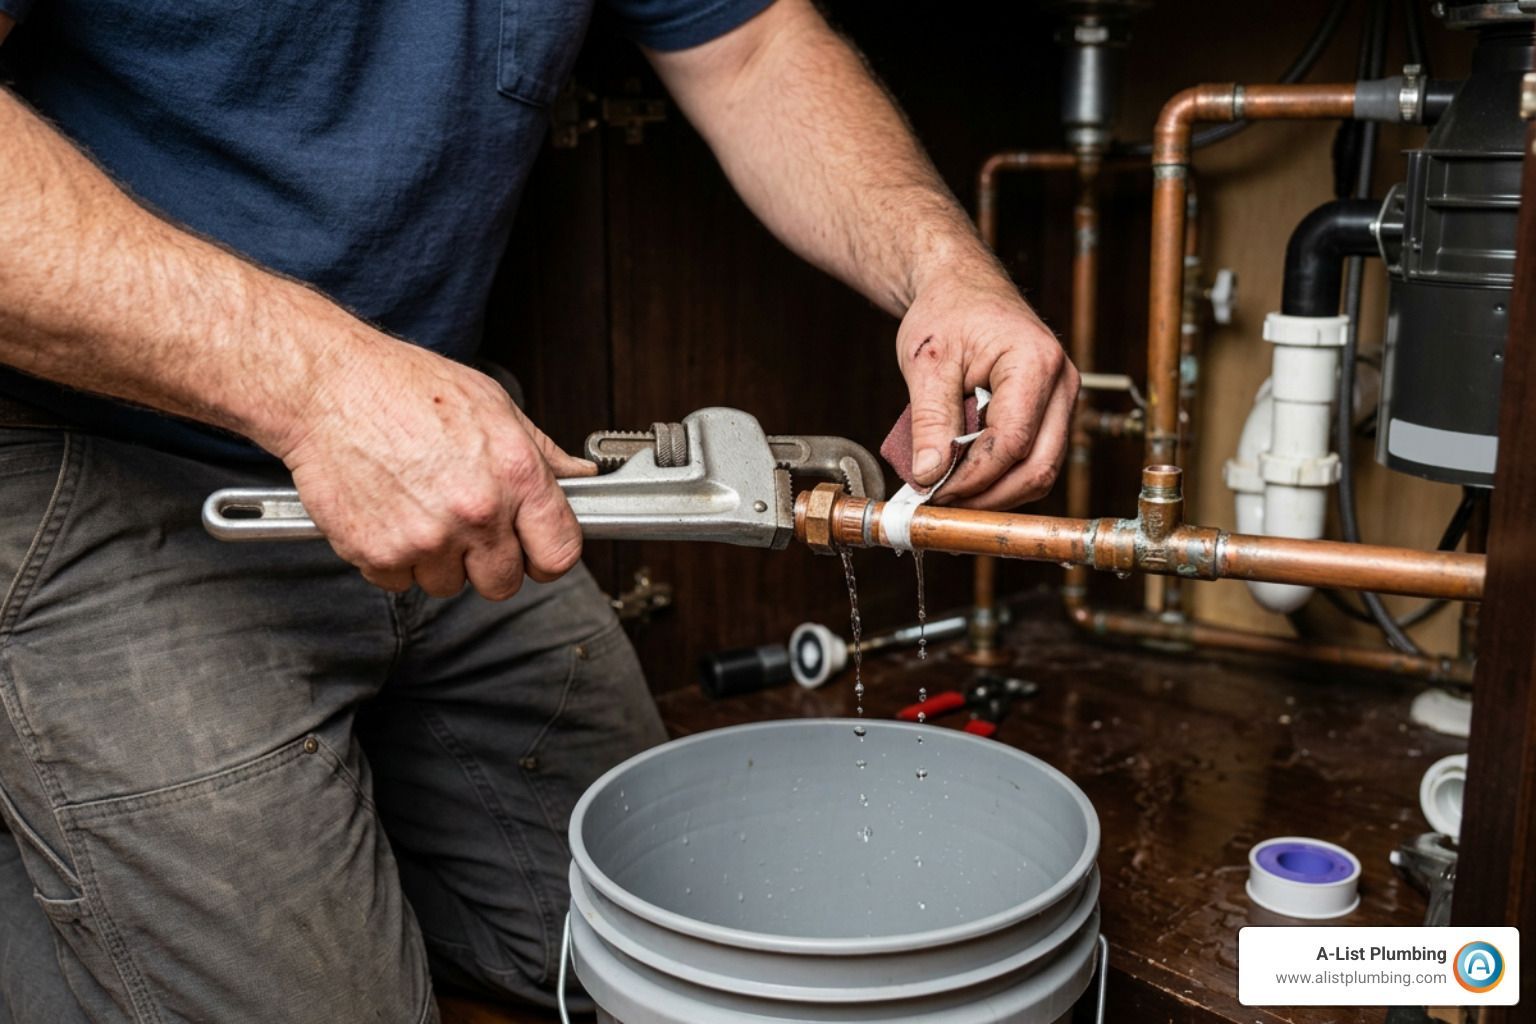
If you're handy with a multimeter and don't mind draining the tank, swapping an element is an easy weekend DIY job. A replacement element costs about $15 to $30 at the local hardware shop, while a fresh set of thermostats runs around $25.
If you'd rather hand the job over to a licensed pro, a typical visit to diagnose and swap out a bad element usually lands between $150 and $300.
Here are clear signs you should put the tools down and give us a call:
- You smell burning plastic or a fishy odor: That's hot or melting wire insulation, which is a major fire hazard.
- Your breaker panel buzzes or feels warm: Buzzing means dangerous arcing or a failing bus bar that needs an electrician's eye.
- Water is leaking from the tank shell: If the steel body is rusting or leaking from the seams, new elements won't help—the tank has failed.
- Your heater is 10 to 12 years old: Once a tank crosses the 10-year mark, pouring money into repeated trips and worn parts usually isn't worth it compared to a fresh, energy-efficient unit.
To weigh your options, check our verified water heater repair cost considerations guide, or see what our pros do on-site in our water heater repair technician guide —both links have been verified active and working.
Preventing a Future Water Heater Breaker Trip
You don't have to wait for your breaker to pop to show your water heater some love. A little basic care keeps electrical loads steady and helps your unit last:
- Flush the tank every year: Hook a garden hose to the bottom drain valve and wash out the built-up mineral gunk so your lower element doesn't get buried.
- Check the anode rod: This rod sacrifices itself to protect your tank lining. Check it every 3 to 5 years and swap it when the core wire shows.
- Snug up the terminal screws: Turn off the power and gently tighten the wire screws on your thermostats and elements every couple of years since heating and cooling cycles can loosen them.
- Keep the temp at 120°F: Setting your dial to 120°F keeps water plenty hot while slowing down scale buildup on the elements.
Frequently Asked Questions About Water Heater Breakers
Is it safe to keep resetting the breaker if it keeps tripping?
No, it is definitely not safe. You should only reset a tripped water heater breaker once to verify whether the fault was a rare nuisance trip or a persistent issue.
Every time a circuit breaker trips, an electrical arc occurs between its internal contacts. Repeatedly forcing the breaker ON against an active short circuit or heavy overload damages the breaker's internal mechanism, overheats the copper wiring inside your walls, melts wire insulation, and drastically increases the risk of an electrical house fire. If the breaker trips a second time, leave it off until the root cause is diagnosed and fixed.
Can a leaking tank cause electrical breaker trips?
Yes, tank leaks are a frequent cause of sudden breaker trips. Water heaters feature upper and lower electrical access compartments mounted directly against the steel tank shell. If an internal tank seam rusts through, or if the rubber gasket around a heating element degrades, pressurized water can spray or seep into these compartments.
When water touches the 240-volt thermostat terminals or exposed element screws, it instantly bridges the hot electrical lines to the grounded metal tank, causing an immediate ground fault that trips the circuit breaker.
Why does my water heater trip the breaker only at night?
If your breaker only trips late in the evening or overnight, the issue is usually related to high recovery demand or ambient temperature changes:
- Simultaneous Element Operation: Evening routines—like running the dishwasher, doing laundry, and taking showers—drain the hot water tank completely. When incoming cold water fills the tank, both upper and lower thermostats call for heat at once. If the upper thermostat's mechanical interlock is stuck, both elements will energize simultaneously, drawing over 37 amps and overloading the 30-amp circuit.
- Thermal Contraction and Weak Breakers: If your electrical panel is located in an unconditioned garage or on an exterior wall, falling overnight temperatures cause the metal contacts in an aging, worn-out breaker to contract, making it far more sensitive to normal running loads.
If your system keeps cutting out during peak evening hours, our team can help you troubleshoot the problem or dispatch an emergency plumbing services technician to get your hot water running again safely.
Conclusion
A water heater that keeps tripping its breaker is telling you that something inside the circuit is no longer safe. Whether you are dealing with an instant short from a split lower heating element, a stuck thermostat trying to draw double power, or a loose wire overheating your junction box, taking a calm, safety-first approach will help you pinpoint the issue without risking your home's electrical system.
Remember the simple rule of thumb: reset the breaker just once to check the timing, cut the power completely before removing access panels, and use your multimeter to verify resistance across the elements. If your water heater is over a decade old, showing signs of charred wiring, or leaking water into electrical compartments, skipping the DIY guesswork is always the safest move.
If you are in Lynnwood, Edmonds, Shoreline, Bothell, Seattle, or anywhere across the Greater Seattle area, our team at A-List Plumbing is here to help. With 22 years of hands-on plumbing experience, transparent upfront pricing, and same-day service availability, we can diagnose your electrical faults and get your hot water flowing safely again.
Don't spend another day taking cold showers or worrying about electrical hazards— schedule professional water heater repair with our licensed technicians today.