

A Leaking Pipe Joint Can Cause Serious Water Damage — Here's What to Do
Leaking pipe joint repair is something most Seattle-area homeowners will face at some point — and acting fast is the key to avoiding costly water damage to floors, walls, and cabinets.
Quick answer: How to fix a leaking pipe joint
- Turn off the water supply at the nearest shut-off valve
- Dry and clean the area around the leak
- Choose your fix
based on joint type:
- Threaded joint → Plumber's tape (Teflon) + pipe joint compound
- Small crack or pinhole → Epoxy putty
- Larger leak or rupture → Pipe repair clamp or fiberglass wrap
- Push-to-connect compatible pipe → Push-fit fitting (e.g., SharkBite)
- Let the repair cure fully before turning water back on
- Call a plumber for permanent repair if the joint is corroded, damaged, or the fix doesn't hold
Important: DIY methods above are temporary stopgaps. A licensed plumber should assess and permanently fix any joint failure.
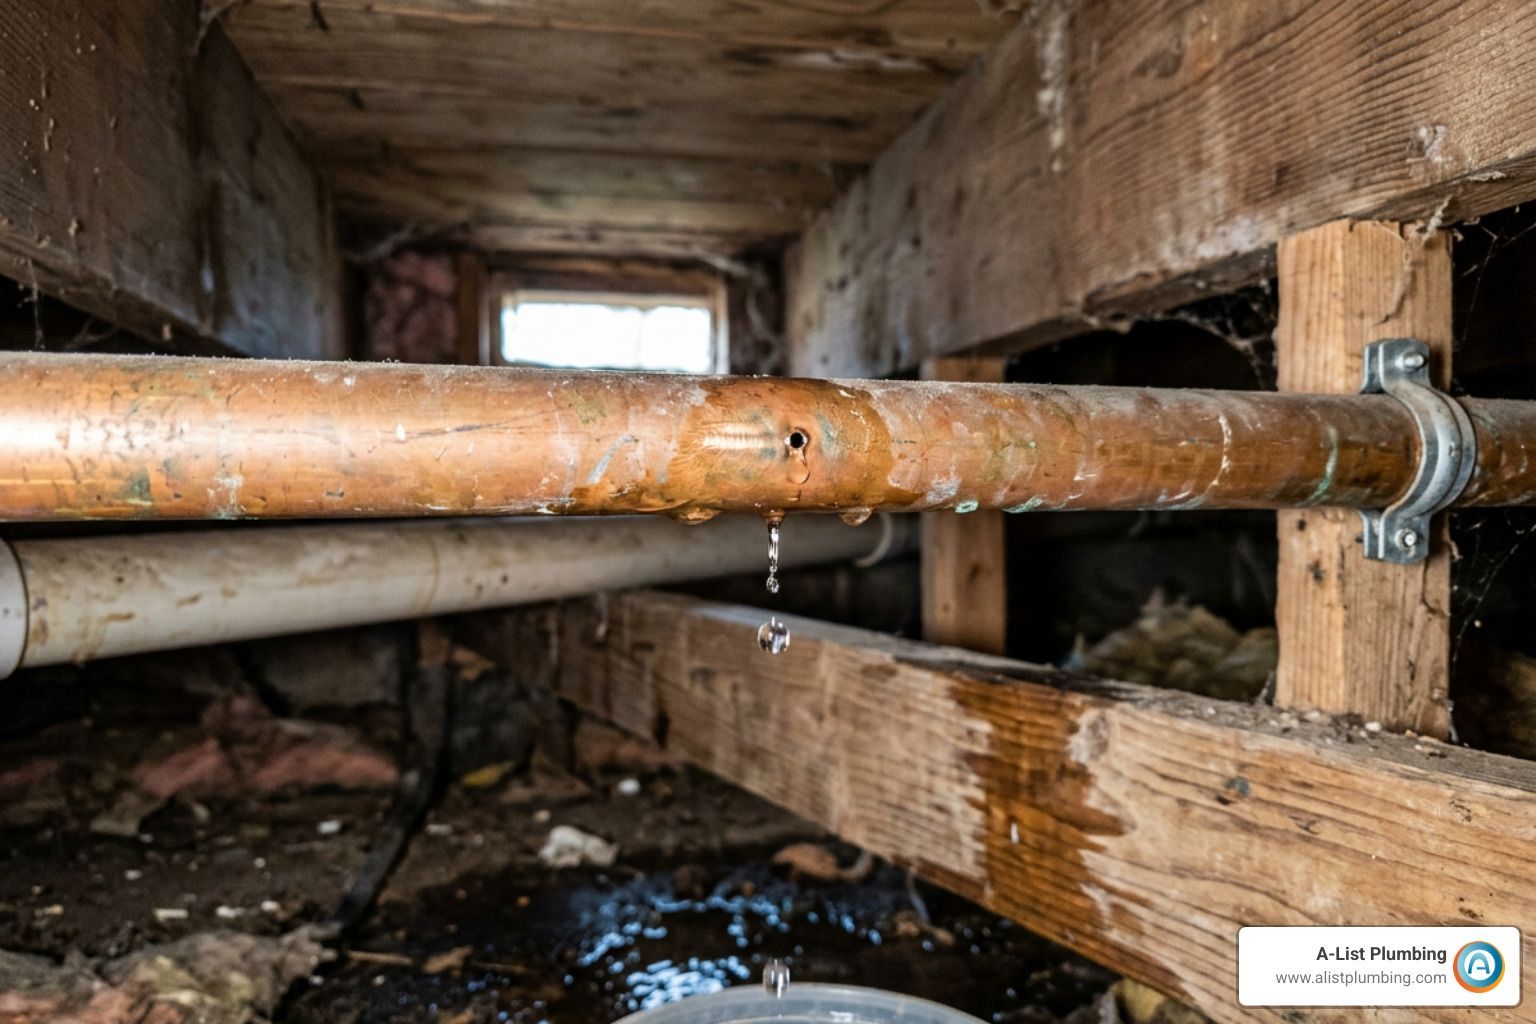
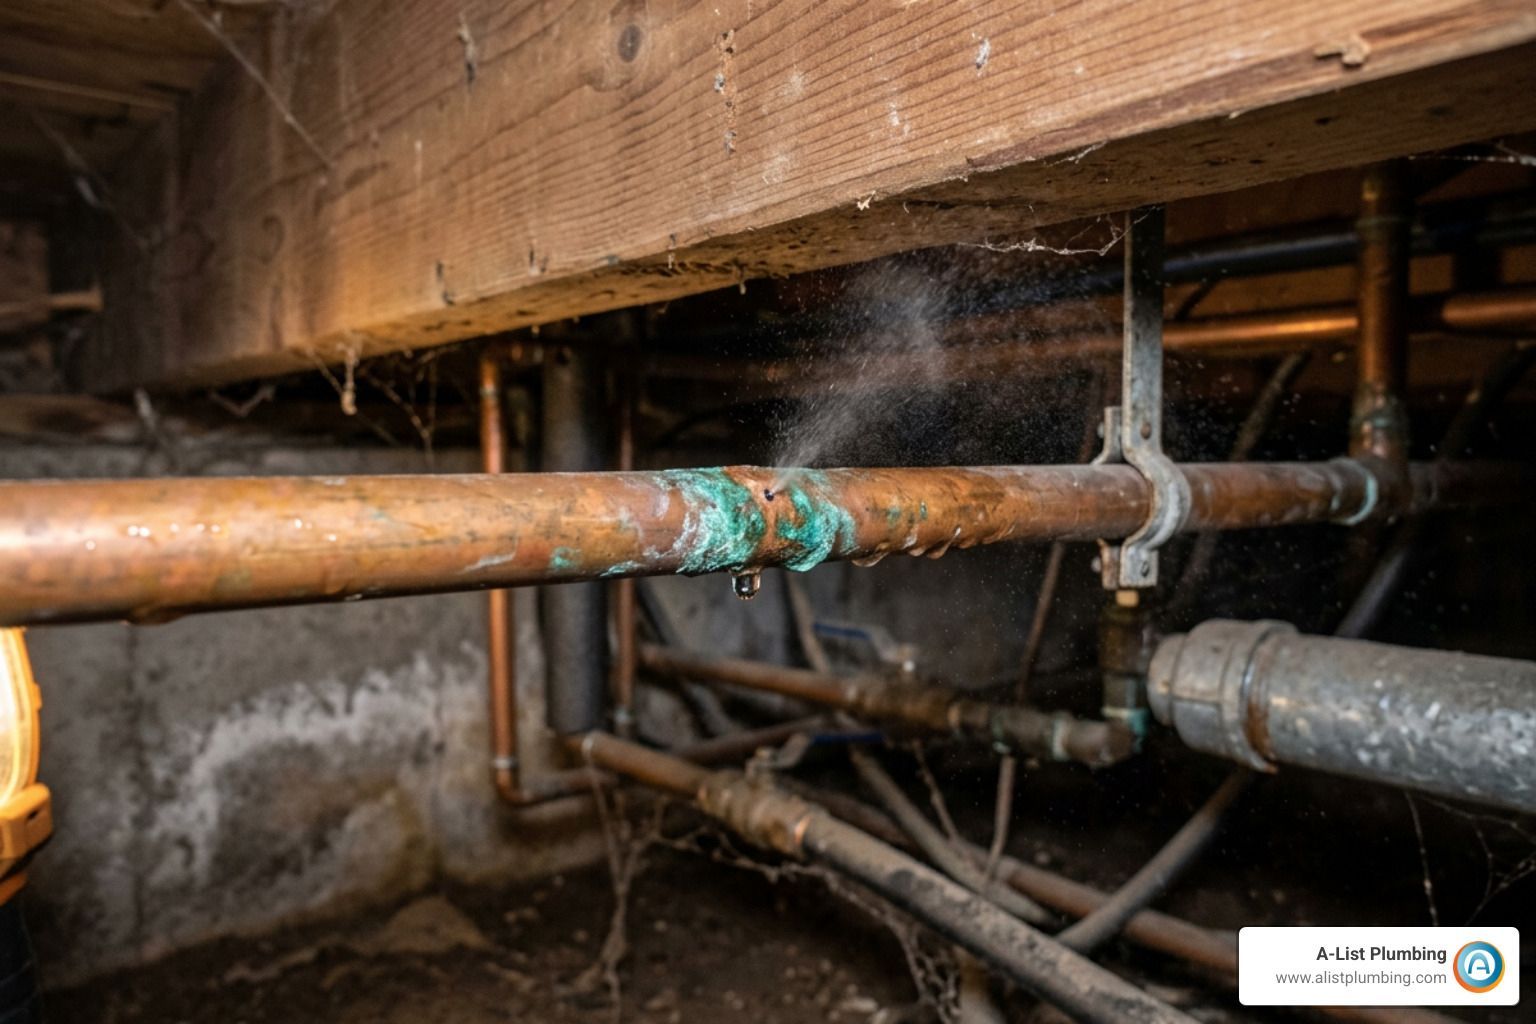
A leaking joint under your kitchen sink might look minor — just a slow drip. But left alone, that drip can saturate particle board cabinets, rot subfloors, and create the perfect conditions for mold growth. The damage often costs far more to fix than the original plumbing repair.
I'm Heath Shockman, owner of A-List Plumbing since 2011, with extensive hands-on experience in leaking pipe joint repair across hundreds of residential and commercial properties in the Greater Seattle area. In this guide, I'll walk you through the most reliable fixes — from quick temporary patches to knowing when it's time to call in a pro.
Identifying Your Pipe Material and Joint Type
Before you grab a wrench or a tube of epoxy, you need to know exactly what you’re looking at. Not all pipes are created equal, and using the wrong repair material on a specific pipe can lead to a messy (and wet) failure. In our 22 years of experience serving Lynnwood and Seattle, we’ve seen everything from ancient galvanized steel to modern PEX.

Common Pipe Materials
- PVC (Polyvinyl Chloride): Usually white, these are common in drain lines and irrigation. They are joined by solvent welding (using primer and glue).
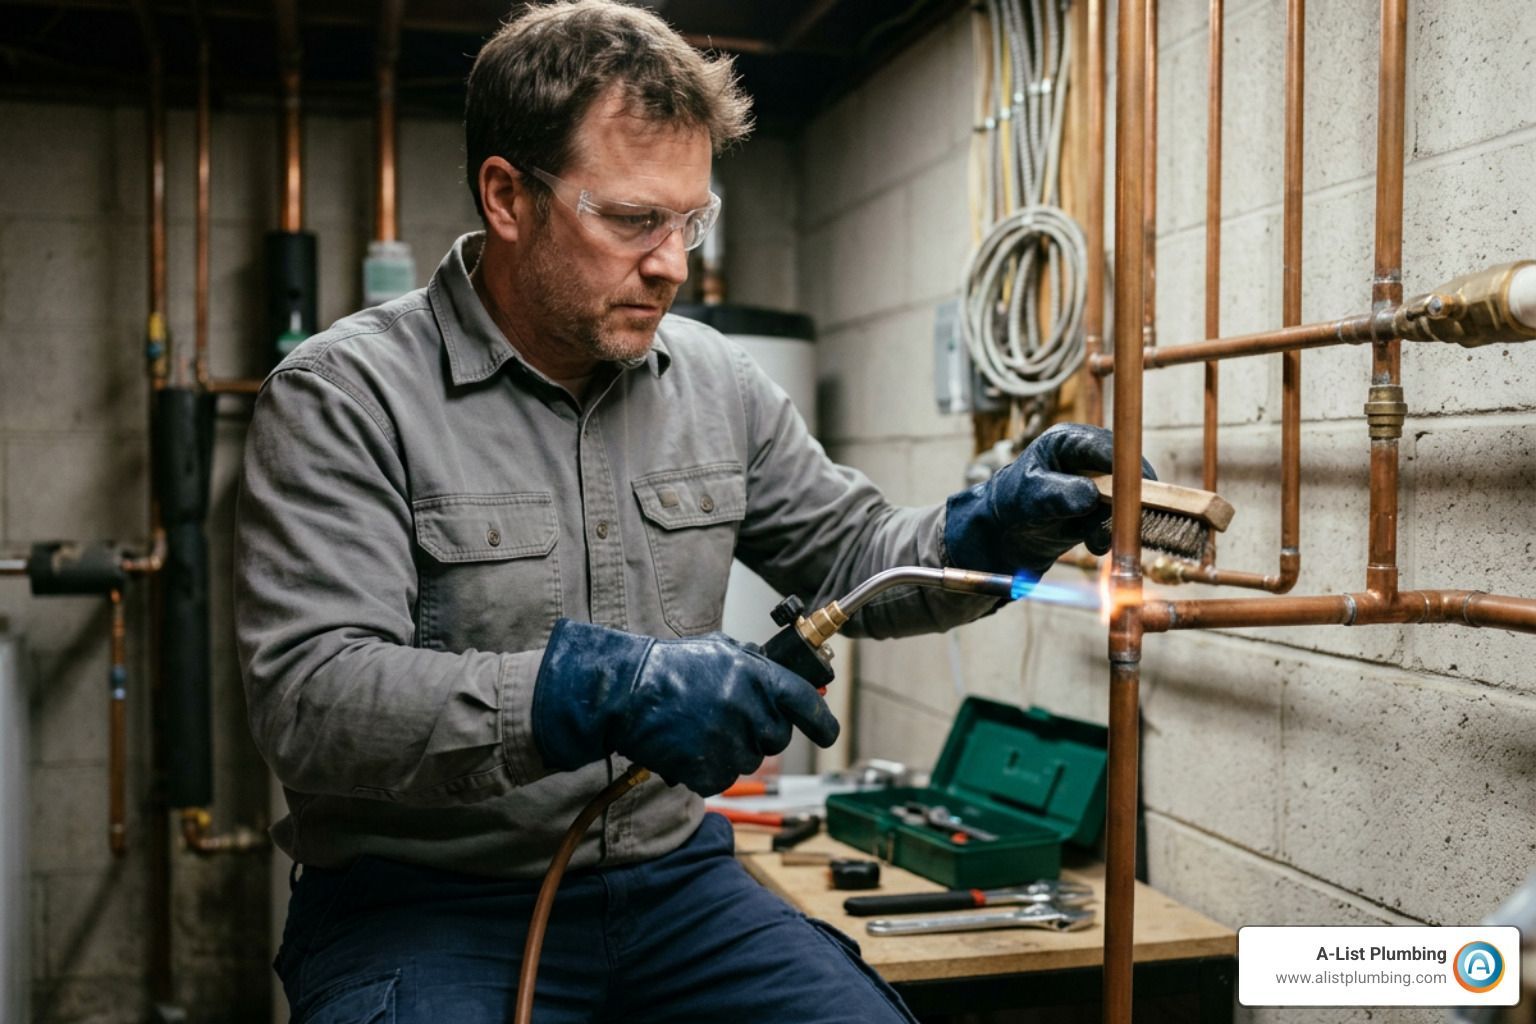
- Copper: The gold standard for water supply. These are typically soldered together, though modern push-to-connect fittings work well for repairs.
- PEX (Cross-linked Polyethylene): Flexible plastic tubing, often red for hot and blue for cold. These use crimp rings or push-fit connectors.
- Galvanized Steel: Found in older Seattle homes. These are grey, metallic, and threaded. They are highly prone to internal corrosion.
Understanding Joint Types
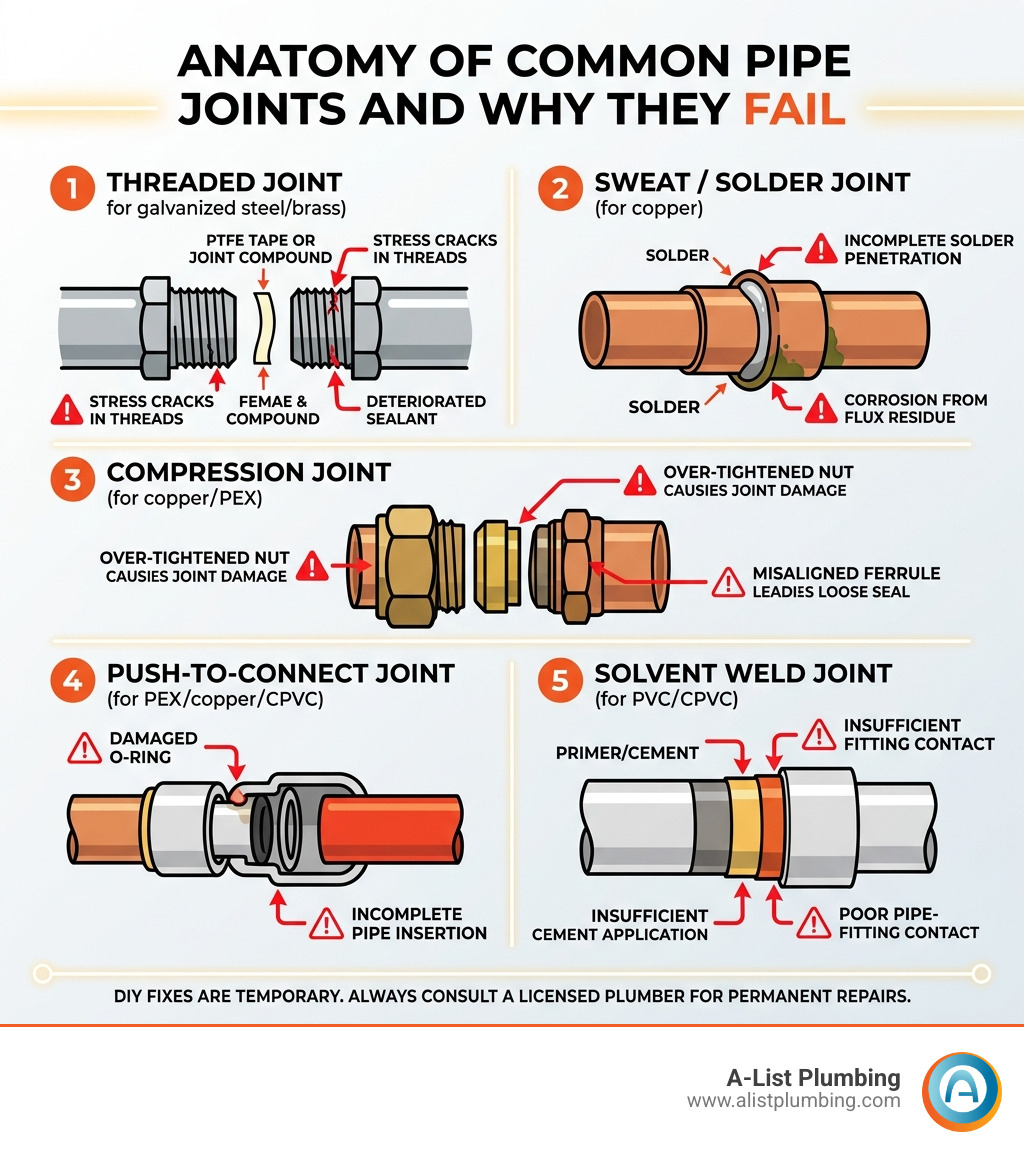
Pipe joints are the connective tissue of your plumbing. They fail because of loose threads, worn-out gaskets, or corrosion.
- Compression Fittings: Common under sinks. They use a brass or plastic "ferrule" that gets squeezed between a nut and the pipe.
- Threaded Joints: These screw together. If they leak, it's usually because the seal (tape or dope) has failed or the threads have loosened.
- Slip Joints: Found on sink traps (P-traps). They use a rubber or plastic washer and a large nut to seal the connection.
| Pipe Material | Common Joint Type | Why It Fails |
|---|---|---|
| PVC | Solvent Weld / Threaded | Thermal expansion, poor bonding |
| Copper | Soldered / Compression | Pinhole corrosion, loose nuts |
| PEX | Crimp / Push-fit | Improper crimping, damaged O-rings |
| Galvanized | Threaded | Rust and mineral buildup |
If you are dealing with a leak on a larger scale, such as your main water lines, the repair becomes significantly more complex and usually requires heavy machinery and professional expertise.
Essential Safety and Preparation for Repairs
Safety first! Plumbing isn't just about getting wet; it can involve electricity and slippery surfaces. Before you start your leaking pipe joint repair, follow these preparation steps.
1. Shut Off the Water
Locate the nearest shut-off valve. If it’s a sink leak, there are usually valves inside the cabinet. If the leak is on a main line or the local valve is stuck, you’ll need to turn off the main water shut-off for the whole house. Once off, open a faucet at a lower level to drain the remaining pressure.
2. Check for Electrical Hazards
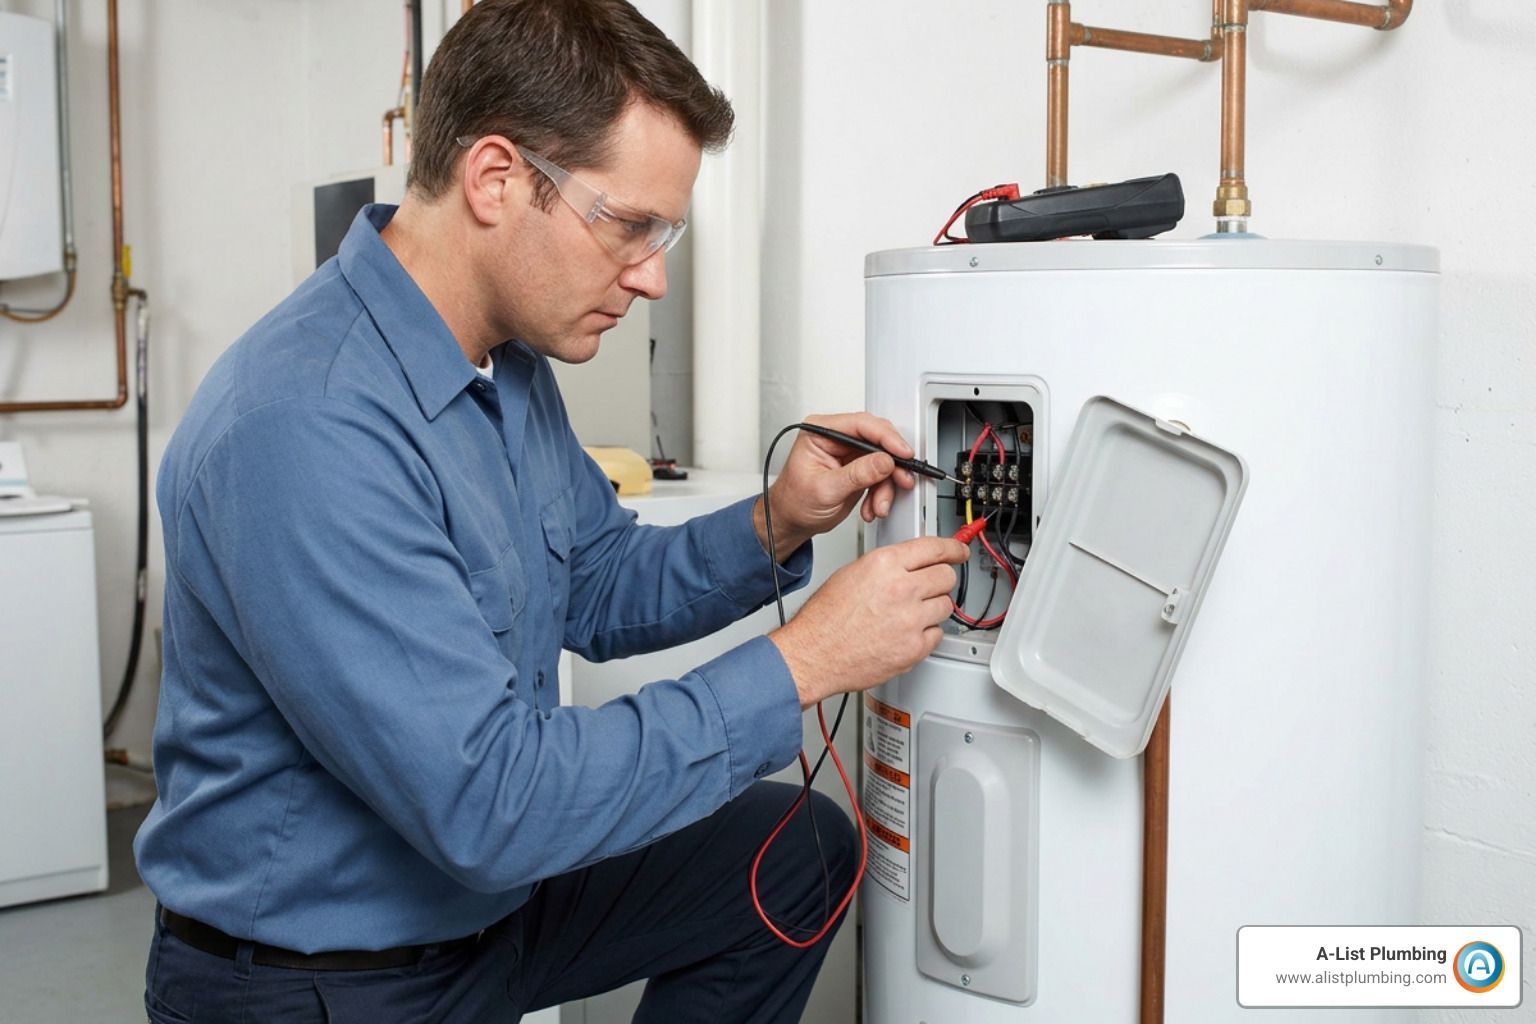
Water and electricity are a dangerous duo. If the leak is near an outlet, appliance, or electrical panel, turn off the power at the breaker box immediately. Use a non-contact voltage tester if you aren't sure.
3. Gear Up (PPE)
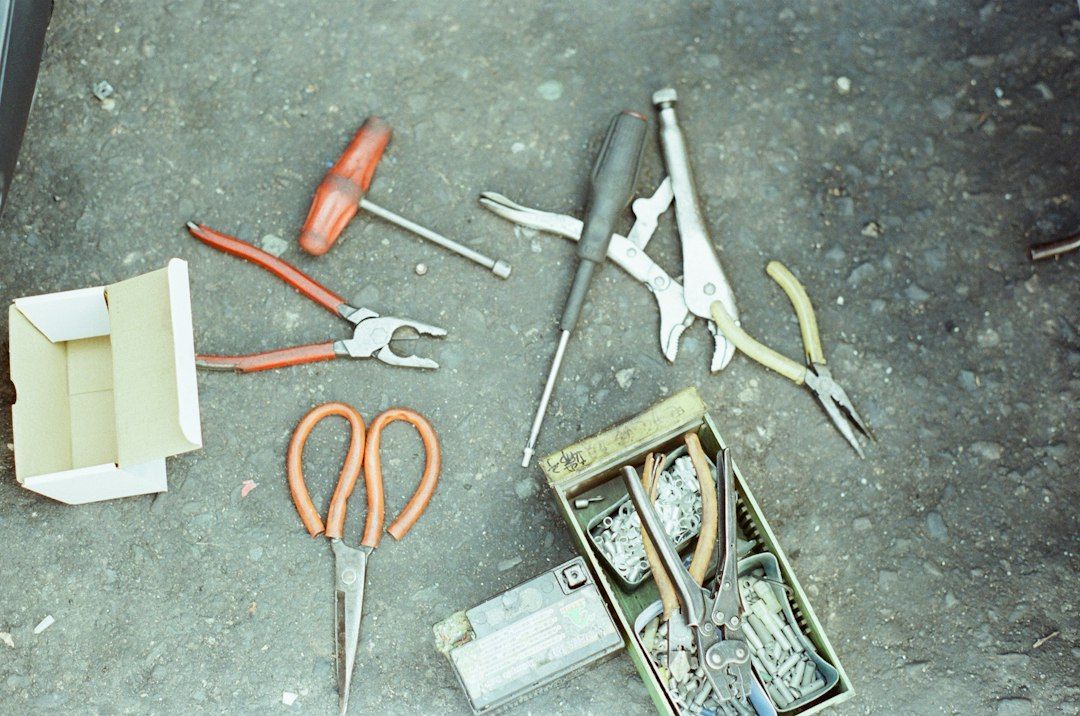
Wear nitrile or latex gloves. Plumbing epoxy and PVC cements are chemical-heavy and can irritate the skin. Eye protection is also a good idea if you’re working overhead to prevent dirty water or debris from falling into your eyes.
4. Clean and Prep the Surface
No repair material—be it tape, putty, or glue—will stick to a dirty, greasy pipe. Use a rag to dry the area completely. For metal pipes, a wire brush can help remove corrosion. For PVC, ensure any "burrs" (rough plastic edges) are sanded down. This "deburring" process is vital for a watertight seal.
If you can't find the source of the leak because water is spraying everywhere or hiding behind a wall, it’s time to look into leak detection services to pinpoint the problem before you start cutting into drywall.
Step-by-Step DIY Methods for Leaking Pipe Joint Repair
Once the area is dry and the water is off, you can apply a temporary fix. These are "band-aids" meant to hold you over until a permanent solution is implemented.
Applying Plumber’s Tape to Threaded Joints
Plumber’s tape (Teflon tape) is the go-to for threaded connections like showerheads or supply lines.
- Unscrew the joint: Use two wrenches—one to hold the pipe and one to turn the nut—to avoid stressing the rest of the system.
- Clean the threads: Wipe away old tape or "pipe dope."
- Wrap clockwise: This is the most important part. Wrap the tape in the same direction you will screw the pipe back in (usually clockwise). If you wrap it the other way, the tape will simply unravel as you tighten the joint.
- Apply 3-5 layers: Don't overdo it, but ensure the threads are well-covered.
- Reassemble: Hand-tighten first, then give it a final quarter-turn with a wrench.
Using Epoxy Putty for Small Cracks
Epoxy putty is a two-part material that hardens into a plastic-like seal. It’s excellent for PVC joints or pinholes in metal.
- Knead the putty: Cut off a piece and mix it in your gloved hands until the color is uniform.
- Apply firmly: Press the putty into the crack or around the leaking joint.
- Feather the edges: Smooth the edges of the putty against the pipe to ensure there are no gaps for water to escape.
- Cure time: Most epoxies set in 5–25 minutes but require a full hour for a "functional cure" before you turn the water back on.
For specific instructions on how to fix PVC pipe leak with epoxy, always check the manufacturer's label as cure times can vary based on temperature. You can also find more details on repairing leaks with epoxy putty for various pipe materials.
When to Use a Pipe Repair Clamp or Fiberglass Wrap
If you have a larger rupture or a joint that is failing under pressure, you need mechanical force.
- Pipe Repair Clamps: These consist of a metal sleeve with a rubber gasket inside. You place the gasket over the leak and tighten the bolts. The mechanical pressure stops the water.
- Fiberglass Wrap: This is a water-activated resin tape. You soak it in water, wrap it tightly around the pipe, and it hardens like a cast. This is excellent for high-pressure lines but is strictly a temporary stopgap.
Permanent Solutions and Professional Intervention
While DIY fixes are great for a Saturday night emergency, you don't want to rely on tape and putty forever. Eventually, the material will degrade, and the leak will return—often worse than before.
Transitioning to Push-to-Connect for Leaking Pipe Joint Repair
If you’re ready for a more permanent DIY fix, push-to-connect fittings (like SharkBite) are a lifesaver. They require no soldering, no glue, and no special tools.
- Cut the pipe: Use a dedicated pipe cutter to ensure the cut is perfectly square (90 degrees).
- Deburr: Use a deburring tool to smooth the edges. A sharp edge will slice the O-ring inside the fitting and cause an immediate leak.
- Mark depth: Use a gauge to mark how far the pipe should slide into the fitting.
- Push: Push the fitting on until it hits your mark. You’ll feel it click into place.
These fittings are compatible with Copper, PEX, and CPVC. For more information on dealing with truly damaged sections, check out our guide on broken pipe repair.
When to Call a Pro for Leaking Pipe Joint Repair
Not every leak is a DIY job. In Seattle, many older homes have "hidden" plumbing issues that can turn a simple fix into a catastrophe. Call a professional if:
- The pipe is corroded: If the metal is flaking off or green/rusty, the whole section likely needs replacement.
- The leak is behind a wall: Don't go "exploring" with a hammer unless you know exactly where the lines run.
- It’s a main line: Main water line bursts can cause foundation damage and sinkholes.
- The "fix" didn't work: If you've tried epoxy and tape and it’s still dripping, the structural integrity of the joint is compromised.
For immediate help with major failures, our emergency plumbing team is available for same-day service in Lynnwood, Edmonds, and the surrounding areas.
Frequently Asked Questions about Pipe Leaks
How long does epoxy putty take to cure before I can turn the water back on?
Most plumbing-grade epoxy putties will have a "set time" of about 15 to 25 minutes. However, this is not the same as being ready for water pressure. We recommend waiting for a functional cure(usually 60 minutes) before turning the water back on. For a full cure(maximum strength), you should wait 24 hours. If you turn the water on too early, the pressure can "blow out" the soft putty before it has bonded to the pipe.
Is there a difference between repairing potable water lines and drain lines?
Yes! Potable water lines (the ones you drink from) are under constant high pressure (usually 40–80 PSI). Any repair material used on these lines must be NSF-certified for drinking water. Drain lines (DWV) are not under pressure; they rely on gravity. While a leak in a drain line is messy and carries bacteria, it’s often easier to seal temporarily because the water isn't trying to "push" its way out of the repair.
How can I prevent future pipe joint leaks?
- Visual Inspections: Once every six months, look under your sinks and near your water heater for signs of moisture or "calcification" (white crusty buildup).
- Pressure Regulation: High water pressure is the #1 cause of joint failure. Ensure your home has a working Pressure Reducing Valve (PRV).
- Insulation: In the Pacific Northwest, we get cold snaps. Insulate pipes in crawlspaces or near exterior walls to prevent freezing and cracking.
- Proper Installation: Avoid overtightening PVC fittings, which can cause hairline fractures that only show up months later.
Conclusion
A leaking pipe joint repair might feel like a daunting task, but with the right tools and a bit of patience, you can stop the damage before it spreads. Whether you’re using plumber’s tape for a quick threaded fix or applying epoxy to a small crack, these are temporary measures.
At A-List Plumbing, we bring 22 years of experience to every job. Whether you are in Lynnwood, Edmonds, Shoreline, Bothell, or Seattle, we offer transparent pricing and same-day availability for those moments when a DIY fix just isn't enough. Don't let a small drip turn into a flooded basement.
For professional help or to learn more about our full range of plumbing services, we are here to ensure your home’s plumbing remains reliable, safe, and leak-free.