

Stop a Copper Pipe Leak Before It Causes More Damage
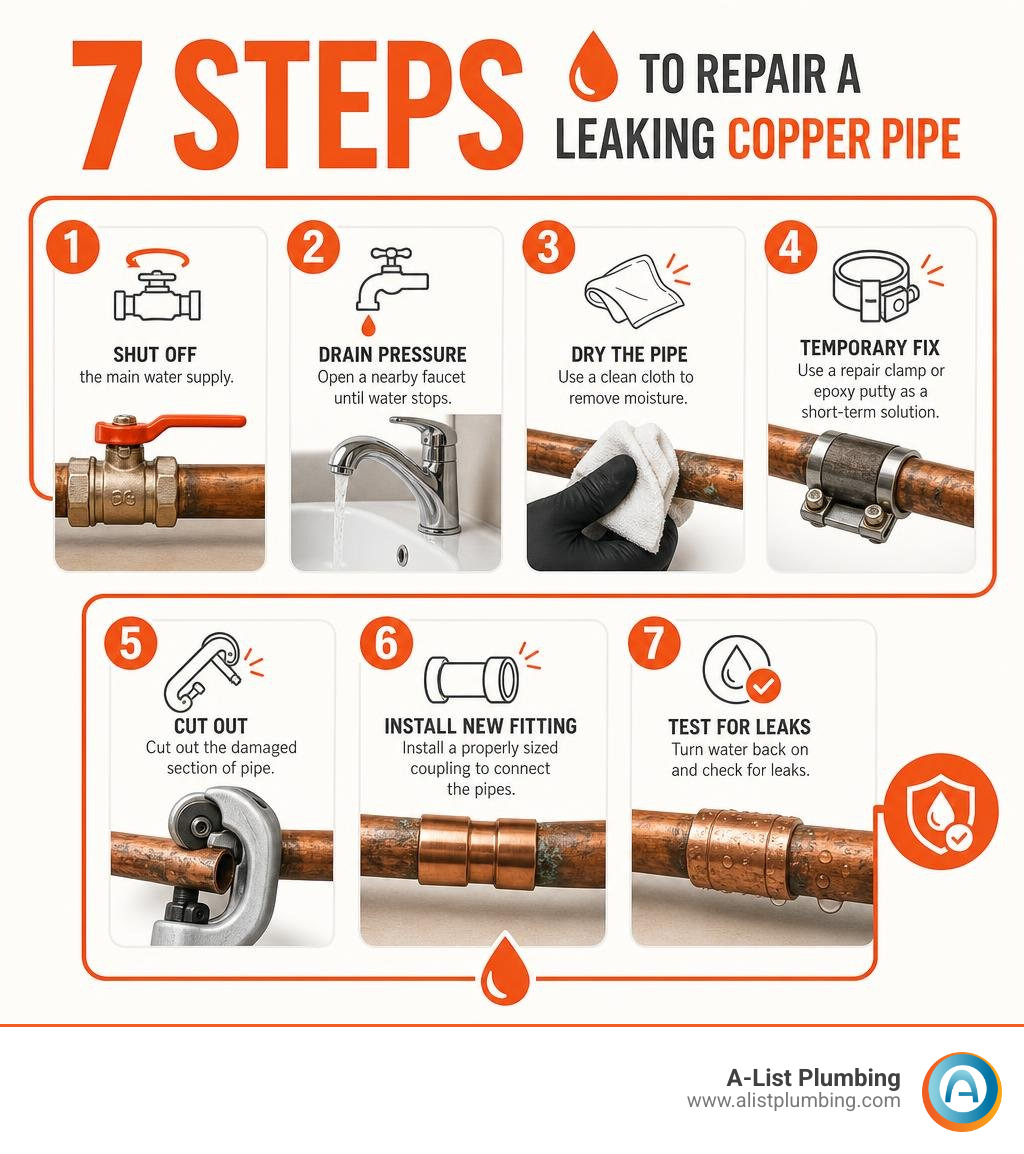
To fix a copper water pipe leak, first shut off the main water supply and open a nearby faucet to drain pressure. Dry the pipe, then use a repair clamp or epoxy putty only as a short-term stopgap. For a lasting repair, cut out the corroded section and install a properly sized push-to-connect fitting or soldered copper slip coupling.
Pinhole leaks may look small, but they can drip unnoticed for weeks and damage drywall, insulation, framing, and floors. Copper pipes often last 20 to 50 years, so homes built in the 1960s through 1980s may be more likely to develop corrosion-related leaks.
In this guide, you will learn the seven practical steps to safely stop the leak, replace the weak pipe section, and test the repair before water damage gets worse.
I am Heath Shockman, owner of A-List Plumbing since 2011, with hands-on residential and commercial plumbing experience across the Northwest. I have helped homeowners diagnose and fix copper water pipe leak problems, including corrosion, freeze damage, and hidden water-line failures.
Understanding Why Copper Water Pipes Develop Leaks
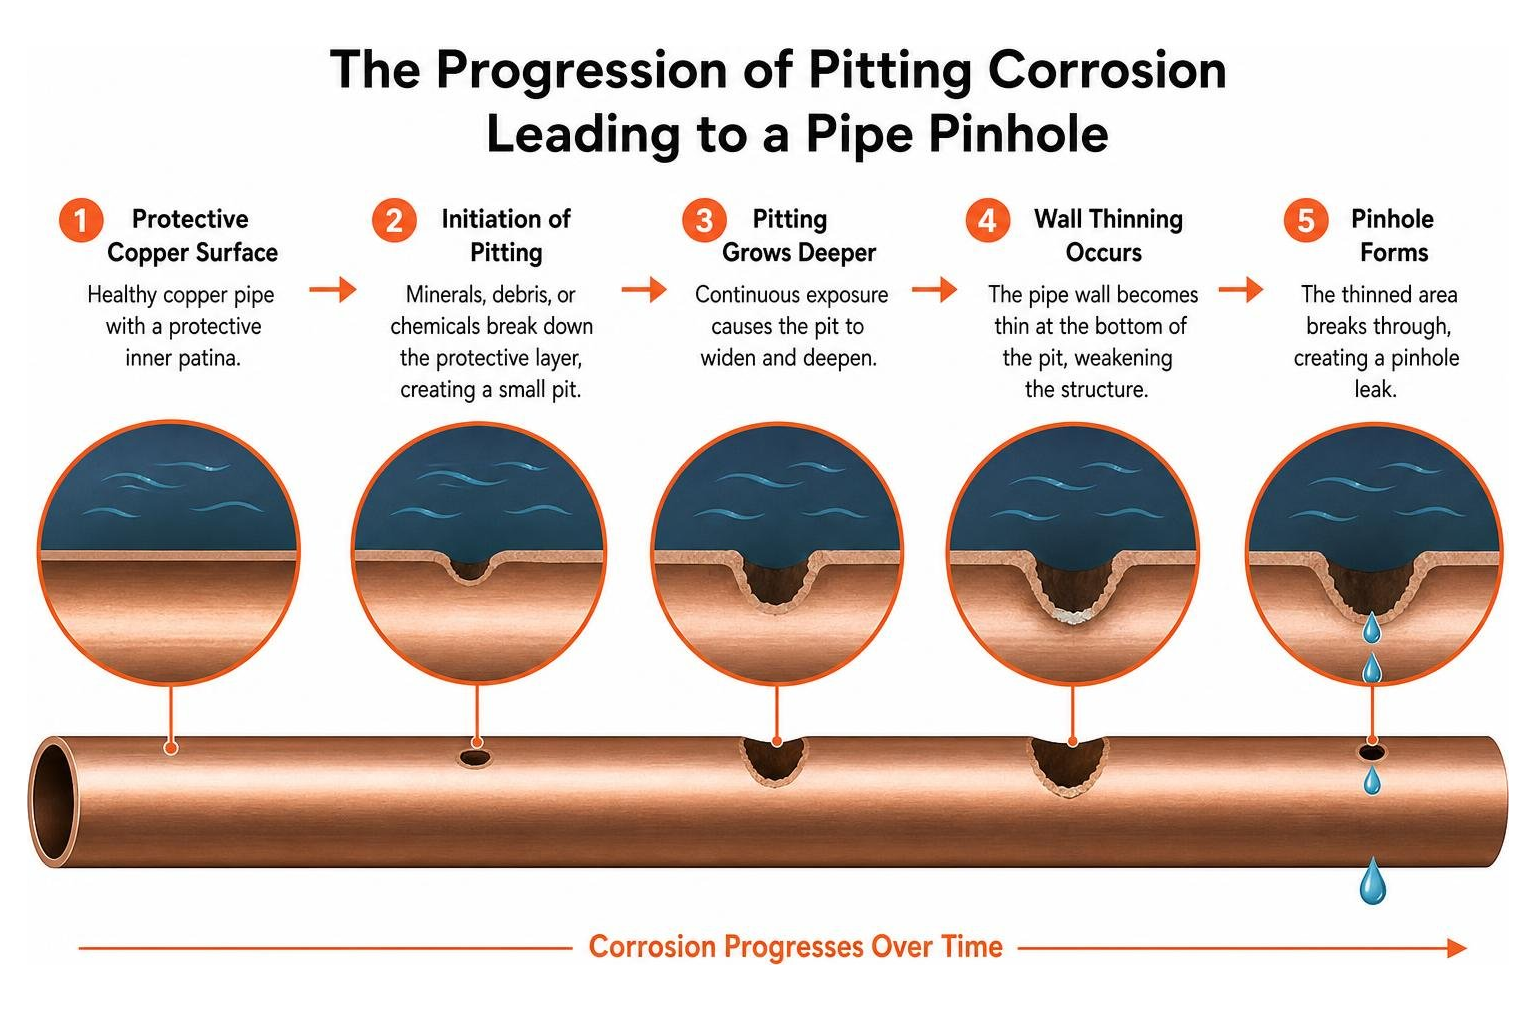
Copper has long been the gold standard for residential plumbing because it resists rust, handles high temperatures, and lasts for decades. However, no metal is completely invincible. When a copper water pipe leaking inside your home catches you off guard, it helps to understand what went wrong beneath the surface.
Pipes wear down from both the inside and the outside. Water chemistry, velocity, friction, and pressure all work together against the copper tubing over time. When water pressure spikes above 80 PSI, the continuous turbulence erodes the protective internal patina. Acidic water (with a pH below 6.5) slowly dissolves the metal wall, creating thin spots that eventually give way to pressurized streams or persistent drips.
Common Causes of Pinhole Leaks and Pipe Corrosion
Finding pipes leaking in basement ceilings or crawlspaces is rarely random. Pinhole leaks usually stem from specific mechanical or chemical triggers:
- Internal Pitting Corrosion: Heavy metals, grit, and hard water minerals settle in pipe crevices, causing localized chemical reactions that bore tiny holes through the pipe wall.
- Municipal Disinfectants: Chemicals like chloramines can be aggressive on copper over prolonged periods.
- Excessive Water Velocity and Turbulence: Water screaming through undersized pipes or rough elbows strips away the inner metal lining.
- Stray Electrical Current: If your home's electrical system is grounded incorrectly to the copper plumbing lines, stray DC current causes electrolytic corrosion, eating the pipe from the outside in.
- Formicary Corrosion: Airborne volatile organic compounds (VOCs) from household cleaners, paints, and building materials can react with moisture on the pipe exterior, creating tiny ant-nest-like tunnels through the copper.
Temporary vs Permanent Solutions to Fix Copper Water Pipe Leak Issues
When water is spraying everywhere, your immediate instinct is to slap a patch on it. Knowing the difference between an emergency stopgap and the best way to fix a leaking pipe will save your finished walls and your sanity.
| Repair Method | Lifespan | Difficulty | Best For | Code Compliant Behind Walls? |
|---|---|---|---|---|
| Rubber Patch & Clamp | Weeks to months | Beginner | Emergency shut-off stabilization | No (Exposed pipe only) |
| Epoxy Putty | Few weeks | Beginner | Low-pressure pinholes | No |
| Push-to-Connect Fitting | 25+ Years | Intermediate | Quick, solderless permanent repairs | Yes (IPC / UPC approved) |
| Soldered Slip Coupling | 50+ Years | Advanced | Lifetime permanent fix | Yes |
7 Steps to Fix Copper Water Pipe Leak with Solder or Push-Fit Fittings

Ready to tackle the repair? Whether you use a push-to-connect slip coupling or sweat a new piece of copper with a torch, following a proven sequence ensures you get a watertight seal every time.
Step 1: Shut Off Water and Drain Plumbing Lines
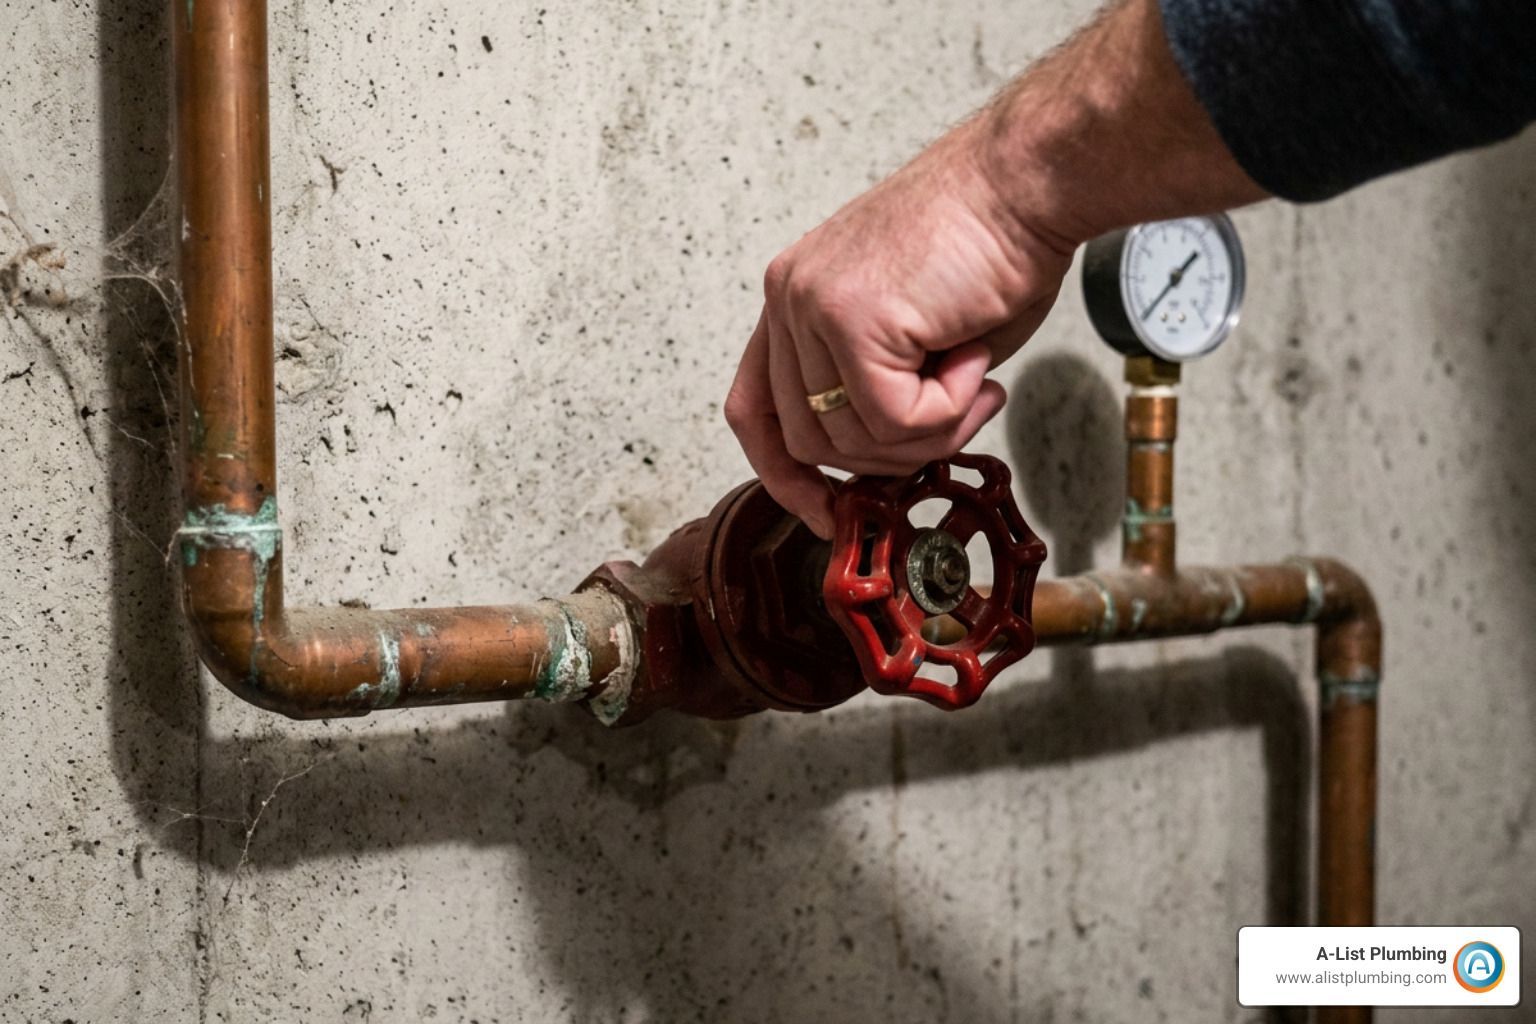
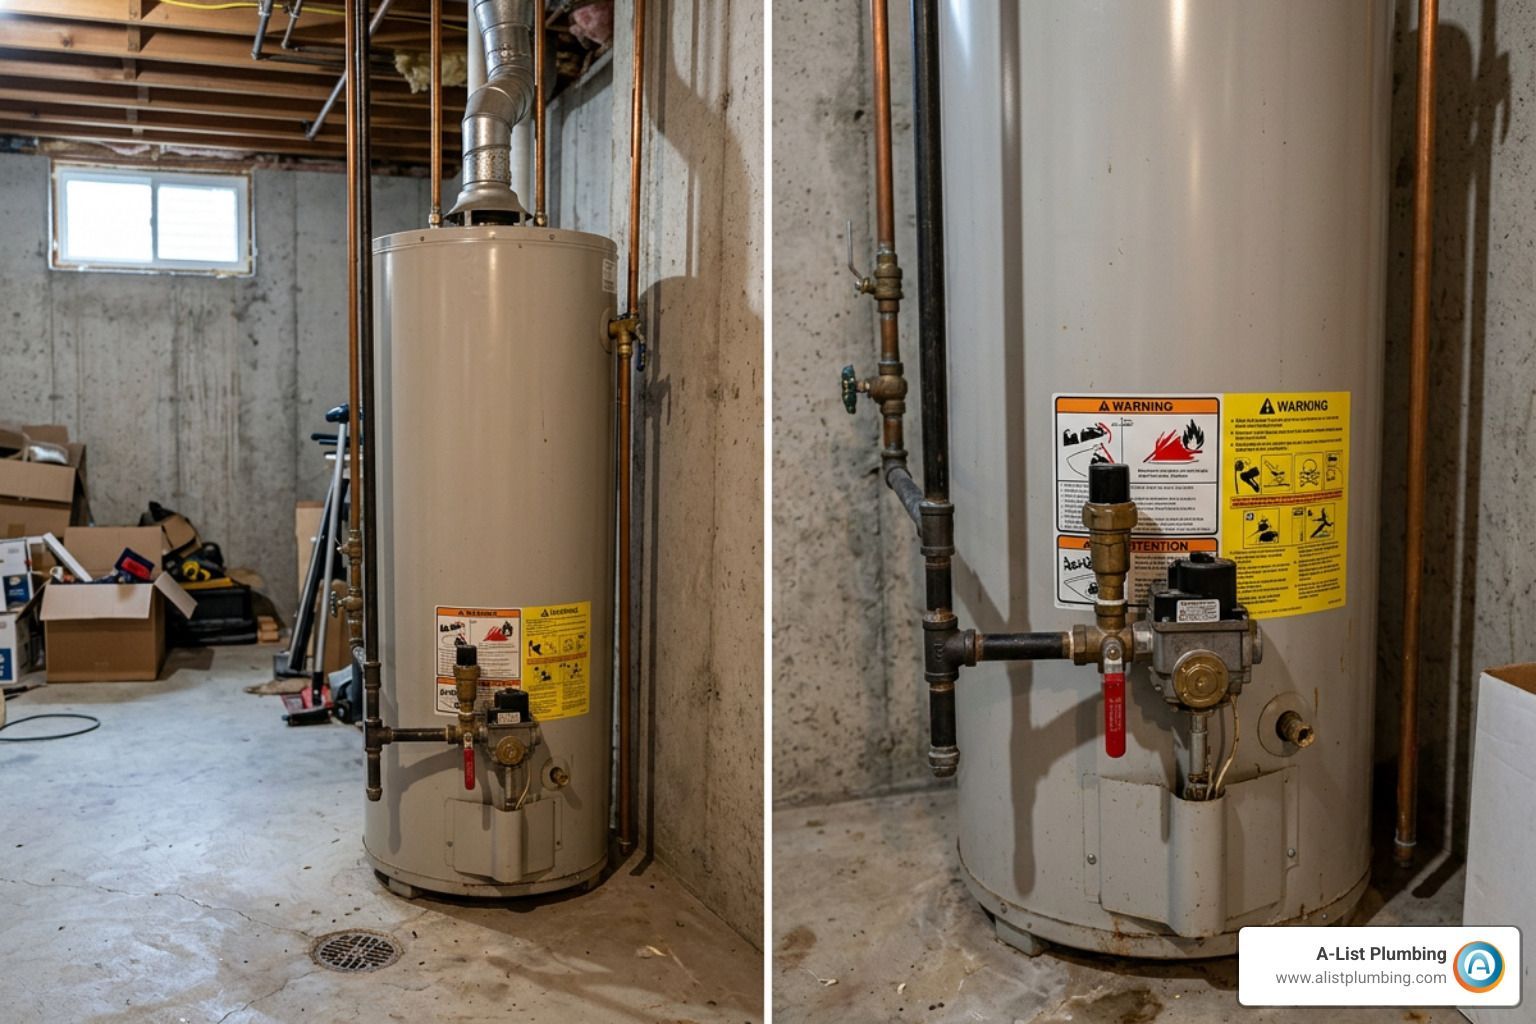
Before touching a tool, shut off the main water valve to your home. Locate the lowest faucet in the house—usually an outdoor hose bibb or basement utility sink—and open it completely. Then, open a faucet on the highest floor to break the vacuum. This lets gravity drain water out of the lines so you are not fighting an active stream while working.
Step 2: Cut Out the Corroded Section
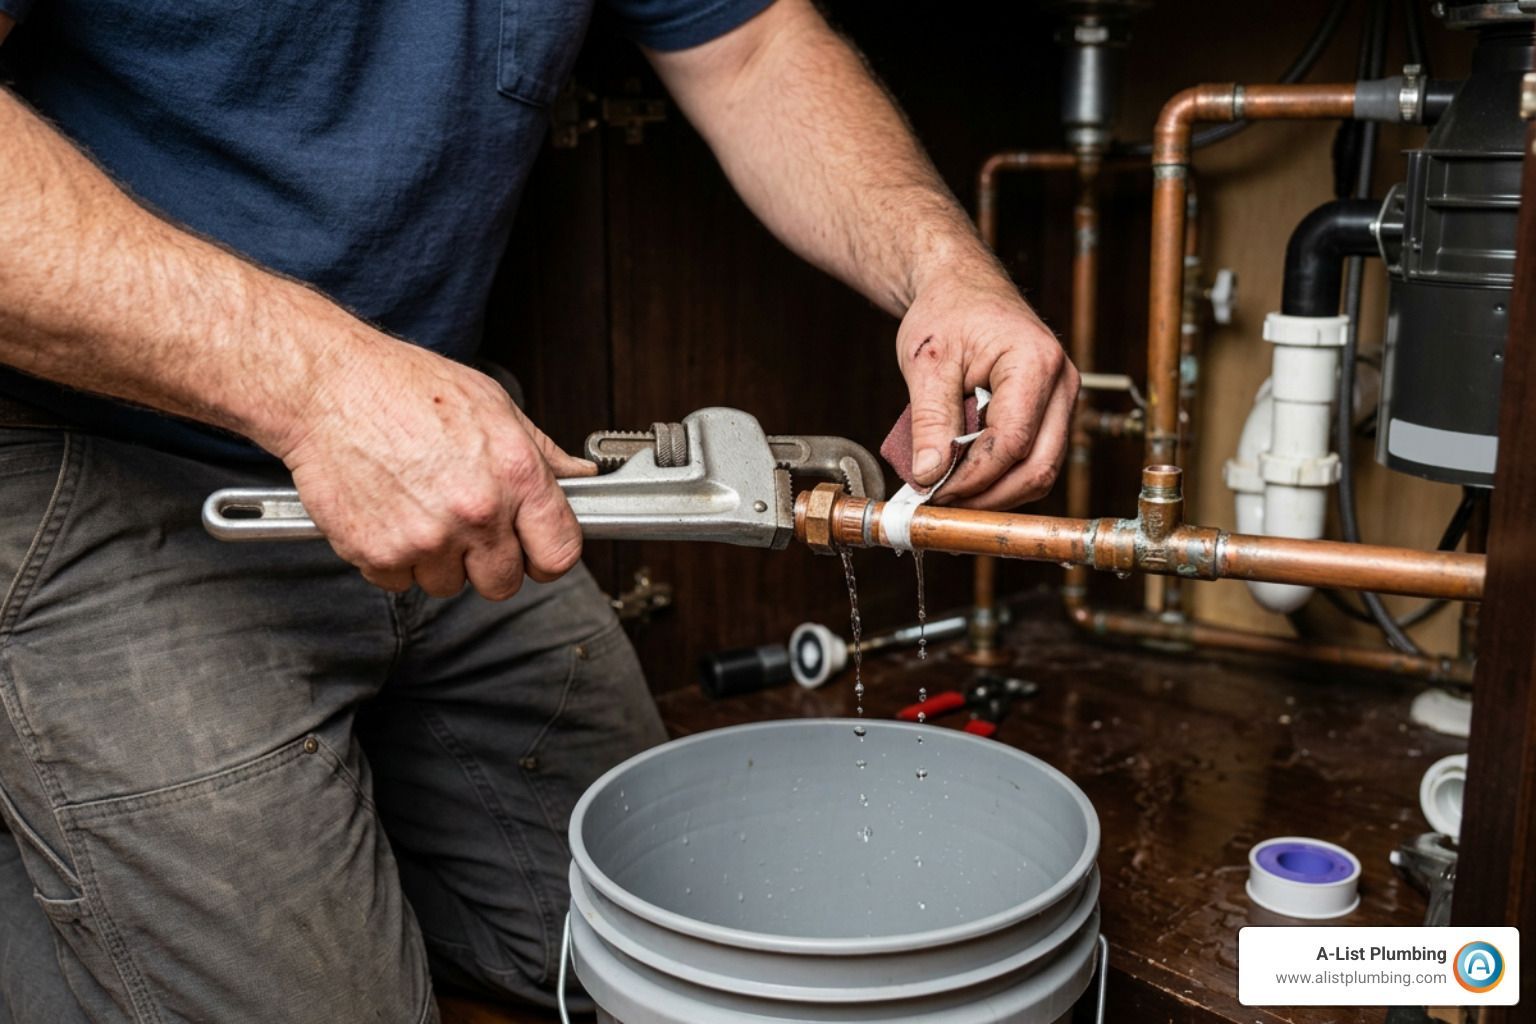
Use a dedicated circular tubing cutter to remove the damaged copper. Avoid hacksaws at all costs; they create jagged edges, bend the tubing out of round, and leave metal shavings behind.
Mark the pipe roughly 1 inch on either side of the pinhole or crack. Tighten the cutter wheel onto your mark, rotate it around the pipe, tighten a quarter-turn, and spin again until the blade slices cleanly through. If you are dealing with a longer split section, check out this sweat repair sleeve guide by Family Handyman for tips on replacing wider spans.
Step 3: Deburr and Prep the Copper Pipe
A clean pipe makes or breaks your repair. Copper cutters leave a raised burr inside the pipe rim that creates turbulence, along with a sharp outer edge that can slice right through the internal rubber O-rings of push-fit fittings.
- Use the reaming blade on your tubing cutter or a cone deburring tool to smooth the inside and outside edges.
- Polish the outer 1 inch of both cut pipe ends using 120-grit emery cloth or plumber's sandcloth until the metal shines like a brand-new penny.
- Clean away any residual oxidation, dirt, or oils.
Step 4: Measure Insertion Depth and Select Fittings
If you are using push-to-connect fittings (such as SharkBite Max couplings), precise depth is critical. Use a depth gauge or a ruler to mark the required insertion depth on the copper pipe with a felt-tip pen (usually 15/16-inch for standard 1/2-inch copper pipe).
Make sure you have your components ready:
- Slip coupling or standard coupling sized to your pipe (1/2-inch or 3/4-inch)
- Replacement copper or PEX tubing (if bridging a wide gap)
- Pipe deburring tool and emery cloth
- Propane torch, lead-free flux, and lead-free solder (if sweating joints)
- Flame protection cloth to protect nearby wood framing
Step 5: Install Push-to-Connect or Solder Slip Couplings
Now connect your fittings. If you prefer a solderless method, you can watch this solderless push-fit video walkthrough to see the push-to-lock action in real time. Push the slip fitting all the way onto one side of the pipe, align the replacement section, and slide the fitting back over the joint until it meets your depth mark.

If you are soldering:
- Ensure the pipe interior is bone-dry. Any residual water will turn into steam at 212°F, preventing the pipe from hitting the 400°F required to melt solder. (Pro tip: if a shut-off valve is weeping, stuff a small wad of crustless white bread up the pipe to temporarily dam the water; it will dissolve completely once water flow returns).
- Brush an even layer of lead-free flux onto the cleaned pipe ends and inside the fitting hub.
- Slide the repair coupling into position.
- Heat the fitting hub with your propane torch, keeping the flame moving evenly.
- Touch lead-free solder to the seam opposite the flame. Capillary action will pull the molten solder smoothly into the joint, creating a shiny, silver ring around the seam.
- Let the joint cool naturally for 5 to 10 minutes. Never quench hot solder with cold water, as thermal shock can crack the joint.
Step 6: Secure Pipe Supports and Eliminate Vibration
Loose pipes rattle whenever a valve snaps shut, creating water hammer stresses that loosen joints over time. Fasten your copper line securely to adjacent wall studs or ceiling joists using copper-compatible pipe straps or plastic isolator clamps. Never use galvanized steel straps directly against copper pipe, or galvanic corrosion will eat through the exterior wall.
Step 7: Restore Water Supply and Pressure Test
With all faucets still open, slowly turn your main water supply valve partially back on to let air bleed out of the system without high-pressure shocks. Once water runs in a smooth, bubble-free stream, shut the individual faucets. Inspect your repair closely for any weeping or moisture, and monitor the connection over a full 24-hour window before closing up drywall or insulation.
Emergency Fixes vs Professional Repair
When a pipe ruptures in the middle of the night, you might need an emergency fix for leaking pipe situations to keep your living room from turning into an indoor pool while you make long-term plans.
When to Use Clamps or Epoxy Putty
Rubber gasket clamps and two-part epoxy putties are great temporary stopgaps for accessible, low-pressure pipe sections.
- Pipe Clamps: Wrap a thick neoprene rubber pad over the pinhole, center the stainless steel clamp over the pad, and tighten the bolts down evenly. This can hold back standard household pressure for a short period while you gather parts.
- Epoxy Putty: Sand the area down to bare metal, knead the two-part putty until it turns a uniform color, and press it firmly over the leak. Allow it to cure undisturbed for at least 30 to 60 minutes before restoring water pressure.
Just remember that neither of these methods is a permanent, code-compliant fix. Vibrations and regular thermal expansion will eventually break the seal.
When to Call a Plumber to Fix Copper Water Pipe Leak Damage
While replacing a short section of exposed basement pipe is well within intermediate DIY range, some situations require a licensed leaking pipe plumber:
- Leaks Hidden Inside Finished Walls or Ceilings: Cutting into structural cavities requires precision leak detection tools to avoid unnecessary drywall destruction.
- Multiple Simultaneous Pinhole Leaks: If you find two or three pinholes in different areas, your entire piping network is likely reaching the end of its useful lifespan and may require whole-house repiping.
- Main Water Line Failures: Underground supply line ruptures demand heavy equipment and trenchless replacement technology.
If you are budgeting for major repairs, reviewing typical plumbing pipe repair cost ranges helps you weigh the investment of localized spot repairs against modern whole-home PEX repiping.
Frequently Asked Questions About Copper Pipe Leaks
How long does a temporary copper pipe repair clamp last?
A quality stainless steel pipe repair clamp with a neoprene rubber gasket can easily hold for several weeks to a few months. However, temperature shifts and normal water hammer vibrations can cause the rubber to shift or degrade over time. Use clamps only to stabilize the emergency until you can solder a coupling or install a permanent push-fit fitting.
Can push-to-connect fittings be used permanently behind walls?
Yes. Major model plumbing codes, including the International Plumbing Code (IPC) and Uniform Plumbing Code (UPC), approve push-to-connect fittings (like SharkBite Max) for permanent installation behind drywall and underground, provided the copper pipe has been properly cut, deburred, and cleaned to the correct insertion depth. They carry a 25-year manufacturer rating.
Why did my copper water pipe get a pinhole leak?
Pinhole leaks are usually caused by internal pitting corrosion from acidic water (pH under 6.5), hard mineral friction, chloramines in city water, or water velocity exceeding 80 PSI. External causes include improper electrical grounding, which causes stray current electrolysis, or VOC exposure in the surrounding air.
Conclusion
Taking care of a leaking copper line quickly is the best way to protect your home from mold, rotted subfloors, and sky-high utility bills. For long-term protection, keep an eye on your water pressure with an inexpensive gauge, test your water's pH if you are on a private well, and inspect exposed basement and crawlspace lines once a year for telltale green oxidation crusts.
If you run into an inaccessible burst pipe, discover recurring leaks across your home, or simply want an experienced set of hands on the job, our team at A-List Plumbing is ready to help. We bring 22 years of hands-on experience, same-day availability, and transparent pricing to homeowners across Lynnwood, Edmonds, Shoreline, Bothell, and the Greater Seattle area. Book our professional broken pipe repair services to get your water running clean, safe, and leak-free today.