

What a Water Heater Anode Rod Does to Protect Your Tank
Trying to pick out the right water heater anode rod? It usually boils down to zinc versus magnesium. Magnesium rods are awesome if you have soft to moderate water, while aluminum-zinc rods work best if you're dealing with hard water or funky sulfur odors. Both are sacrificial rods designed to take the hit so your steel tank doesn't rust out. Just remember to check whichever one you have every 2 to 3 years and swap it out once it gets eaten away.
Inside your tank, there's a constant chemical tug-of-war going on. Water and heat love to team up to chew through metal. Most standard water heaters are made of heavy-duty steel lined with a thin layer of glass enamel.
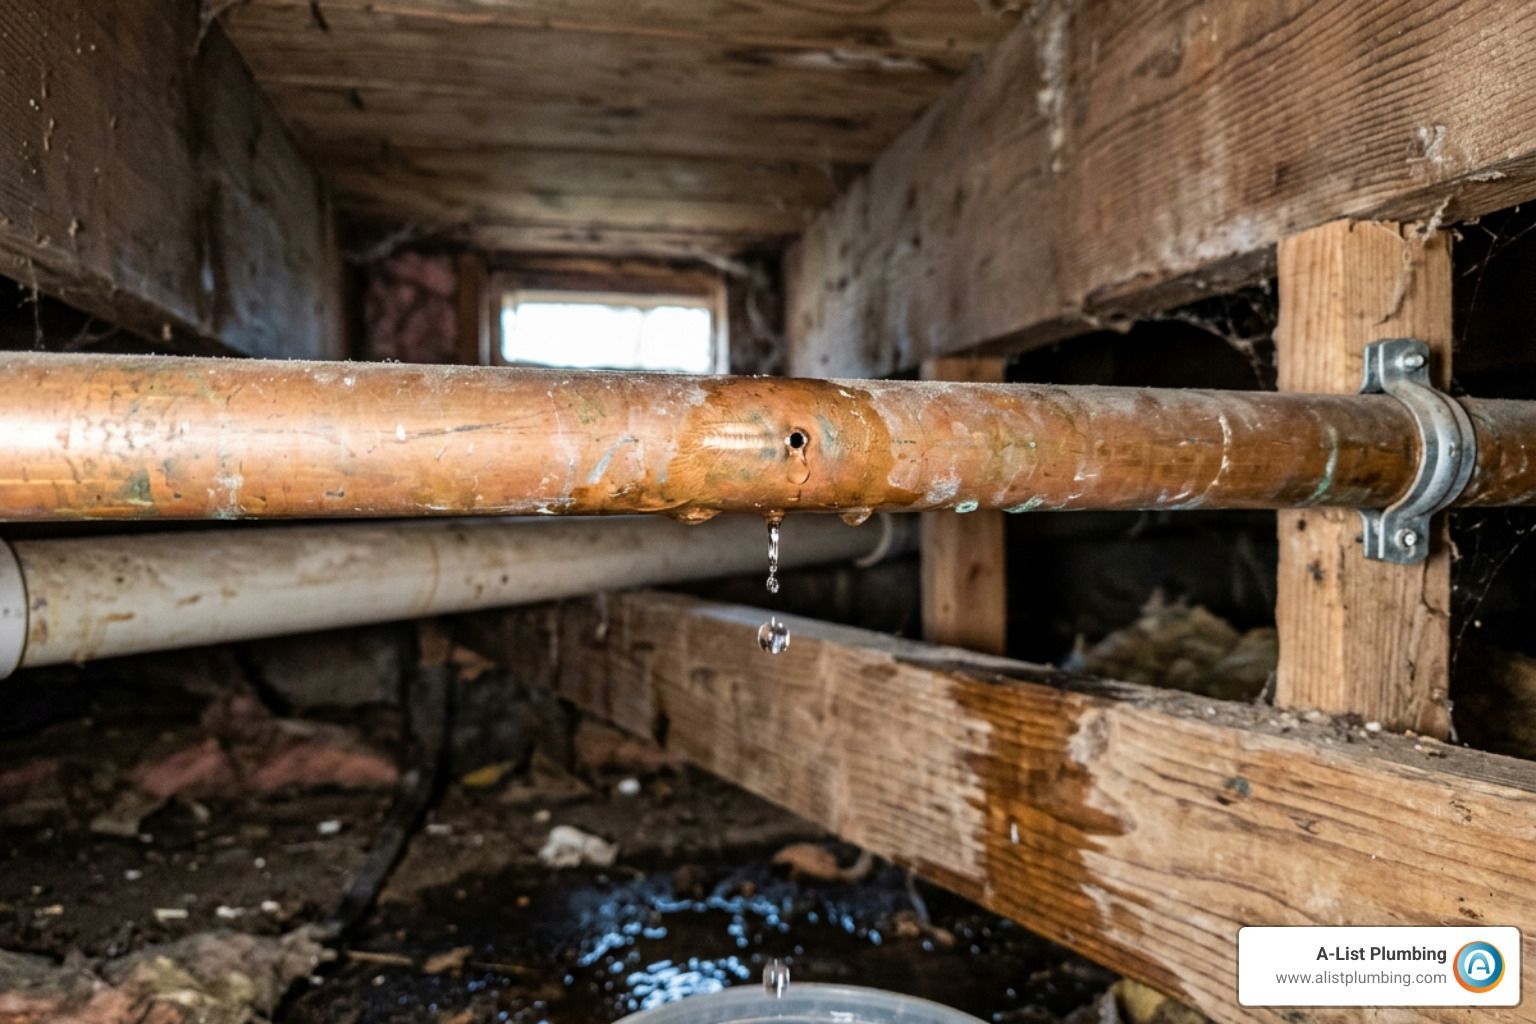
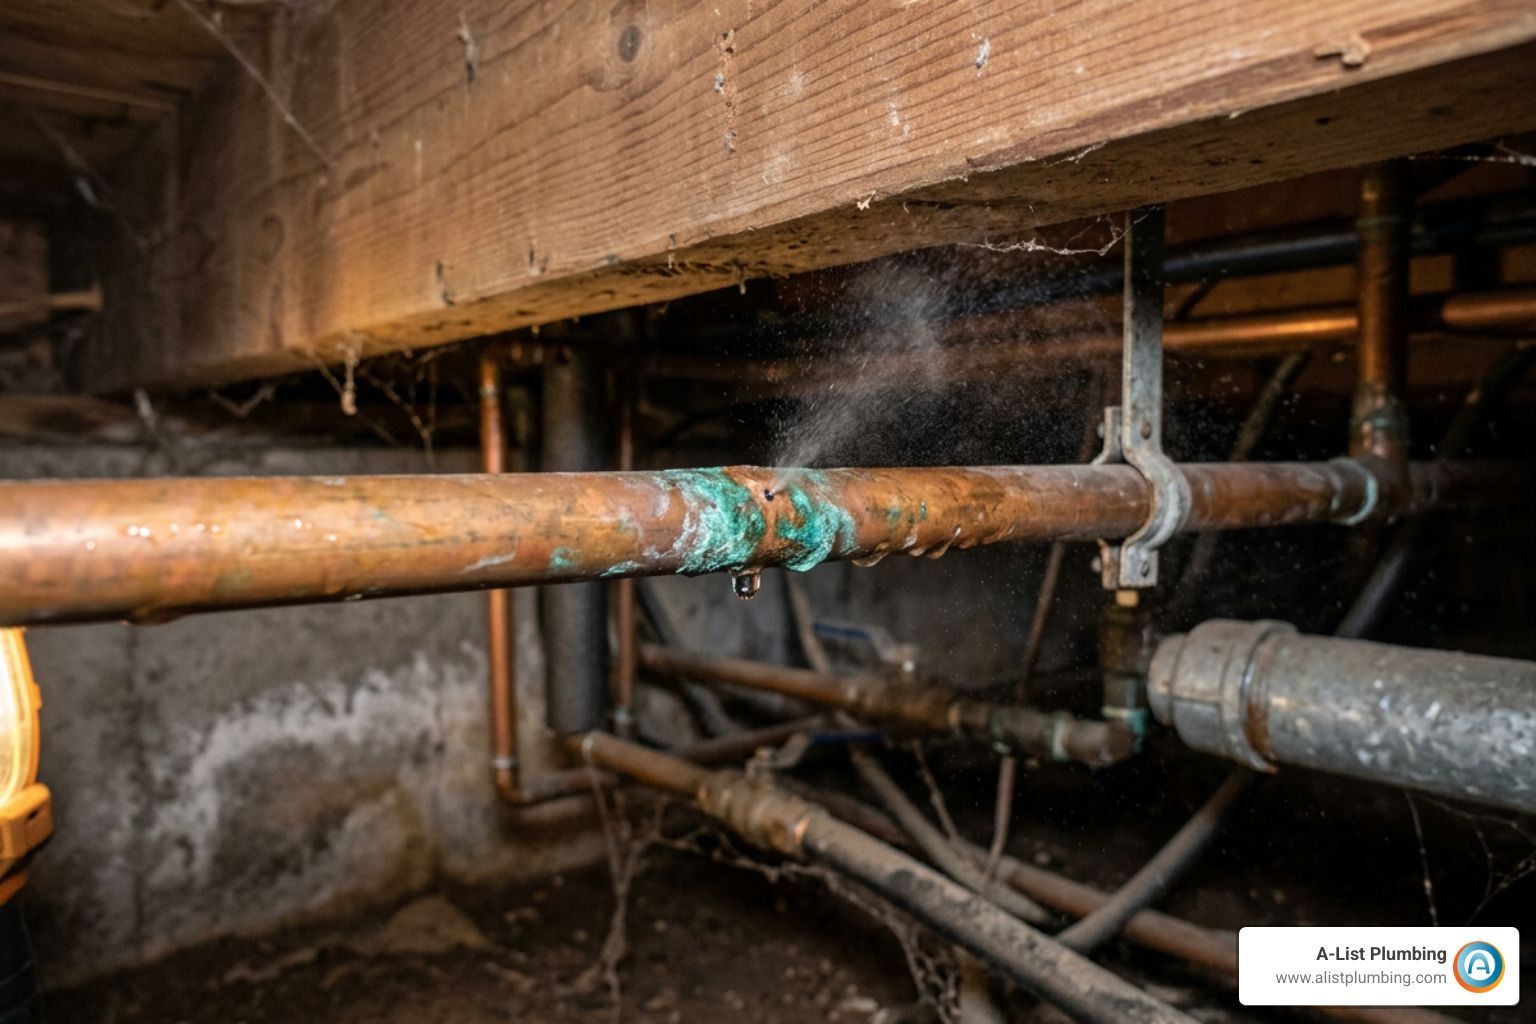
Over time, hot water expanding and contracting creates tiny micro-cracks in that glass lining. Without a sacrificial metal in the mix, water goes right for the bare steel, causing pinpoint rust holes, leaks, and eventually a flooded basement floor.
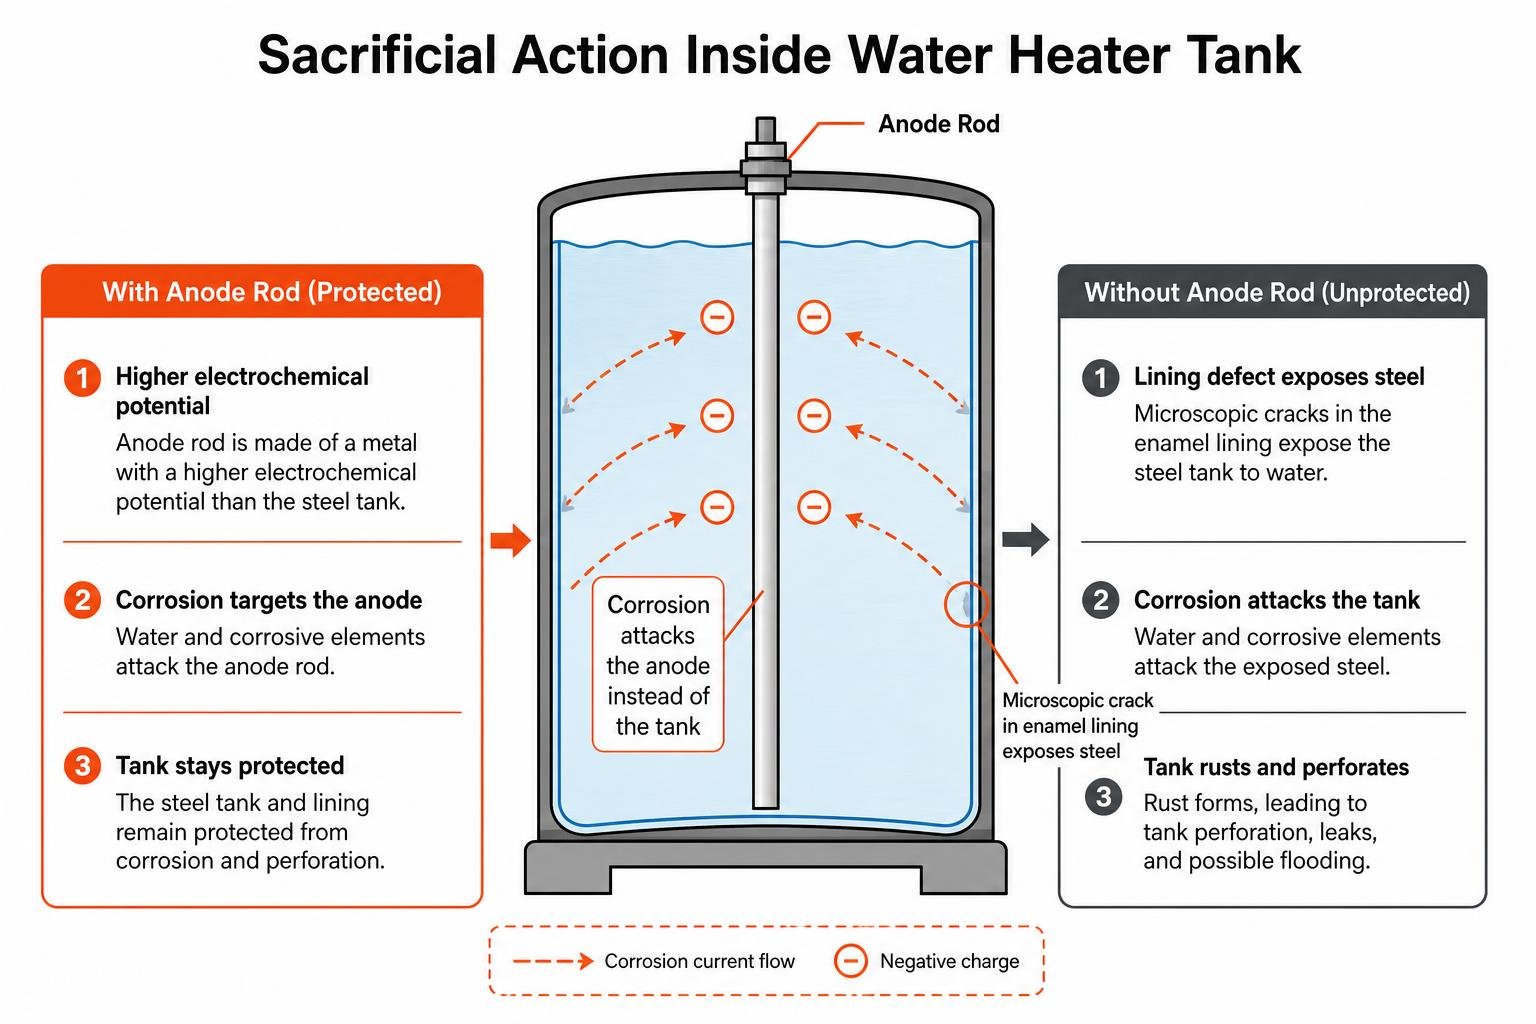
That's exactly why you need an anode rod. Screwed into the top of the tank, this rod is made from a metal that corrodes way faster than steel. Corrosive elements in your water chew on the anode rod instead of your tank walls.
Down the center of every sacrificial rod is a steel core wire. As the outer metal dissolves, that wire gets exposed. Keeping up with routine water heater tank maintenance helps you catch this wear and tear before the rod disappears completely. If you want a handy walkthrough on keeping tabs on your system, take a look at this Water Heater Anode Rod Replacement Guide — When to Replace.
Sacrificial Action vs. Steel Tank Corrosion
Here is how galvanic corrosion works in plain English: when two different metals sit in water together, the less noble metal (the anode) gives up its electrons and corrodes away to protect the other metal (your steel tank).
As long as you have enough sacrificial metal left on that rod, your tank stays safe. But once that metal is gone, rust attacks the tank walls directly. A tank that easily could've lasted 15 to 20 years might give out and start leaking in just 8 to 12 years if you forget to replace the rod.
Zinc vs. Magnesium vs. Aluminum Anode Rods
Picking the right rod comes down to your home's water quality, whether you run a water softener, and how often you want to mess with maintenance.
| Feature / Metric | Magnesium Anode Rod | Aluminum-Zinc Anode Rod | Powered Titanium Anode Rod |
|---|---|---|---|
| Primary Material | High-grade Magnesium alloy | Aluminum alloy with ~10% Zinc | Pure Titanium (mixed metal oxide) |
| Best Water Type | Soft to moderate municipal water | Hard water, high-sulfur well water | Any water type (including softeners) |
| Lifespan | 3 to 5 years (1–2 with softener) | 3 to 5 years | Lifetime of tank (20+ years) |
| Odor Prevention | Can worsen rotten-egg odor | Eliminates sulfur/rotten-egg odor | Completely eliminates odors |
| Approximate Part Cost | $15 – $35 | $20 – $40 | $80 – $200 |
| Sediment Buildup | Low to moderate | Moderate (aluminum oxide flakes) | Zero sediment created |
| Power Required? | No (passive sacrificial) | No (passive sacrificial) | Yes ($2–$3 electricity per year) |
Magnesium Anode Rods: Great for Soft to Moderate Water
Magnesium creates a solid electrochemical charge, which makes it super effective at defending standard glass-lined tanks. It delivers the strongest protective current of any sacrificial metal, protecting microscopic cracks in your tank's lining from rusting.
That said, magnesium reacts quickly with sulfur-reducing bacteria that pop up in certain water supplies. When these bacteria interact with decomposing magnesium, they create hydrogen sulfide gas—giving you that nasty rotten-egg smell whenever you run the hot water.
Magnesium also gets eaten up fast if you have naturally hard water or a salt-based softener, meaning you'll need to check it more often.
Aluminum-Zinc Anode Rods: Best for Kicking Sulfur Smells
Aluminum-zinc rods are blended with roughly 90% aluminum and 10% zinc. That zinc is key because it stops sulfur-reducing bacteria in their tracks, wiping out that rotten-egg odor from your taps.
These rods hold up great in hard water and give your tank solid long-term protection. If you have whole-home water softener systems running, an aluminum-zinc alloy won't burn out right away like magnesium does.
One thing to keep in mind: as aluminum corrodes, it creates a bit of white, jelly-like sediment at the bottom of the tank, so doing an occasional tank flush is a great habit.
Powered Titanium Anode Rods: The Set-It-and-Forget-It Choice
Powered anode rods skip sacrificial metals altogether. Instead of dissolving away, a sturdy titanium rod sends tiny, controlled electrical pulses through the water to stop rust from forming.
- Zero regular replacements: Titanium doesn't degrade, so you don't have to keep replacing it every few years.
- No more stinky water: Powered rods don't create hydrogen gas, getting rid of rotten-egg smells in about 24 hours.
- Less gunk at the bottom: Since there's no dissolving metal, you get way less sediment buildup inside your tank.
- Easy to install: Most powered rods are around a foot long, making them a breeze to drop in even in tight utility closets.
Units like the Corro-Protec Powered Anode Rod for Water Heaters - 40-89 Gal. Dedicated Anode Port (standard) use only a couple of bucks in electricity each year while helping keep scale off your elements.
If you have a smaller setup, you can check out the Corro-Protec Powered Anode Rod for Water Heaters - 10-39 Gal. Dedicated Anode Port, or grab an outlet version like the Corro-Protec Powered Anode Rod for Water Heaters - 10-120 GAL. HOT WATER OUTLET ANODE (Fits most Bradford White*) | US to match whatever tank you have.
Warning Signs and Lifespan Factors
An anode rod usually lasts around 3 to 5 years, but a few everyday factors can speed up the clock:
- Water Hardness: High mineral levels make the sacrificial metal wear down much faster.
- Water Softeners: Softeners swap calcium for sodium, boosting electrical conductivity and cutting your rod's life down to 1 or 2 years.
- High Usage & Hot Temps: Big families running lots of hot water at higher temps will wear through rods more quickly.
Catching wear early is always smart, and you can learn more in our tank water heater repair guide for 2026. If corrosion goes unnoticed for too long, it can lead to bigger problems where you'll need help diagnosing hidden water heater leaks.
Signs Your Water Heater Anode Rod Needs Replacement
Here are five dead giveaways that your rod is ready for a swap:
- Rusty or Brown Hot Water: If cold water runs clear but your hot water looks brownish or orange, the rod is probably spent and the tank itself is starting to rust.
- Rotten-Egg Smells: Smelling sulfur only when running hot water means the magnesium is reacting with bacteria in the tank.
- Exposed Center Wire: Pull the rod out to look. If more than 6 inches of the skinny steel core wire is showing, the protective metal is gone.
- Rod Thinned Down Under 1/2 Inch: Brand new rods are 3/4 to 1 inch thick. If yours looks like a chewed-up apple core or is under half an inch wide, replace it.
- Popping or Rumbling Sounds: Flakes of corroded rod dropping to the bottom can trap water under sediment, making loud bubbling noises. It's best to address hot water heater knocking sounds before that scale damages your heating elements.
How to Replace an Anode Rod: Step-by-Step and Troubleshooting
Replacing a sacrificial rod usually takes about 15 to 30 minutes with basic tools.
Tools & Materials Needed:
- 1-1/16 inch socket
- 1/2-inch drive ratchet or breaker bar
- Teflon thread tape
- Garden hose and a bucket
- Penetrating oil (like WD-40 or PB Blaster)
- Replacement anode rod
Step-by-Step Water Heater Anode Rod Installation
Want a quick visual guide? Check out this Water Heater Anode Rod Replacement: Step-by-Step Guide. Otherwise, here are the steps to knock it out:
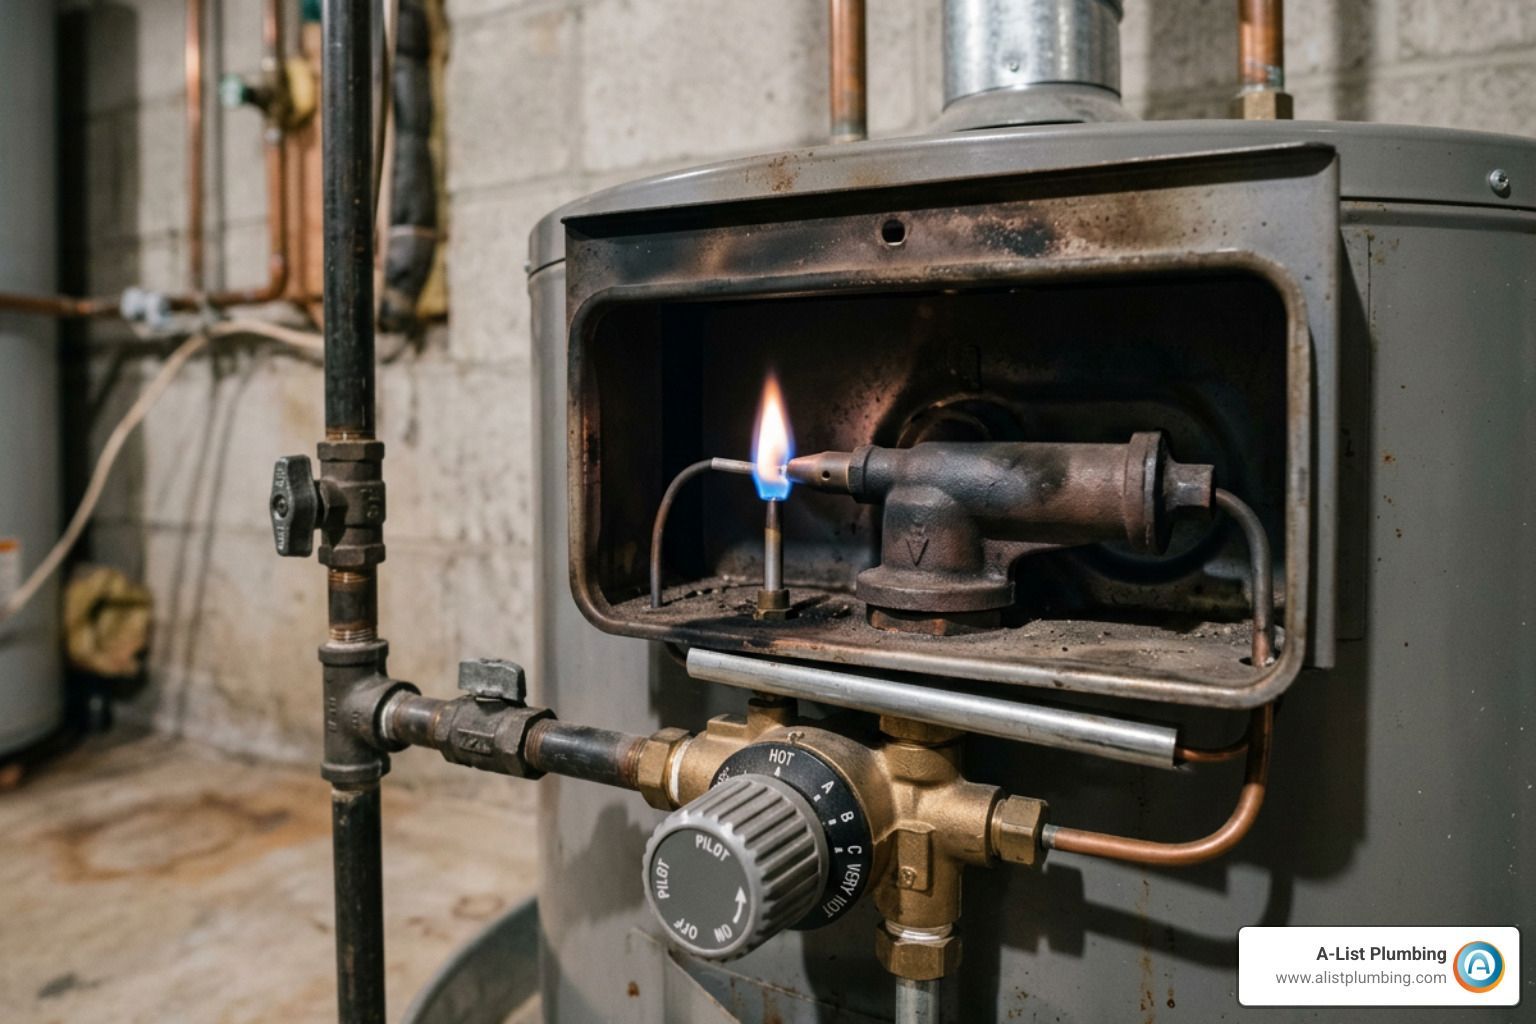
- Cut the Power or Gas: Turn off the circuit breaker for electric heaters, or flip your gas valve to "PILOT" or "OFF".
- Shut Off the Water: Close the cold water shutoff valve right above your tank.
- Release Tank Pressure: Open a hot water faucet somewhere in your house, or lift the lever on your temperature and pressure relief (T&P) valve.
- Drain a Few Gallons: Hook up a garden hose to the bottom drain valve and let 3 to 5 gallons drain out so the water level sits below the rod port. Pairing this with a full sediment flush service is a great way to clear out loose debris.
- Find the Hex Bolt: Check the top of the tank for the 1-1/16 inch hex head. Sometimes it's hiding under a plastic cap or beneath some foam insulation.
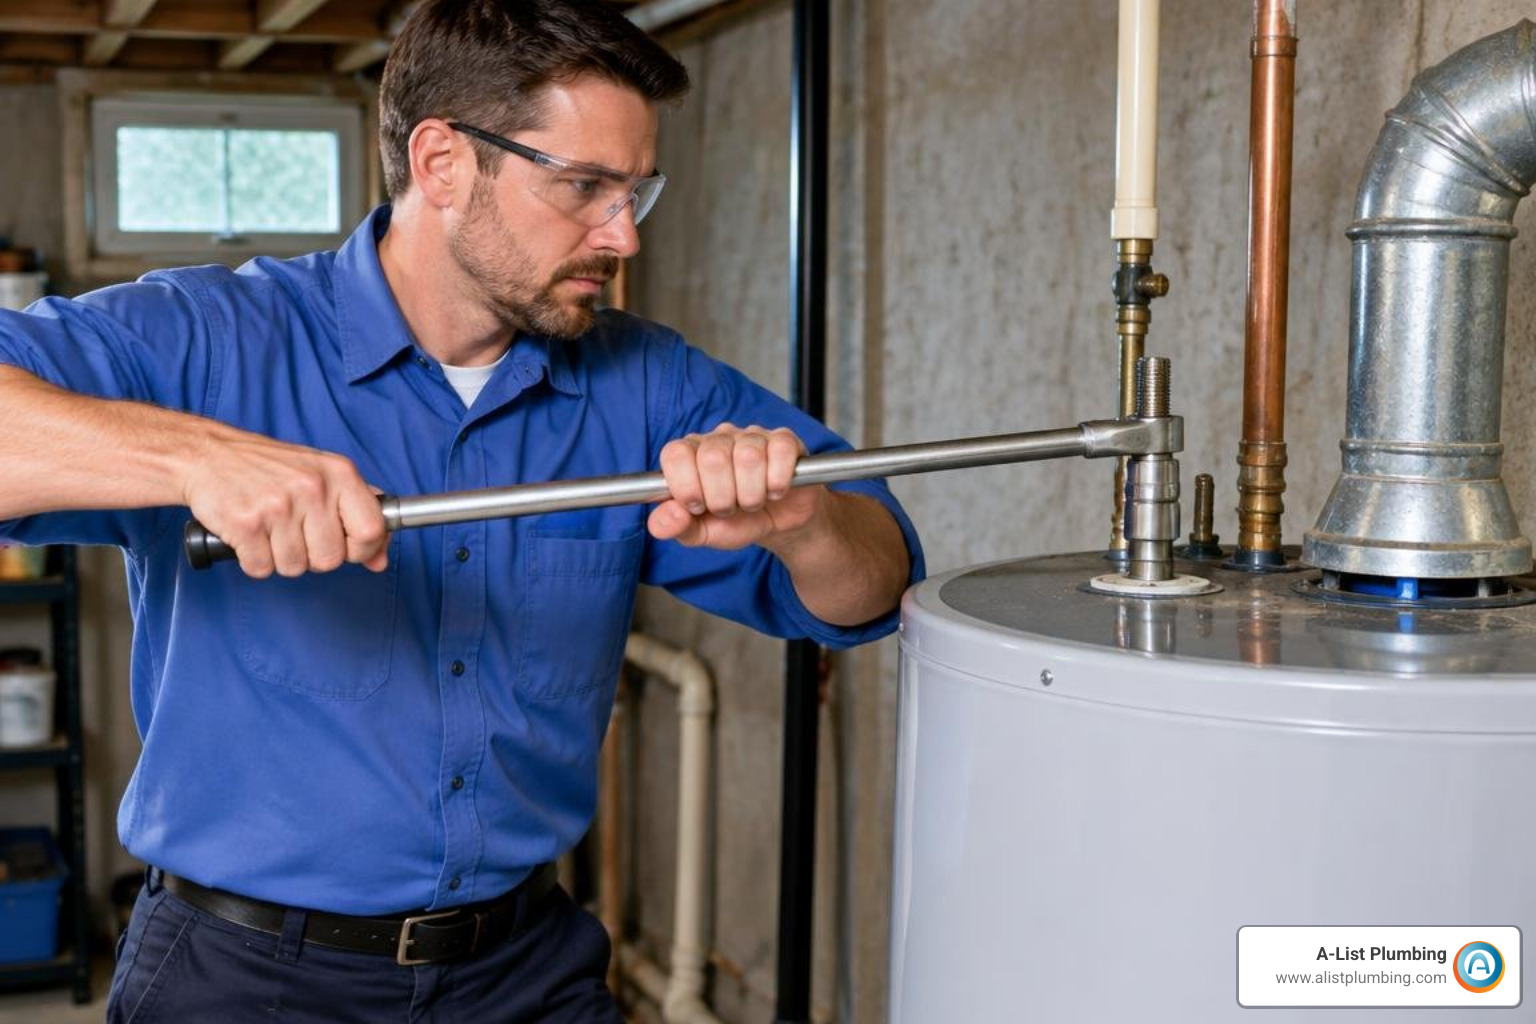
- Unscrew the Old Rod: Put your socket on the hex head and turn counter-clockwise with a breaker bar. Once it's loose, pull the old rod straight up and out.
- Install the New Rod: Wrap the threads of your new rod with 5 to 7 wraps of Teflon tape. Thread it into the port by hand first to make sure you don't cross-thread it, then tighten it down snug with your socket.
- Turn Everything Back On: Turn the cold water back on and let the tank fill until your open hot faucet runs steady without spitting air. Check around the top threads for any tiny leaks, then flip the power back on or relight your pilot.
If you hit a snag or want a pro to handle it, checking our water heater repair cost breakdown for 2026 can help you budget for the visit.
Dealing with Stuck Rods and Low Ceilings
Factory anode rods are torqued down tight, and years of heat can make them tough to budge.
- Freeing a Stuck Hex Head: Spray penetrating oil around the base of the bolt and let it soak for 20 minutes. If the tank wants to twist when you pull on the breaker bar, have someone hold the tank steady or use a cordless impact wrench. The rapid tapping of an impact wrench breaks seized threads loose without spinning the entire tank.
- Working with Low Ceiling Clearance:
If your water heater is tucked into a tight closet or under low basement beams, you probably won't have 40 inches of overhead room to pull a rigid rod straight out.
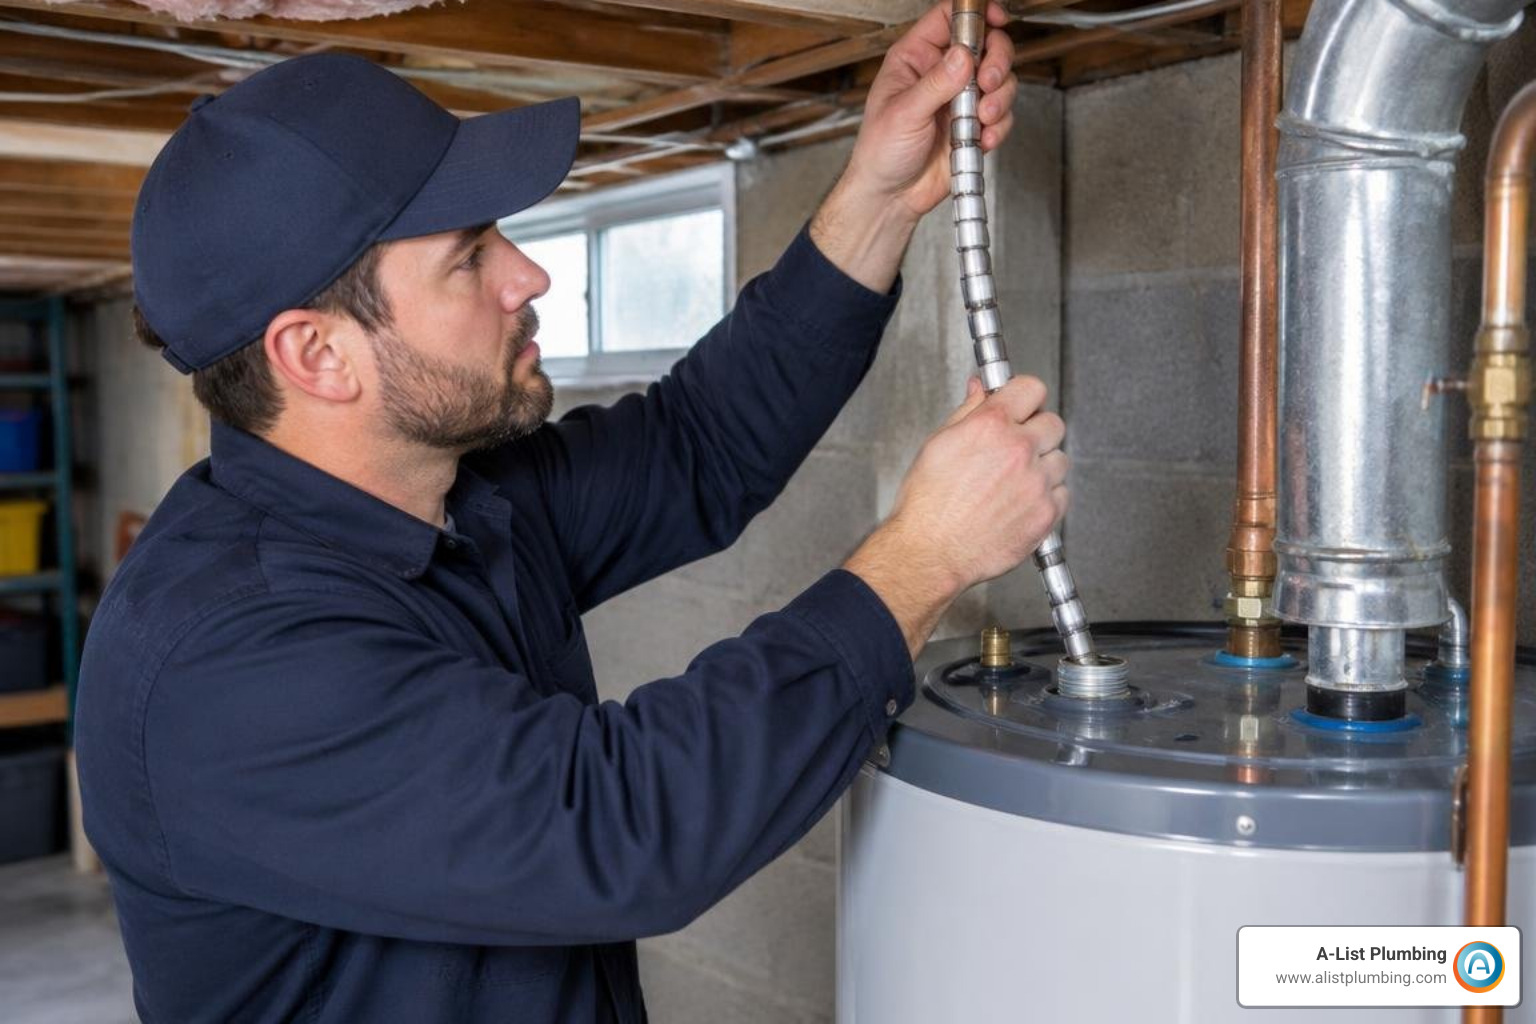
- To get the old one out, pull it up a few inches at a time and bend the soft metal, or snip the core wire with wire cutters as you lift.
- For the new one, grab a flexible segmented anode rod. These come in linked sections that bend easily, letting you slide them right in around tight overhead spots.
Frequently Asked Questions About Water Heater Maintenance
How long does a water heater anode rod usually last?
In normal municipal water, a sacrificial rod lasts about 3 to 5 years. If you've got hard water, use a salt-based water softener, or crank your water heater past 130°F, it can wear out in 1 to 2 years. Giving it a quick check every 2 to 3 years (or annually with a softener) is always a safe bet.
Can my water heater run without an anode rod?
It will still heat water, but running without a rod leaves the bare steel tank completely unprotected against corrosion. Without that sacrificial layer, a steel tank can rust through and start leaking in just 6 to 24 months. Running the tank without one might also void your manufacturer warranty.
How much does DIY replacement cost versus hiring a pro?
A new sacrificial rod for a DIY swap costs around $15 to $40, while a powered titanium rod runs between $80 and $200. Having a licensed plumber handle it usually costs $100 to $200 for parts and labor. Compared to spending $800 to $2,000+ to replace a ruined tank, replacing the rod is one of the cheapest ways to protect your home.
Conclusion
Checking and replacing your water heater anode rod is easily one of the best ways to get extra years out of your water heater. Whether you pick a standard magnesium rod, an aluminum-zinc model to kill odors, or a powered titanium rod you never have to think about again, staying on top of this quick chore keeps your tank safe and prevents messy leaks.
If your anode rod is stuck tight, you can't get rid of a stubborn sulfur smell, or you'd just rather let an expert take care of it, give us a shout. At A-List Plumbing, we bring over 22 years of real-world plumbing know-how to homes across Lynnwood, Edmonds, Shoreline, Bothell, and Greater Seattle. We're all about upfront pricing, quality work, and same-day help. Schedule expert water heater repair services online today to keep your hot water flowing strong.