

Tankless Water Heater Install: What to Do First
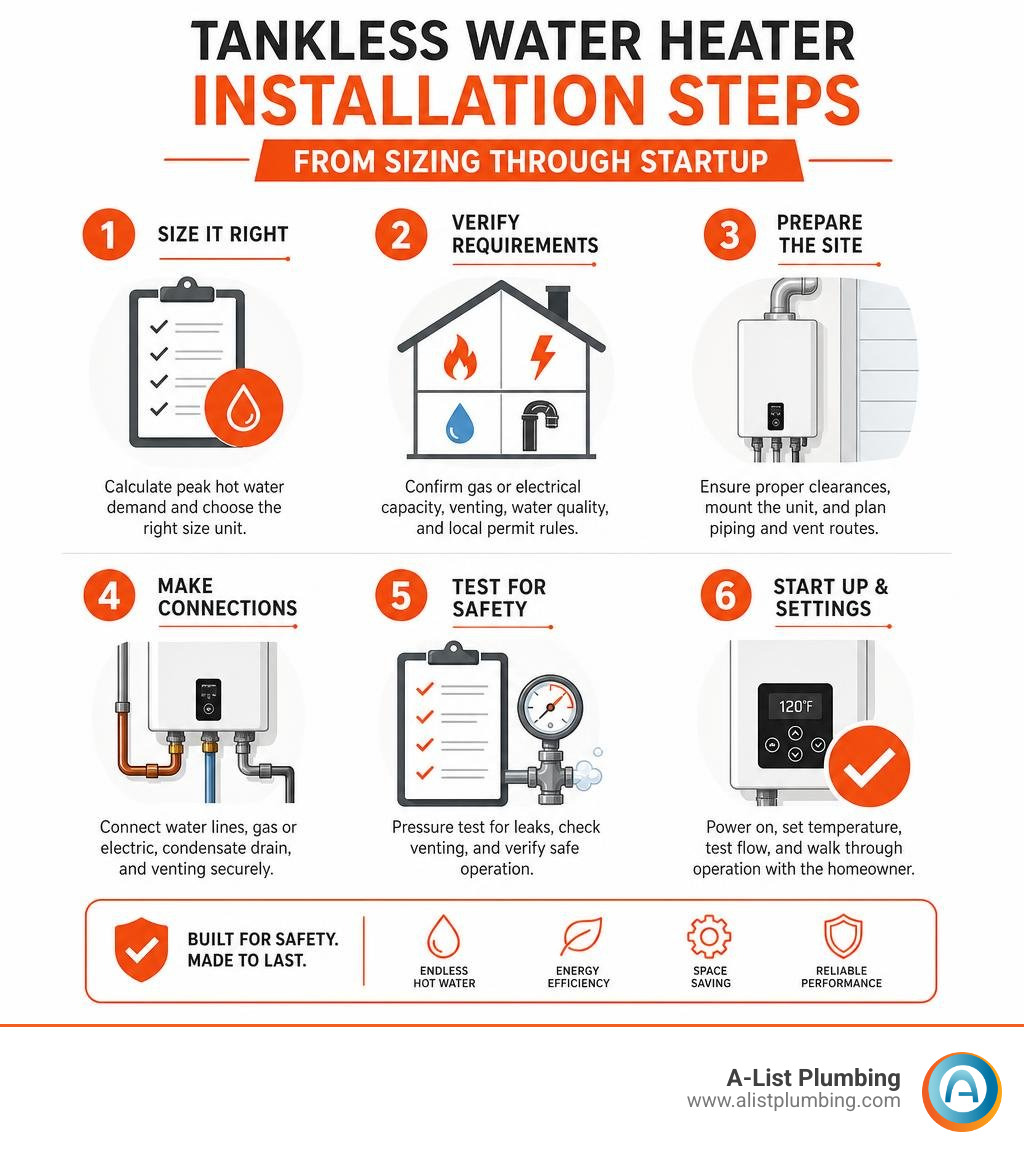
Thinking about tackling a tankless water heater install? Your first move is picking the right unit size and making sure your home can actually handle it. Gas setups usually call for a bigger gas line and dedicated direct venting, while electric units need 240-volt dedicated circuits and might force a main electrical panel upgrade. Before pulling the trigger on a purchase, check out your peak hot water demand, incoming ground water temp, home utility setup, local code rules, and the official manufacturer manual.
A properly sized tankless setup gives you hot water whenever you need it without wasting power keeping a giant tank hot all day. You save floor space and cut down standby heat loss, but putting one in takes a lot more work than just swapping an old tank. Working with gas lines, exhaust venting, high-amp wiring, and leak checks comes with serious safety risks if anything gets missed.
I'm Heath Shockman, owner of A-List Plumbing since 2011. I've spent years doing hands-on residential and commercial plumbing all across the Northwest. When it comes to a tankless water heater install, my crew knows the exact local headaches you'll run into—freezing winter weather, hard water scale, safe venting rules, and rock-solid plumbing hookups.
Tankless vs. Storage Tank: System Sizing and Key Differences
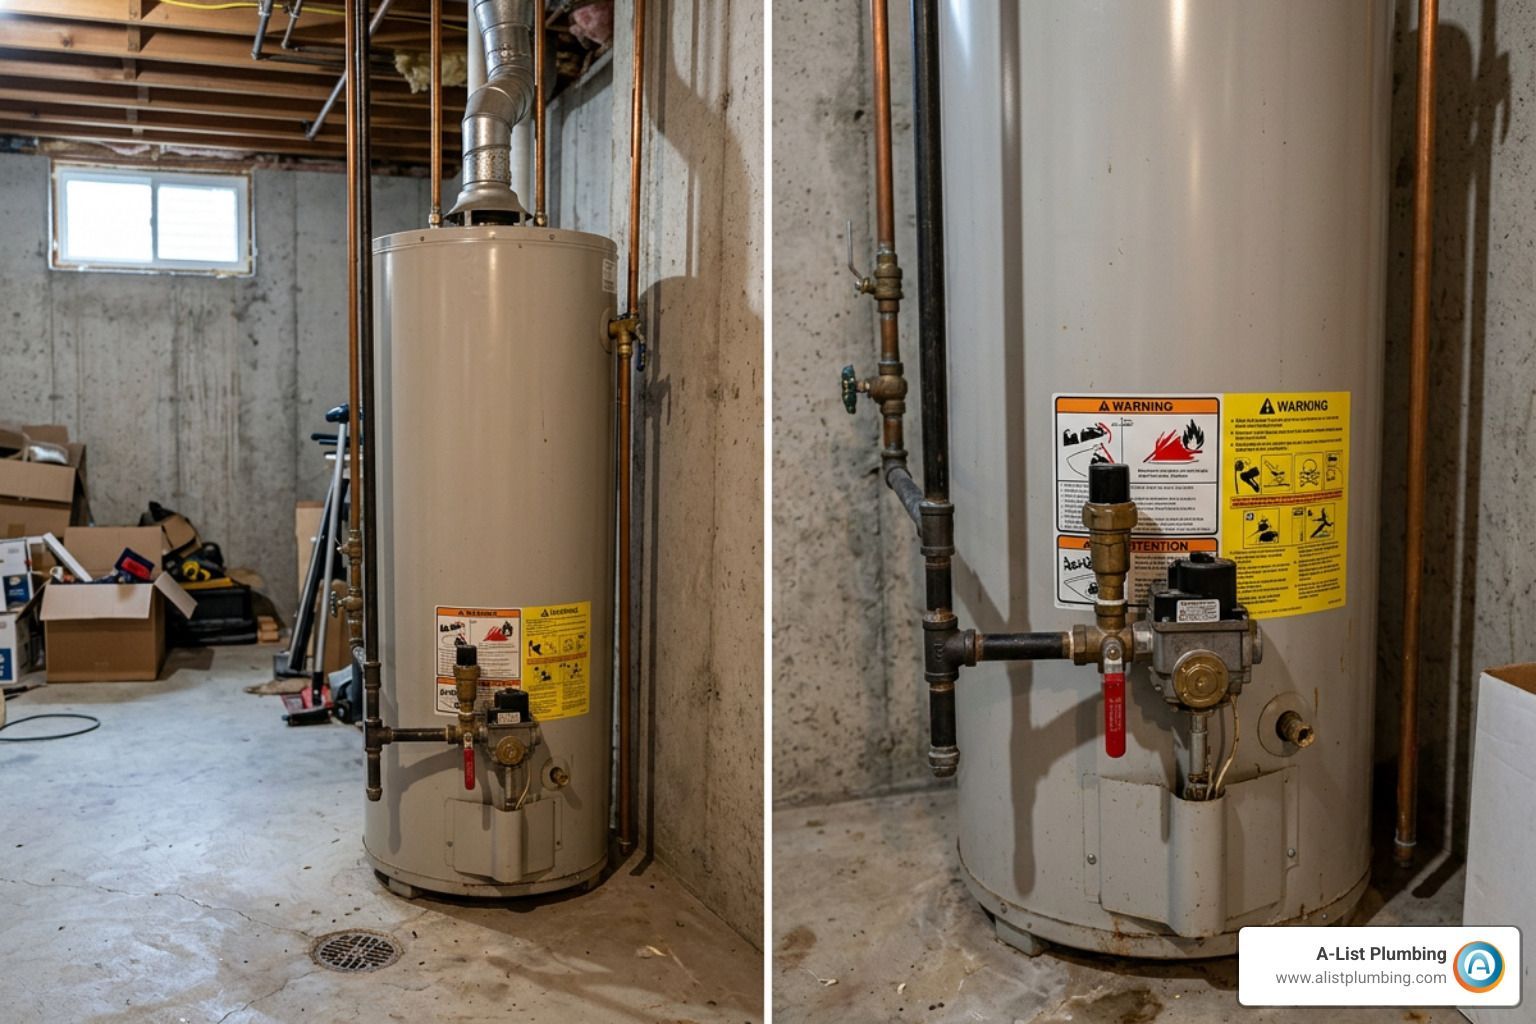
When you ditch a standard water heater, you're swapping a giant barrel of standing water for an on-demand heating setup. Standard tanks keep 40 to 80 gallons blazing hot 24/7. That creates constant standby heat loss, meaning you're literally paying to reheat the exact same water while you're asleep or away at work.
Tankless systems only fire up when you open a tap. Energy.gov figures show that on-demand units run 24% to 34% more energy efficient than standard tanks for homes with moderate hot water use. If your household burns through tons of hot water, you'll still see solid 8% to 14% energy savings. ENERGY STAR rated gas tankless models hit thermal efficiency levels of 90% or higher, cutting your overall energy use by nearly half compared to older storage tanks.
Lifespan is another huge win. A regular tank gives you about 8 to 12 years before sediment rusts out the bottom. Tankless heaters easily last over 20 years with simple annual flushes. Plus, you get your floor space back since the heater mounts right up on the wall.
| Feature | Traditional Storage Tank | Tankless Water Heater |
|---|---|---|
| Average Lifespan | 8 – 12 years | 20+ years |
| Energy Efficiency | Standard thermal ratings | 24% – 34% more efficient (ENERGY STAR 90%+) |
| Standby Energy Loss | Yes (constant reheating) | None (heats strictly on demand) |
| Physical Footprint | 12 – 16 sq. ft. of floor space | Wall-mounted, compact chassis |
| Hot Water Supply | Limited to tank capacity | Endless (within rated flow capacity) |
| Venting Style | Standard chimney or B-vent | Dedicated direct-vent (PVC, CPVC, or Stainless) |
Gas vs. Electric Requirements for a Tankless Water Heater Install
Heating water in the blink of an eye takes a ton of juice. Getting a clear look at your utility setup right out of the gate helps you skip nasty billing surprises.
Gas tankless units pack powerful burners that pull anywhere from 90,000 to 199,900 BTU/h. Compare that to an old-school tank burner running at just 30,000 to 40,000 BTU/h. Because of that huge fuel demand, an existing 1/2-inch gas pipe usually won't cut it. Most jobs require stepping up to a 3/4-inch or 1-inch black iron gas line pulled straight from your gas meter or manifold. That said, certain high-efficiency models shown in the verified and functional NORITZ AMERICA Installation Manual can run on 1/2-inch pipe as long as your gas pressure stays steady and the pipe run is short. Gas units also need a sediment trap (drip leg) right at the fuel inlet to keep stray debris and rust from clogging the gas valve.
Electric tankless models trade gas pipes for heavy electrical service. A small single-sink heater might only draw 33 amps (8 kW), but whole-house electric units pull 100 to 150 amps (24 kW to 36 kW) at 240 volts. That kind of draw requires two to four dedicated 40-amp to 70-amp double-pole breakers and heavy 6-gauge or 8-gauge copper wire. If your home is still running on a 100-amp main electrical panel, you'll definitely need an upgrade to 200 amps before putting in a whole-home electric unit. When sizing up your options for a water heater replacement near me, checking breaker space and gas line size is always step one.
Sizing by Flow Rate (GPM) and Temperature Rise (Delta T)
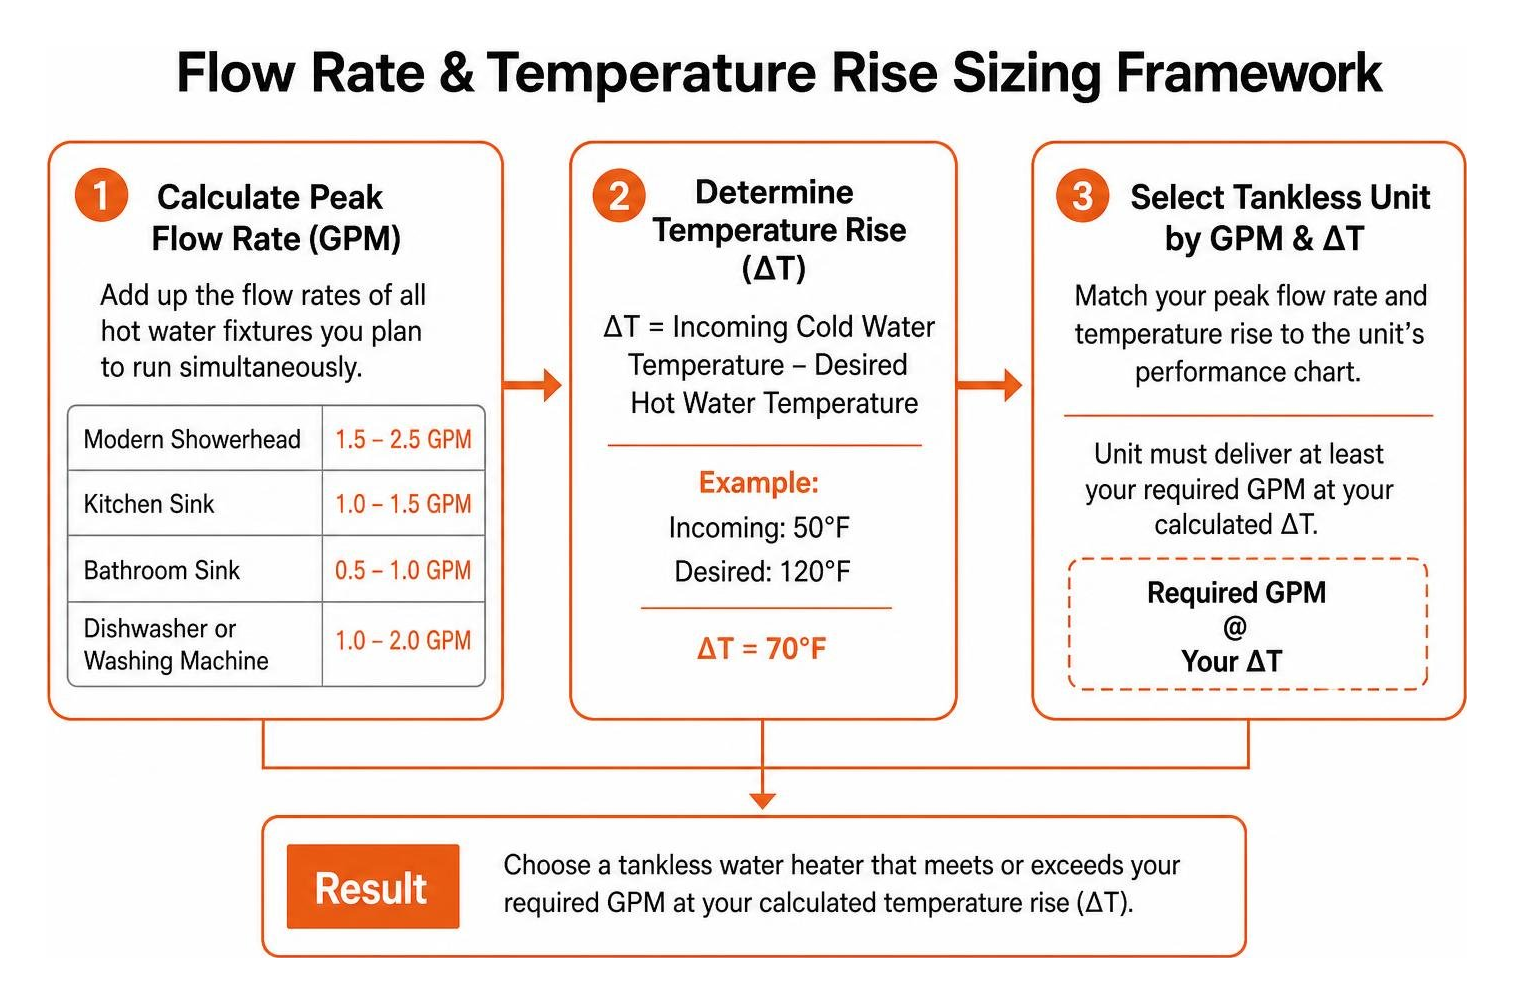
Sizing a tankless unit comes down to two numbers: Gallons Per Minute (GPM) and Temperature Rise (Delta T, or $\Delta T$).
-
Figure Out Peak Flow Rate (GPM): Add up the flow rates of all the fixtures you might use at the exact same time:
- Shower: 1.5 to 2.5 GPM
- Kitchen Sink: 1.0 to 1.5 GPM
- Bathroom Sink: 0.5 to 1.0 GPM
- Washing Machine / Dishwasher: 1.0 to 2.0 GPM
If you want to run two showers (2.0 GPM each) and the kitchen faucet (1.5 GPM) at once, you'll need a unit that puts out at least 5.5 GPM.
-
Find Your Temperature Rise ($\Delta T$): Subtract incoming cold groundwater temperature from your target hot water temp (120°F is standard): $$\text{Desired Temp } (120^\circ\text{F}) - \text{Groundwater Temp } (45^\circ\text{F}) = \text{Delta T } (75^\circ\text{F})$$
In colder regions where winter groundwater dips down into the 40°F to 45°F range, your heater has to pull off a steep 75°F temp rise. When the temperature rise goes up, the maximum GPM your unit can push out goes down. Keep in mind that tankless units also require a minimum flow rate to start heating (usually around 0.3 to 0.5 GPM), so barely cracking a faucet open won't ignite the burners.
Complete Step-by-Step Tankless Water Heater Install Guide
Before grabbing your tools, make sure to grab your required local plumbing and mechanical permits and get your gear ready:
- Pipe and tubing cutters, plus a deburring reamer
- Propane torch, lead-free solder, and flux (or ProPress tools)
- Pipe wrenches and yellow gas-rated thread sealant
- Level, drill, masonry bits, and heavy structural mounting screws
- Category III stainless steel or Schedule 40 solid-core PVC/CPVC/PP vent pipe
- Dedicated tankless service isolation valve kit (with pressure relief valve)
- Hole saw kit for exterior wall cuts, plus exterior silicone sealant
- Digital multimeter and gas bubble leak detector solution
Step 1: Shut Off Utilities and Decommission Old Tank
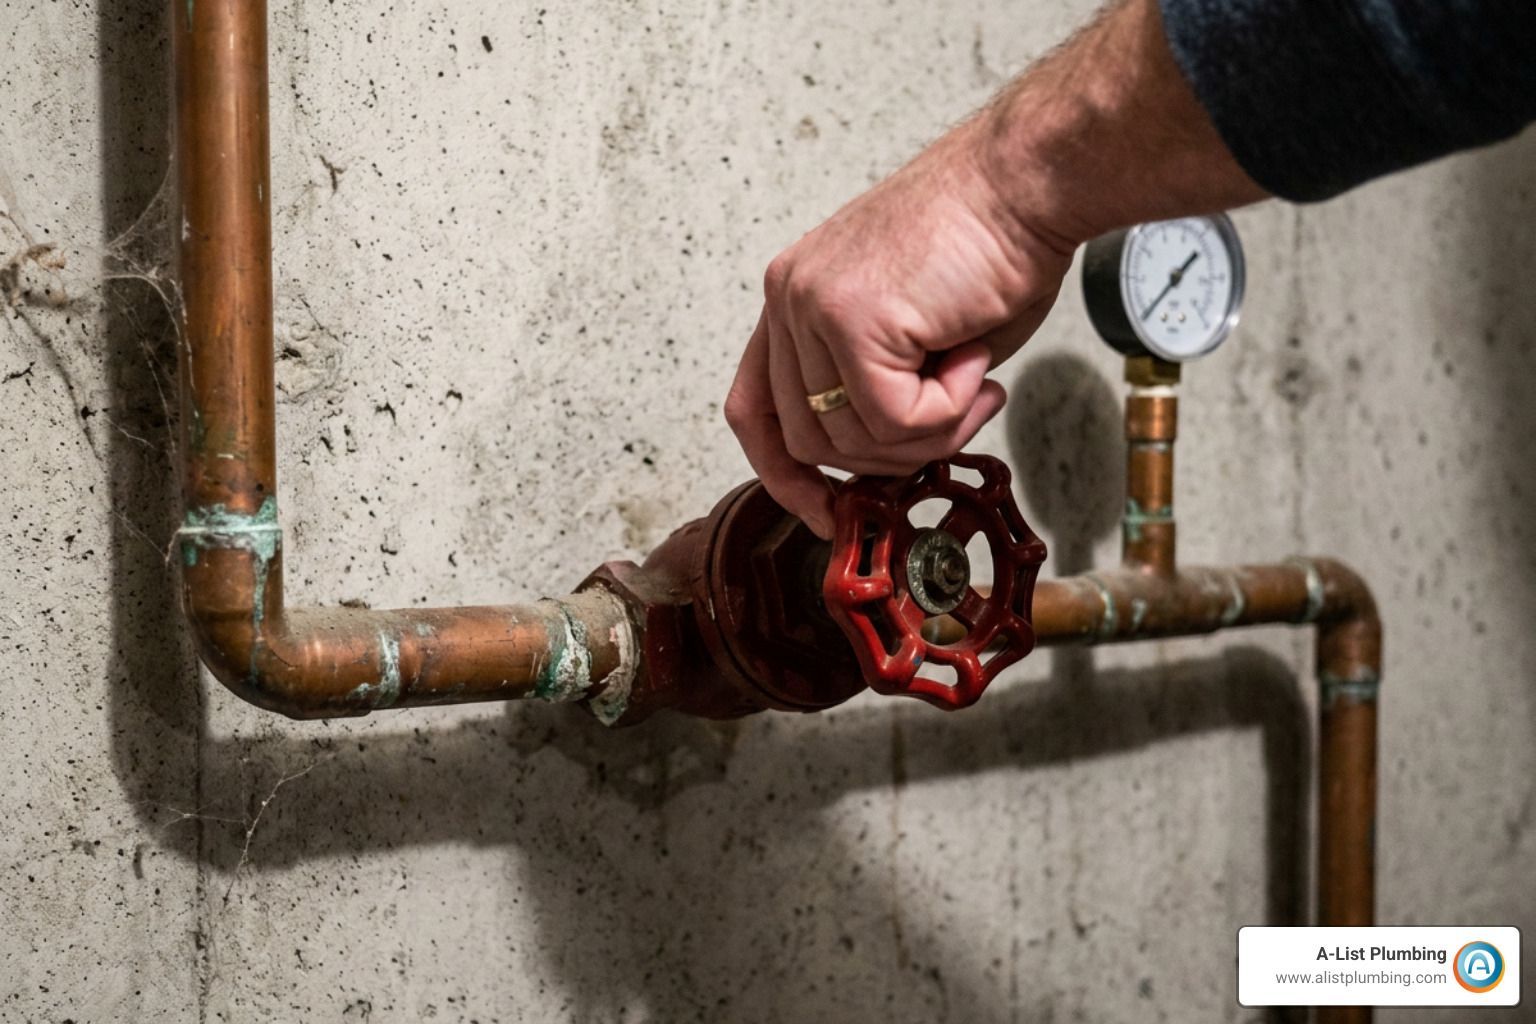
First things first: cut power at the breaker panel. If you're swapping a gas heater, turn the gas supply valve completely off.
Next, turn off the main cold water shutoff. Hook a garden hose to the drain valve at the bottom of the old tank, run it outside or into a floor drain, and open a hot faucet upstairs to break the vacuum so it drains fast.
Disconnect the gas or electrical connections, unhook the water lines, and take down the old flue pipe. Haul the old tank out and drop it off at a local recycling facility.
Step 2: Mount the Tankless Unit to the Wall
Tankless water heaters hang straight on your wall, weighing roughly 35 to 85 pounds. Locate two sturdy wall studs with a stud finder. If your framing doesn't line up with the bracket holes on the chassis, screw a 3/4-inch sheet of exterior-grade plywood or a 2x4 backer frame across the studs first.
Fasten the mounting bracket to the backer, making sure it's completely level. Hang the heater onto the bracket and tighten the bottom mounting points. Keep these safety clearances in mind:
- 12 inches minimum above and below
- 24 inches in front for maintenance access
- 8 inches on the sides (or check the manufacturer manual for exact specs)
Step 3: Upgrade and Connect Gas or Electrical Lines
For gas units, run 3/4-inch black iron pipe from the gas shutoff valve right over to the heater. Put in a manual gas shutoff valve, a tee fitting, a 3-inch sediment trap (drip leg) with a bottom cap, and a union between the drip leg and the water heater. Seal every threaded gas joint with yellow PTFE gas tape or approved pipe dope.
For electric setups, pull your 6-gauge or 8-gauge copper conductors from the dedicated double-pole breakers in your main electrical panel through conduit into the heater's junction box. Make sure your ground wire is securely fastened to the grounding terminal.
Step 4: Complete the Plumbing Hookup for Your Tankless Water Heater Install
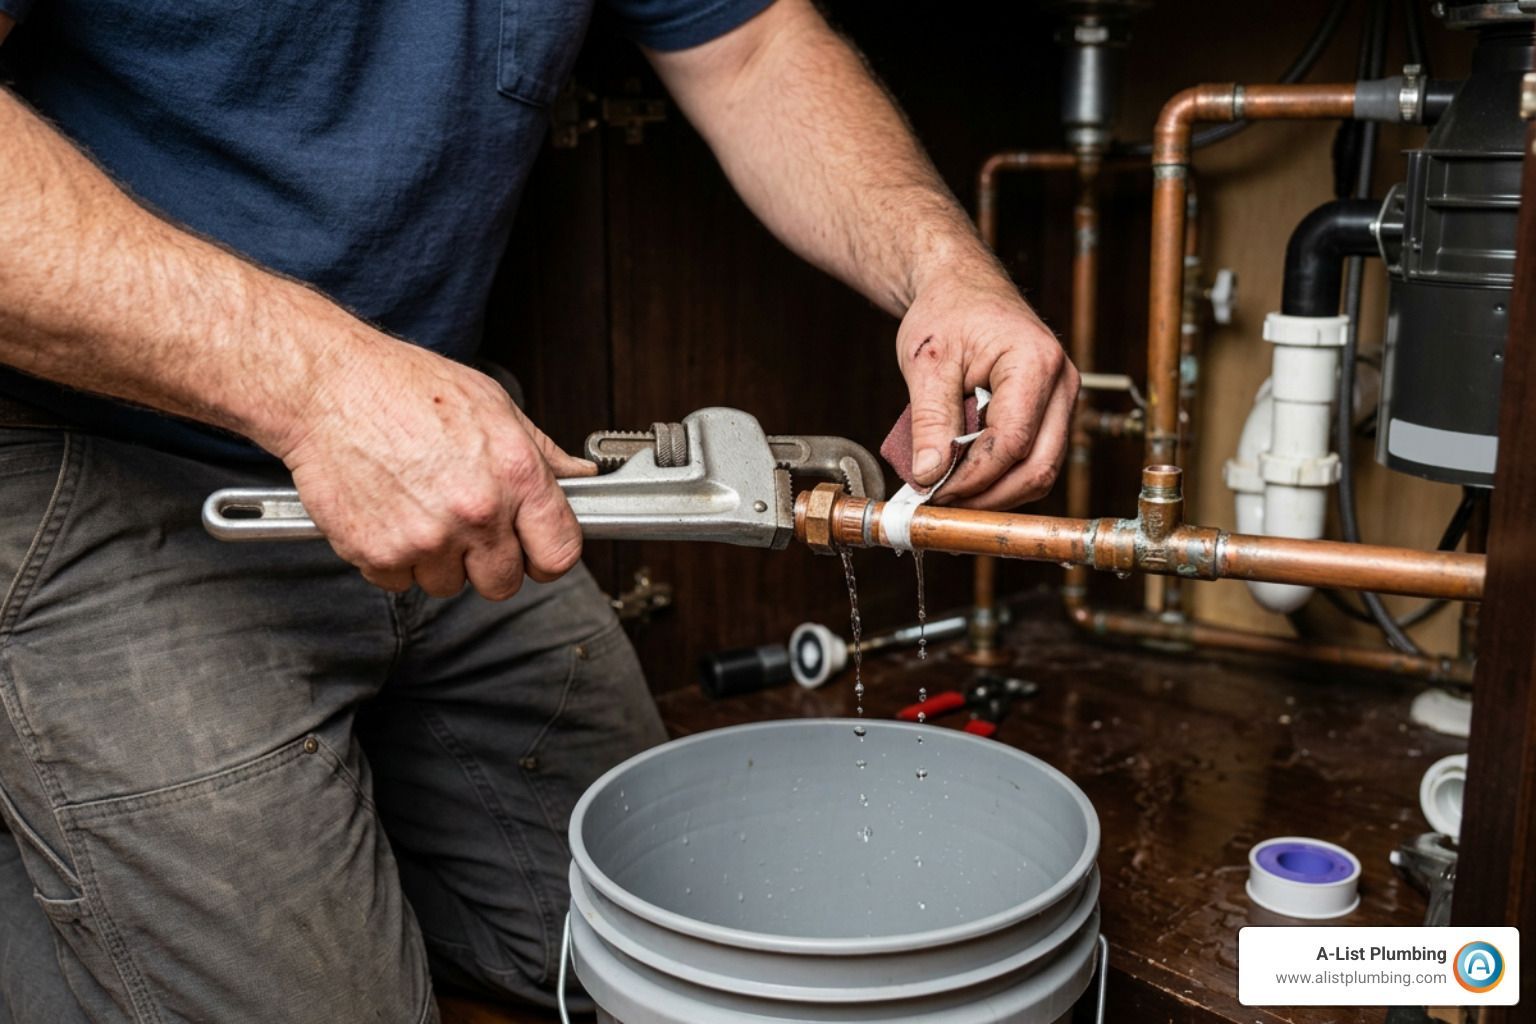
Don't ever solder copper fittings right against the water heater's threaded connections—heat will ruin the internal flow sensors and melt the O-rings. Solder copper stubs onto your adapter fittings first, let them cool down, and then thread them onto the heater.
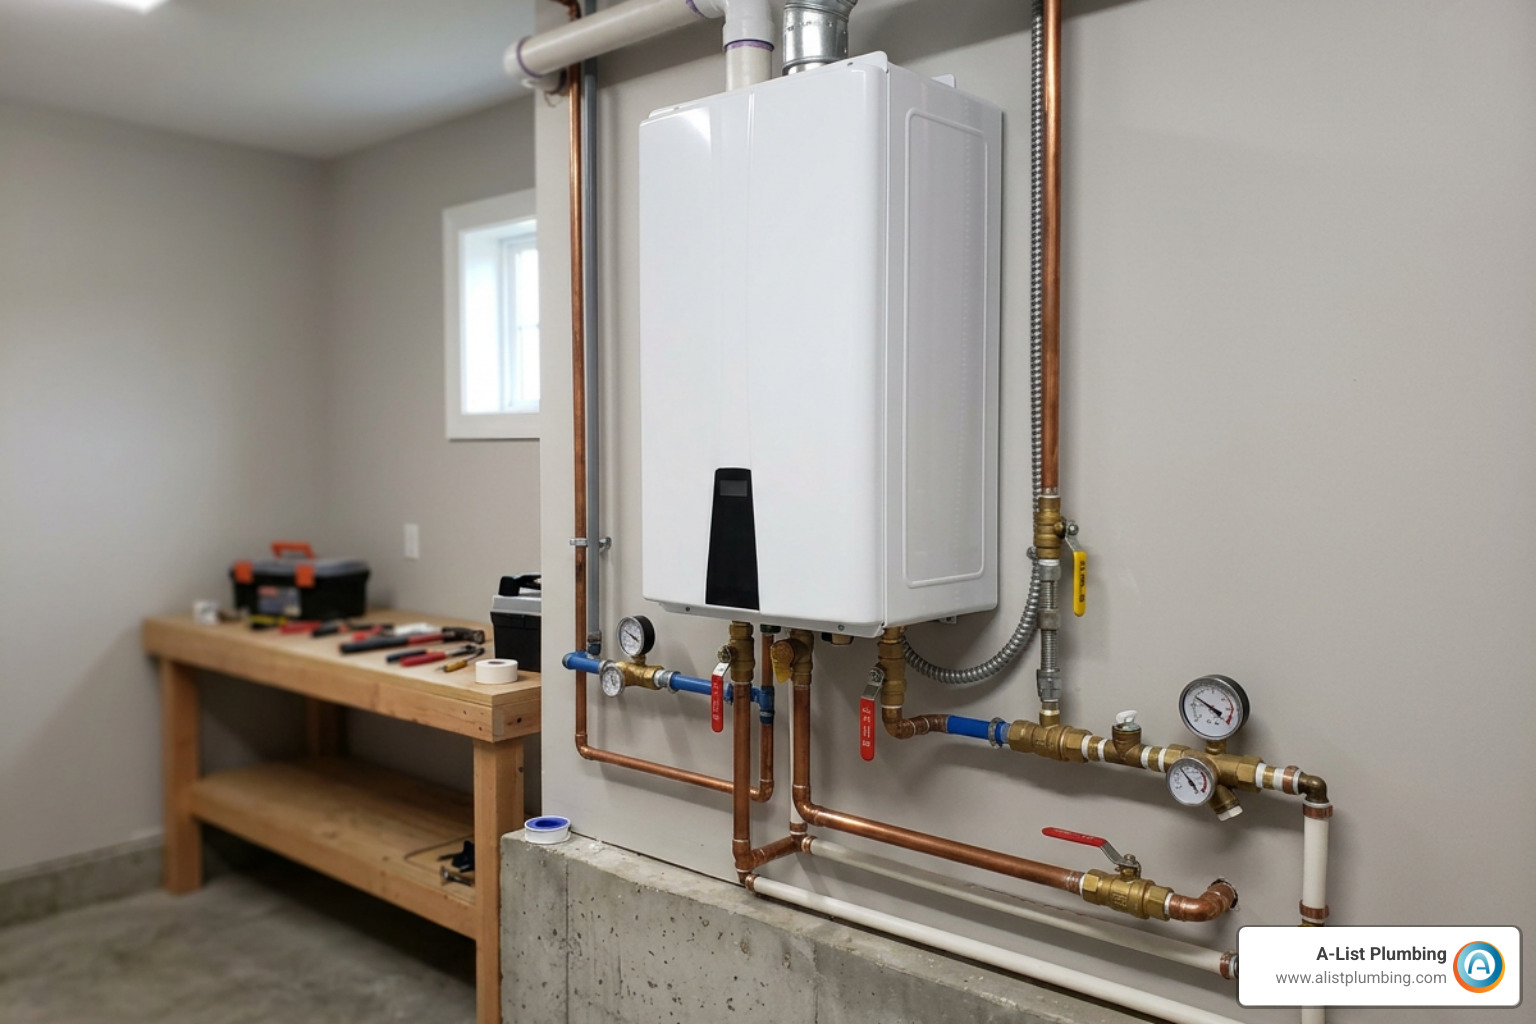
When plumbing in tankless water heaters, install a dedicated isolation valve kit on both the cold water inlet and hot water outlet. These kits include built-in purge ports so you can flush and descale the unit down the road.
Install the included 150 psi temperature and pressure (T&P) relief valve into the service port, running a full-size copper discharge line straight down to within 6 inches of the floor. If your home plumbing uses a closed system with a backflow preventer, add an expansion tank on the cold water line.
Step 5: Install the Direct-Vent Flue and Condensate Drain
Unlike older tanks that draft naturally up a chimney, tankless units rely on powered blower fans. Condensing units vent easily through an outside wall or up through the roof using solid-core Schedule 40 PVC, CPVC, or polypropylene pipe, matching the specifications outlined in the active Rheem direct-vent and condensation line guide. Non-condensing units create much hotter exhaust that requires dedicated Category III stainless steel vent pipe.
Key venting rules:
- Slope horizontal vent runs upward 1/4-inch per foot toward the outside termination (or back toward the heater's internal drain).
- Keep exhaust tips at least 12 inches away from operable doors and windows, and 12 to 24 inches above local snow lines.
- Condensing models produce acidic condensation during operation. Run 1/2-inch tubing from the drain trap through an inline condensate neutralizer packed with calcium carbonate media before running it to a drain.
Step 6: Purge Air and Perform Pressure Leak Checks
Never power up a tankless unit with air trapped in the lines. Firing up dry elements or burners will burn out parts or crack the heat exchanger immediately.
- Water Purge: Turn on your main cold water supply. Open both isolation valves under the heater. Go around your home and open every hot water faucet for 2 to 3 minutes until all spitting stops and water flows smooth.
- Plumbing Leak Check: Check every soldered joint and threaded connection under full water pressure.
- Gas Leak Test: Turn on the gas valve. Coat every joint and union with gas leak detector fluid. If you see bubbles growing, shut the gas off immediately, tighten the connection, and re-test.
Step 7: Commission, Calibrate, and Set Thermostat
Before plugging the unit in, prime the condensate trap by pouring about 10 oz. (280 ml) of water directly into the exhaust collar. That water trap prevents harmful exhaust gases and carbon monoxide from backing up into the room through the drain line.
If you live above 2,000 feet elevation, check the manual to set the DIP switches for high-altitude air flow. Plug the unit into a dedicated 120V outlet (or flip your electric breakers on). Set the temperature display to 120°F to prevent scalding. Turn on a hot water tap, confirm the display shows active water flow, and check that the burners ignite smoothly.
Safety, Water Quality, and Code Considerations
Safe operation depends on maintaining proper combustion air and protecting the unit against internal mineral deposits. Because tankless systems process large volumes of water through narrow copper or stainless steel heat exchanger tubes, hard water is their biggest enemy.
If your incoming water hardness exceeds 7 to 12 grains per gallon (120 to 200 mg/L), minerals will bake onto internal passages, restricting flow and reducing heating efficiency. Routine annual descaling flushes using food-grade white vinegar circulate through the isolation valves via a small submersible pump to dissolve scale. For comprehensive home plumbing protection, integrating a whole-home water treatment system or scale inhibitor preserves your manufacturer warranty.
All combustion equipment requires code-compliant clearances from combustible materials and strict adherence to local building codes. When managing major alterations to home gas lines or potable water supplies, scheduling an official municipal inspection ensures every safety relief valve, electrical breaker, and direct-vent penetration meets local safety requirements. Our team routinely manages these standards across residential plumbing projects to keep systems running efficiently and safely.
Frequently Asked Questions About Tankless Water Heater Installation
Can I install a tankless water heater myself or should I hire a professional?
While a handy homeowner can tackle basic mounting, installing a tankless unit involves high-pressure gas piping, high-amperage electrical wiring, structural penetrations, and combustion calibration. Mistakes can lead to carbon monoxide poisoning, gas leaks, or electrical fires. Furthermore, many manufacturers void their warranties unless the system is installed by a licensed tradesperson. Hiring certified plumbers ensures full code compliance, proper safety permitting, and protected warranty coverage.
What size gas line or electrical panel upgrade is needed?
Most residential gas tankless units require a dedicated 3/4-inch black iron gas line to feed burners demanding up to 199,900 BTU/h. A standard 1/2-inch line is typically inadequate unless the pipe run is very short and gas supply pressure is elevated. Whole-home electric models typically require a 200-amp main electrical service panel to handle multiple 40-amp to 60-amp double-pole breakers drawing up to 150 amps at 240 volts.
How often does a tankless water heater need maintenance?
We recommend flushing the internal heat exchanger once every 12 to 18 months using a simple submersible pump and 4 gallons of distilled white vinegar. In addition, the cold-water inlet filter screen should be removed and rinsed annually to remove caught sediment. Some modern systems feature built-in scale prevention cartridges that extend service intervals up to several years.
Conclusion
Switching over to a tankless system provides endless, on-demand hot water, frees up valuable square footage, and delivers up to a 20-year operational lifespan with remarkable utility savings. Getting the installation right from day one—with proper sizing, gas supply capacity, electrical safety, and direct venting—ensures your system runs smoothly and efficiently for decades.
If you are ready to upgrade your hot water setup or need help troubleshooting an existing unit, the team at A-List Plumbing is here to help. Contact us today for reliable, same-day service and expert water heater repair throughout the Greater Seattle area.