

That Mystery Puddle Under Your Basement Pipes Is Trying to Tell You Something
Pipes leaking in your basement is one of those problems that starts small — a damp spot on the floor, a faint musty smell — and quietly turns into a much bigger headache if you ignore it.
Here's the fast answer most homeowners need right away:
Why do basement pipes leak when you shower or run water?
- Drain line blockage — A partial clog forces water to back up and escape through a loose joint or crack in the basement pipes.
- Failed pipe joint or P-trap — The connection point overflows when water rushes through from upstairs.
- Cracked or corroded pipe — Old galvanized or cast iron pipes develop pinhole leaks that worsen under flow pressure.
- Groundwater intrusion — Water pushes up through the concrete slab around pipe penetrations (this is not a plumbing issue — it's a foundation issue).
- Condensation — Cold pipes in a warm, humid basement can sweat heavily, mimicking an active drip.
The key difference to know right now : if the leak only happens when water is running, it's almost certainly a drain or plumbing issue. If it shows up after heavy rain with no water use, it's likely groundwater seeping through your foundation.
Water damage from leaking pipes can ruin stored belongings, rot structural wood, and create the perfect conditions for mold — fast. This guide walks you through exactly how to find the source, apply a temporary fix, and know when to call a pro.
I'm Heath Shockman, owner of A-List Plumbing since 2011, and I've diagnosed countless cases of pipes leaking in basements throughout the Greater Seattle area — from corroded cast iron drains in older Lynnwood homes to slab penetration leaks made worse by our notoriously wet Pacific Northwest winters. Let's get your basement dry.
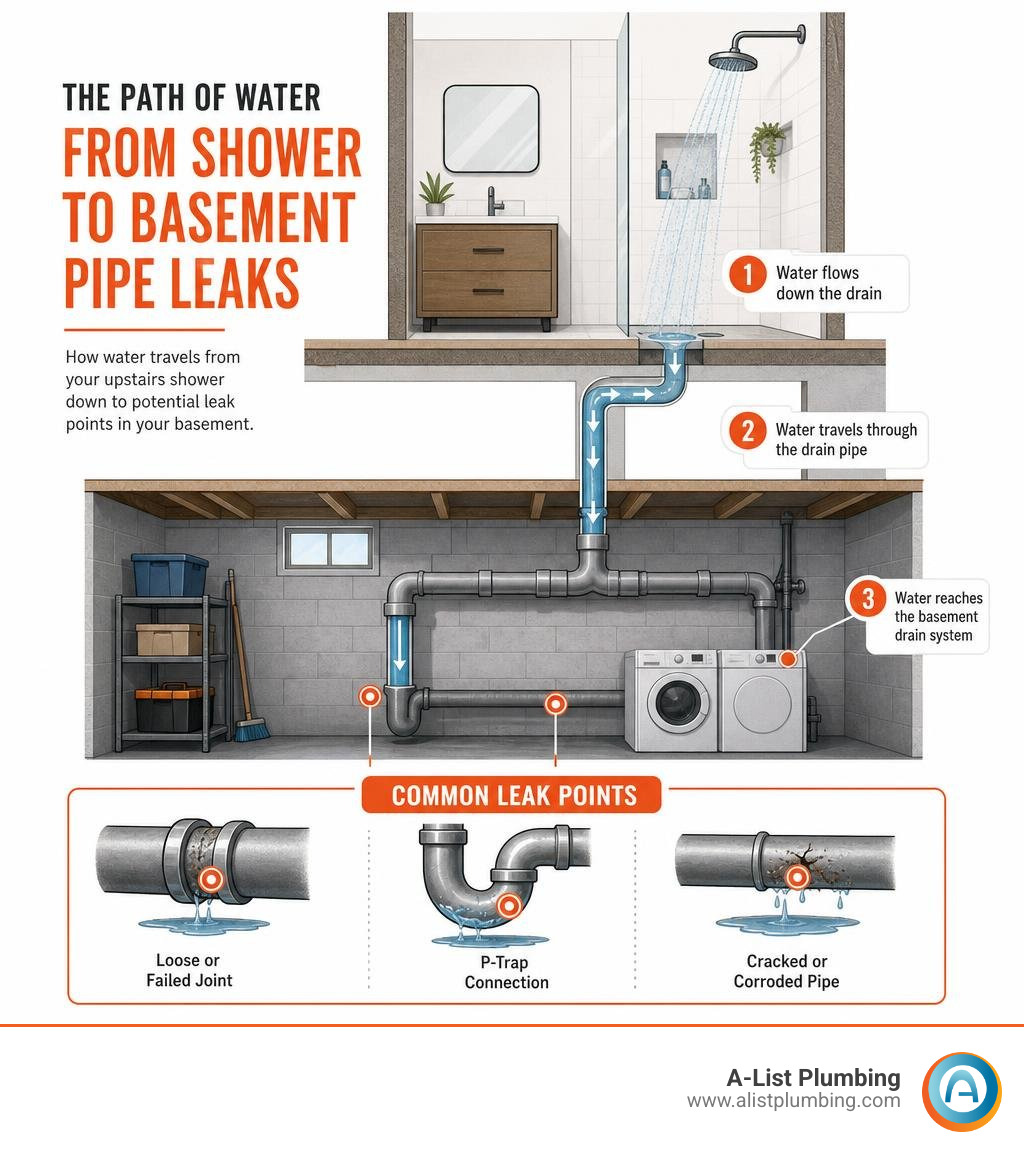
Is It Plumbing or Foundation? How to Tell the Difference
When you find water pooling on your basement floor, your first instinct might be to panic and call the first phone number you find on Google. But before you do that, we need to play detective. Is this water coming from a failing pipe, or is Mother Nature forcing her way through your foundation?
Figuring this out saves you time, money, and the sheer frustration of hiring the wrong specialist. We can narrow it down using two simple rules: water quality and water quantity.
The Water Quality Rule
Take a close look at the puddle (and yes, maybe give it a quick sniff, though we recommend wearing gloves!).
- Groundwater/Foundation Seepage: This water is almost always clean, clear, and odorless. Why? Because as rainwater or snowmelt travels through the soil around your home, the earth acts as a massive natural filter, trapping dirt and sediment before the water seeps through your concrete walls or floor.
- Plumbing Leaks: This water can vary wildly. If it’s from a pressurized water supply line, it will be clean and clear. However, if it’s from a drain line, a sewer backup, or a clogged fixture, it is often dirty, soapy, grey, or downright smelly.
The Water Quantity and Timing Rule
- Foundation Seepage: This is a slow-motion invasion. It takes time to develop, often starting hours or even days after a heavy Pacific Northwest storm. It enters slowly as "seepage" due to hydrostatic pressure — the physical force exerted by water in the surrounding soil pushing against your below-grade concrete. You will often see it pooling at the "cove joint" (the tiny space where your basement wall meets the floor).
- Plumbing Leaks: A plumbing issue, especially a burst pipe repair service(link verified as active and functional) or backed-up drain, usually results in a large volume of water appearing in a very short period. If you run a shower upstairs and a puddle forms downstairs within minutes, your plumbing is the culprit.
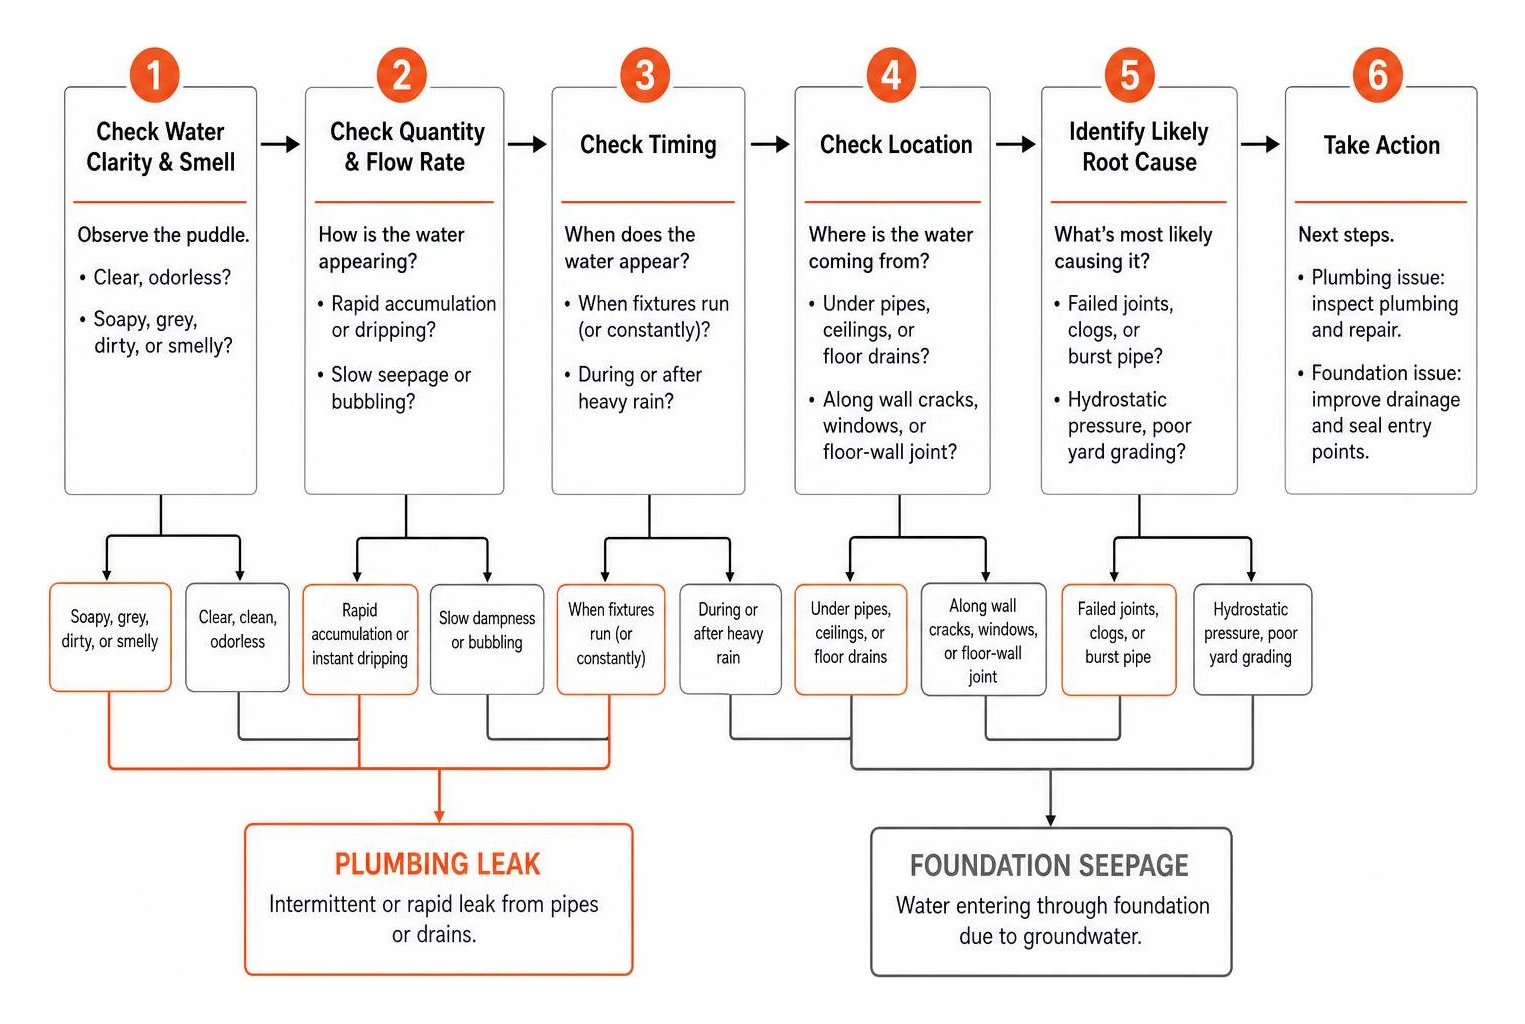
To help you visualize this, we've broken down the key differences below:
| Diagnostic Feature | Plumbing Leak | Foundation Seepage |
|---|---|---|
| Water Clarity | Can be soapy, grey, dirty, or smelly | Clean, clear, and odorless |
| Flow Rate | Rapid accumulation or instant dripping under use | Slow, steady dampness or bubbling |
| Timing | Happens when fixtures run (or constantly if supply line) | Happens during or after heavy rainstorms |
| Common Location | Directly under pipes, ceilings, or floor drains | Along wall cracks, windows, or the floor-wall joint |
| Root Cause | Failed joints, clogs, burst pipe in wall repair(link verified as active and functional) | Hydrostatic pressure, poor yard grading |
If you suspect the issue is structural, you might look into specialized foundation solutions. However, if you are dealing with water dripping from overhead lines or bubbling out of household connections, you'll want to Learn more about plumbing-caused basement leaks(external link verified as active and accurate) to protect your home from rot and mold.
Why Your Pipes Leaking in Basement Only Happen When Water Runs
It is a classic mystery: you head down to the basement on a dry summer afternoon in July 2026, and everything is bone dry. But thirty minutes later — right after someone takes a long, hot shower upstairs — you find a fresh puddle forming on the concrete floor. Why does the leak play hide-and-seek?
This intermittent behavior points directly to a gravity-fed drain line leak rather than a pressurized supply line leak.
Pressurized Supply Lines vs. Gravity-Fed Drain Lines
To understand why this happens, we have to look at how your home’s plumbing is split:
- The Supply Side: Your fresh water supply lines are constantly under high pressure (typically 40 to 80 psi). If a supply line cracks, it doesn't care if you're showering or sleeping — it will spray water continuously, 24/7, until you shut off the water.
- The Drain Side: Your waste lines (including the P-trap under the shower and the main stack) only hold water when a fixture is draining. These are gravity-fed. When you turn on the shower, hundreds of gallons of water rush down the drain. If there is a crack, a loose coupling, or a failing joint in the basement ceiling portion of that drain, water will seep out only during or immediately after use.
The Role of Blockages and the P-Trap
Often, the leak isn't just a physical hole in the pipe; it's a symptom of a downstream blockage.
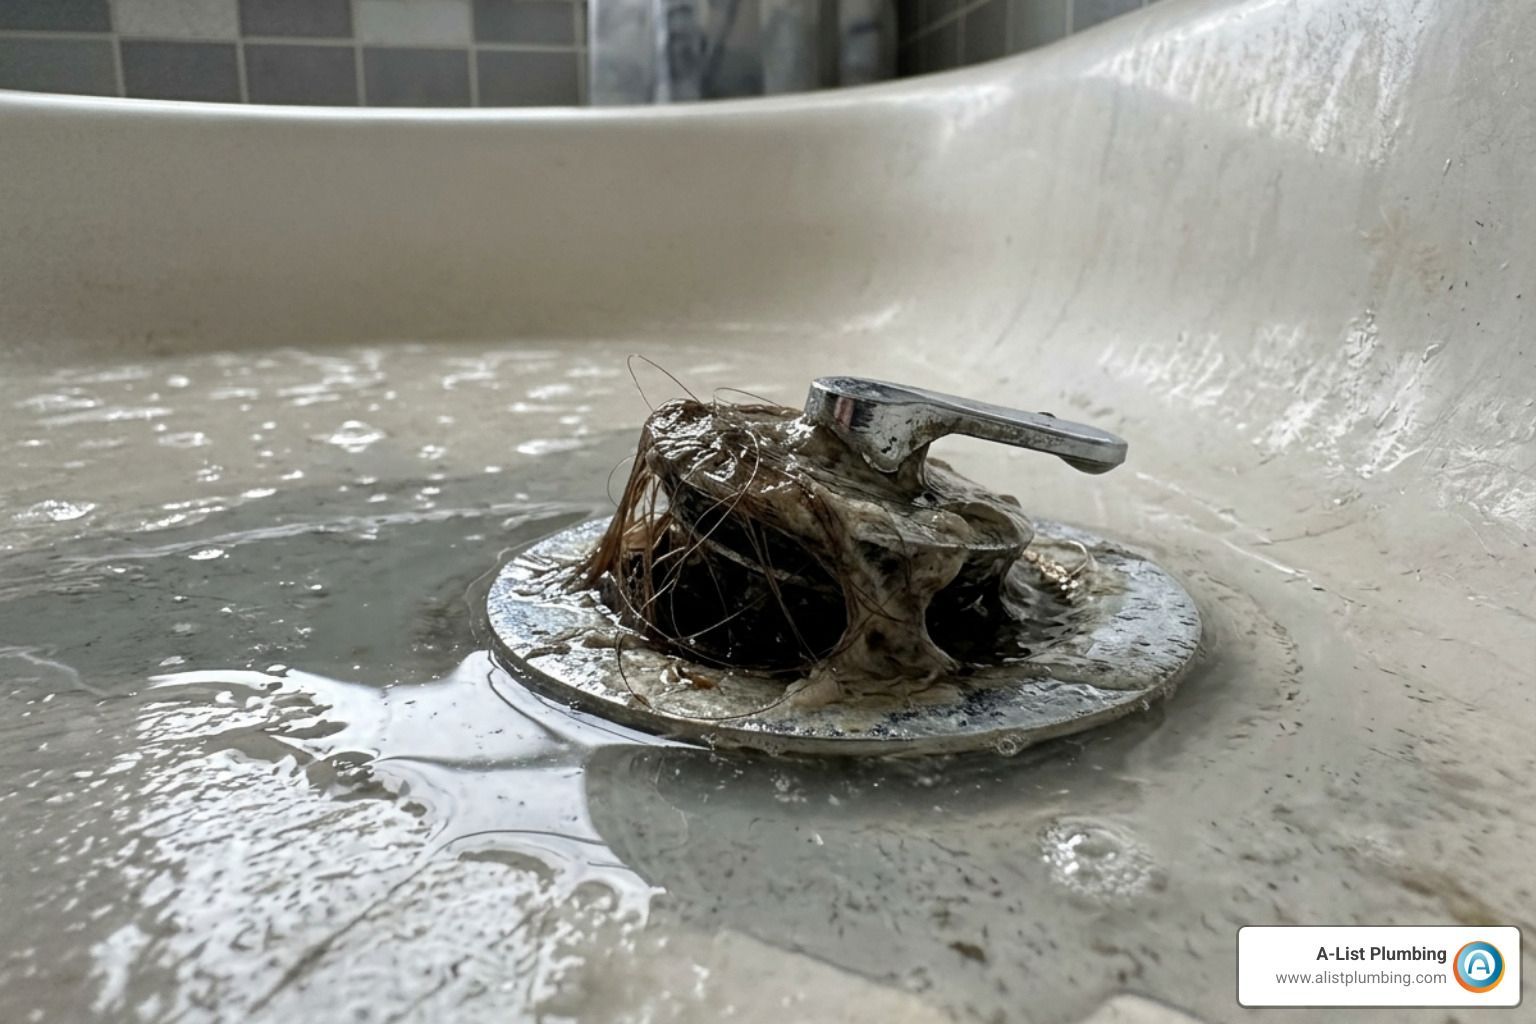
A P-trap is designed to hold a small amount of standing water to prevent toxic sewer gases from entering your home. However, it is also a prime collector for hair, soap scum, and grease. When a partial clog forms deep in your drain line, water cannot flow away fast enough. The pipe fills up, creating temporary pressure. This backed-up water will quickly find the weakest path out — which is usually a worn-out joint, a loose slip-nut connection, or a rusted section of older pipe in your basement.
If you are trying to track down one of these elusive "ghost leaks" in your ceiling or walls, we can help. Feel free to explore our professional leak detection services (link verified as active and functional) to pinpoint the exact source without tearing your drywall to pieces. For more complex sewer-side issues, you can also Read about basement sewer pipe leaks(external link verified as active and accurate) to understand how below-slab blockages force wastewater upward.
How to Temporarily Fix a Leaking Pipe in Your Basement
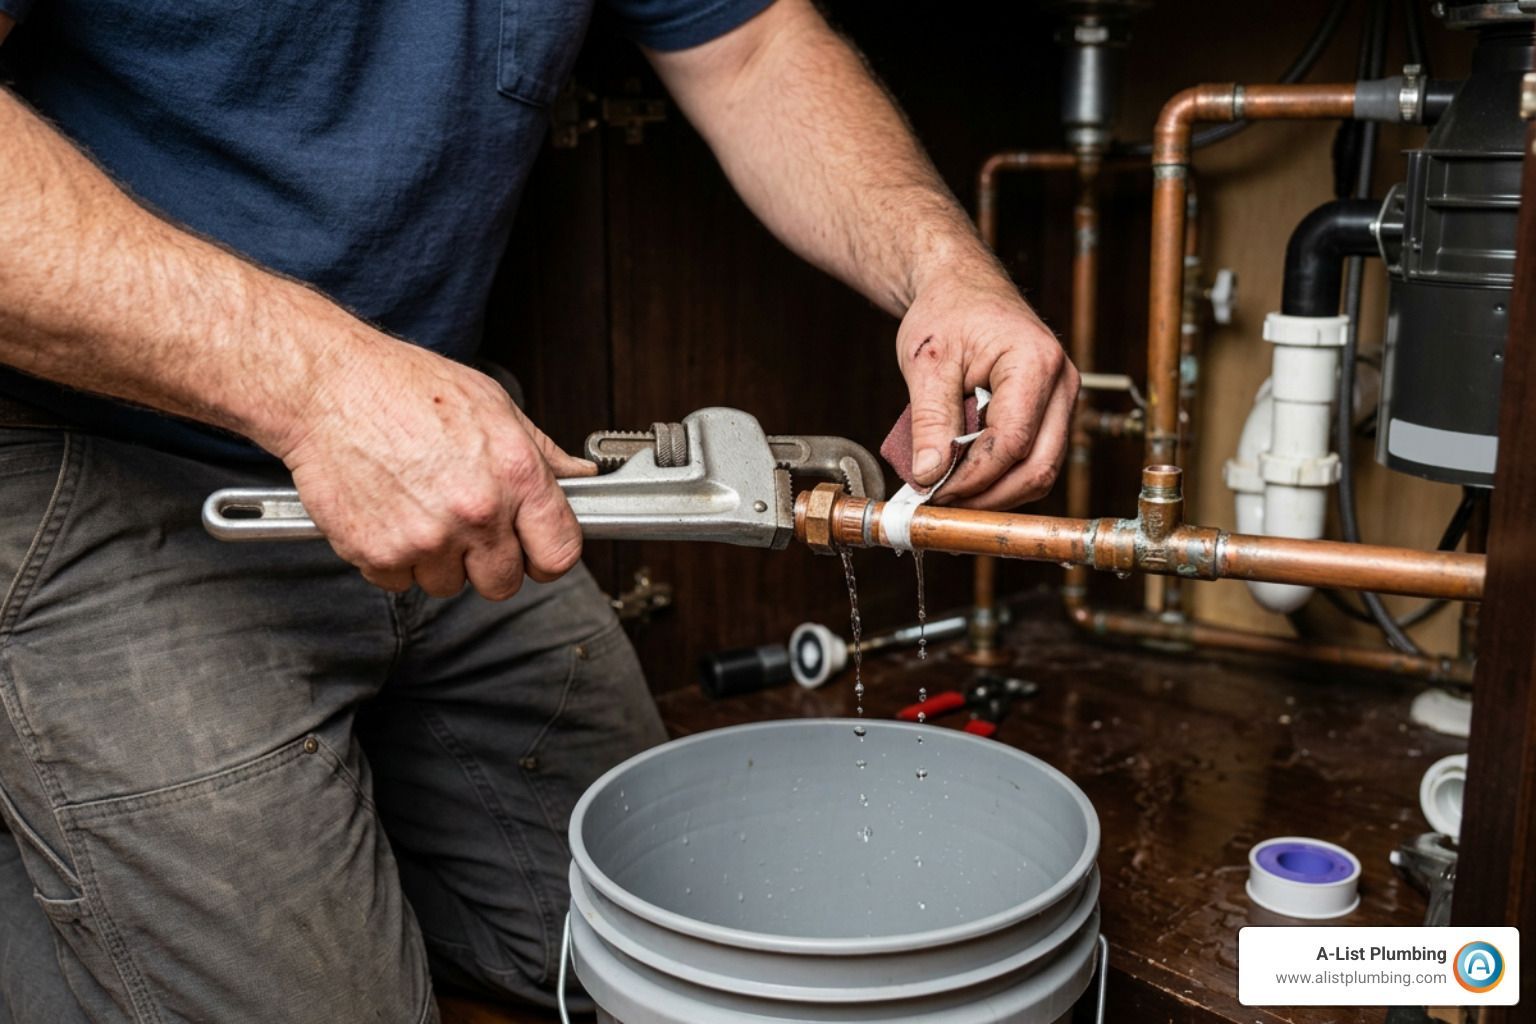
If you have an active leak dripping onto your basement floor, you don't have to stand there and watch your drywall rot while you wait for a plumber. While these DIY methods are strictly temporary band-aids to keep your water running safely until a permanent fix is made, they can save you thousands of dollars in emergency water restoration costs.
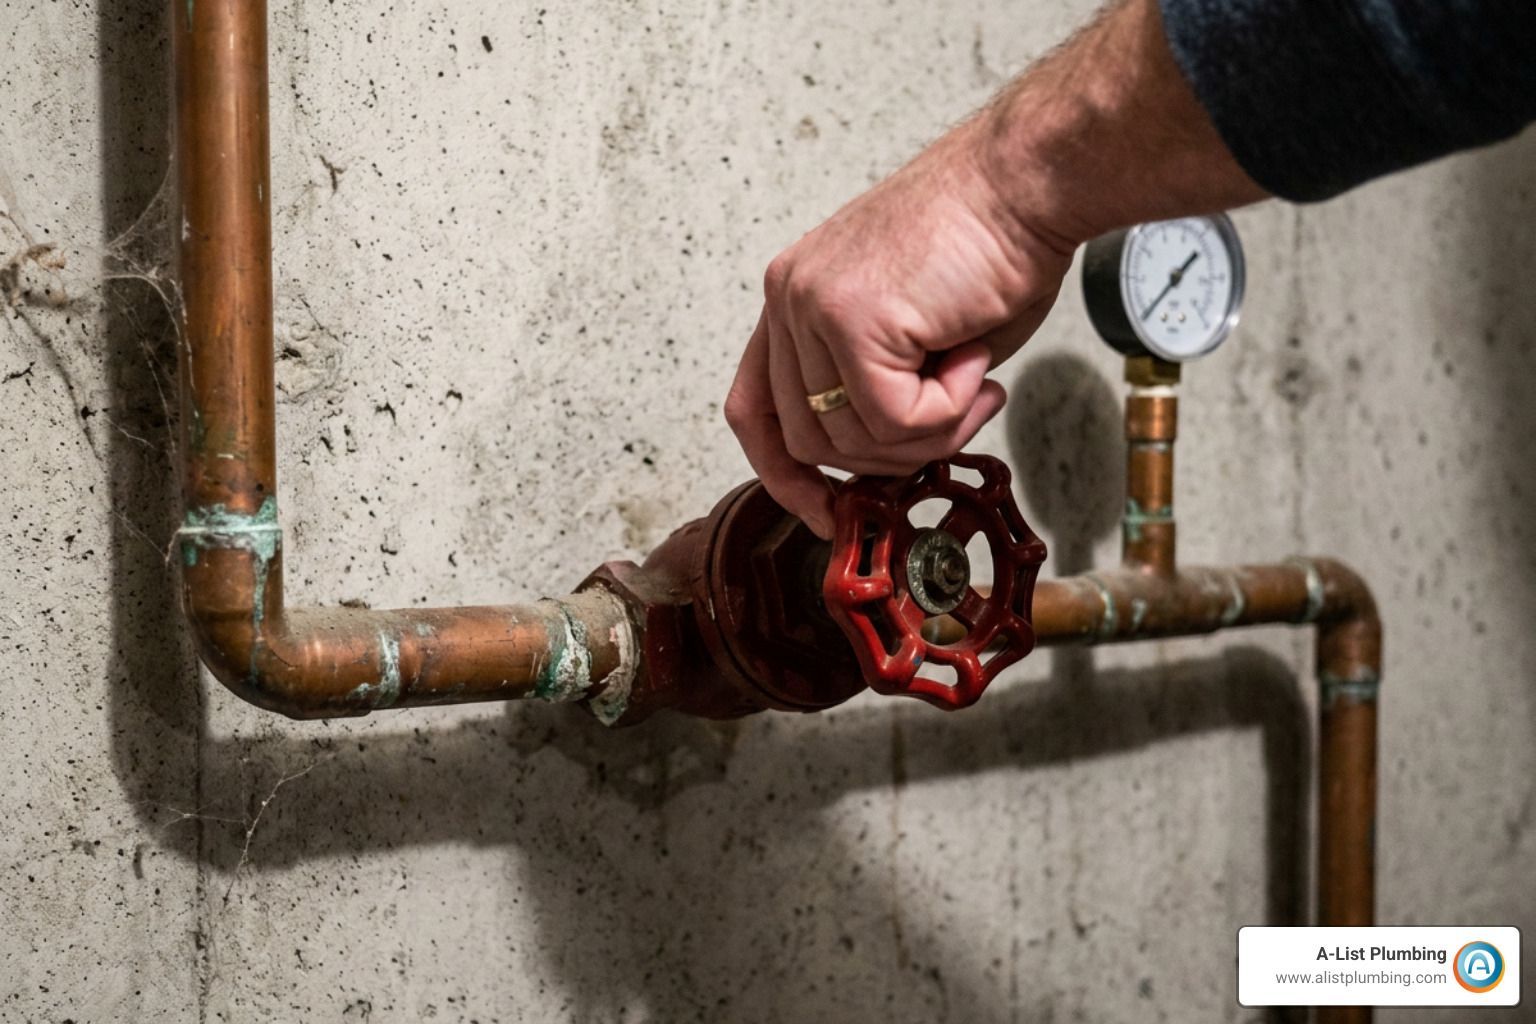
Before you do anything, put on safety goggles and gloves. If the water is pooling near electrical outlets, appliances, or your breaker panel, do not step in the water. Go to your main electrical panel, shut off the power to the basement, and then locate your main water shutoff valve to stop the flow.
Once the area is safe and the water is shut off, dry the pipe thoroughly. Adhesives and tapes will not stick to a wet surface. Here are the three best temporary fixes:
1. Self-Fusing Silicone Tape (Best for Low-Pressure Lines and Drains)
This tape doesn't have sticky glue on it. Instead, it chemically fuses to itself when stretched tightly, creating a seamless, waterproof, rubbery sleeve.
- How to apply: Start about two inches to the side of the leak. Wrap the tape tightly around the pipe, stretching it to about double its length as you go. Overlap each pass by 50% until you are two inches past the leak on the other side.
2. Epoxy Putty (Best for Rigid Pipes and Joints)
Epoxy putty comes in a clay-like stick with two different colored components (the resin and the hardener).
- How to apply: Cut off a small chunk and knead it in your gloved hands until it turns into a single, uniform color. Quickly press the putty over the crack or hole, smoothing the edges down flat against the pipe. It will cure into a rock-hard seal within minutes, even stopping minor low-pressure leaks.
3. Neoprene Patch and Pipe Repair Clamp (Best for Pinholes in Metal Pipes)
If you have a pinhole leak in a straight section of copper or galvanized steel pipe, a structural clamp is your best bet.
- How to apply: Take a small piece of flexible neoprene rubber (an old wet suit piece or a plumbing patch kit works perfectly) and place it directly over the hole. Use a metal file to smooth down any sharp pipe edges first so they don't cut the rubber. Place the metal repair clamp over the rubber patch and tighten the bolts evenly until the dripping stops.
For a deeper look at these temporary methods, Check out our emergency fix for leaking pipe guide(link verified as active and functional). If the leak is occurring right where your main water line enters your home, you can also Learn how to repair a water line through a basement wall(external link verified as active and accurate) to keep external groundwater from traveling along the pipe channel.
Fixing the Main Drain Pipe Leak at the Concrete Floor
One of the most frustrating leaks a homeowner can face is water seeping out right where the main cast iron or PVC drain pipe meets the concrete basement floor. This is a highly vulnerable spot because it is the intersection of your home’s structural slab and your active plumbing system.
Why Does It Leak Here?
This leak is usually caused by one of two completely different problems:
- A Downstream Plumbing Blockage: There is a clog further down the sewer line outside your home. When you run water upstairs, it backs up, fills the vertical stack, and forces its way out of the joints or cleanout plugs located below floor level.
- Hydrostatic Groundwater Pressure: Heavy rain saturates the soil beneath your slab. The water pressure rises and forces groundwater upward through the tiny gap around the pipe penetration. This is often made worse by the "clay bowl effect," where loose backfilled soil around your foundation holds water like a sponge.
How to Fix the Concrete Penetration Seal
If you have verified that the pipe itself isn't clogged or cracked underground, you need to seal the concrete penetration point permanently. Do not just smear silicone caulk or black tar over the top — hydrostatic pressure will push right through it, and you'll end up with a messy, bubbling failure.
- Step 1: Prep the Area. Use a cold chisel and a hammer to carefully chip away any old, crumbling concrete, dirt, or failed DIY sealants around the base of the pipe. Be extremely careful not to crack the pipe itself. Aim to create an inverted "V" shape groove around the pipe, which gives your patching material more surface area to grip.
- Step 2: Clean Thoroughly. Use a wire brush and a vacuum to remove all dust and loose debris.
- Step 3: Apply Hydraulic Cement. Hydraulic cement is a specialized material that actually expands as it cures and can set even in the presence of active, running water. Mix a small batch with water to a thick, putty-like consistency. You must work incredibly fast — hydraulic cement hardens in about 2 to 3 minutes! Press it firmly into the chiseled groove around the pipe using a putty knife.
- Step 4: Seal with Polyurethane. Once the cement is dry, apply a generous bead of professional-grade polyurethane sealant over the joint for a flexible, waterproof finish that can handle minor home settling.
If you are dealing with a standard pipe crack above the floor, you can Find out the best way to fix a leaking pipe(link verified as active and functional) to restore your system's integrity.
Frequently Asked Questions About Basement Pipe Leaks
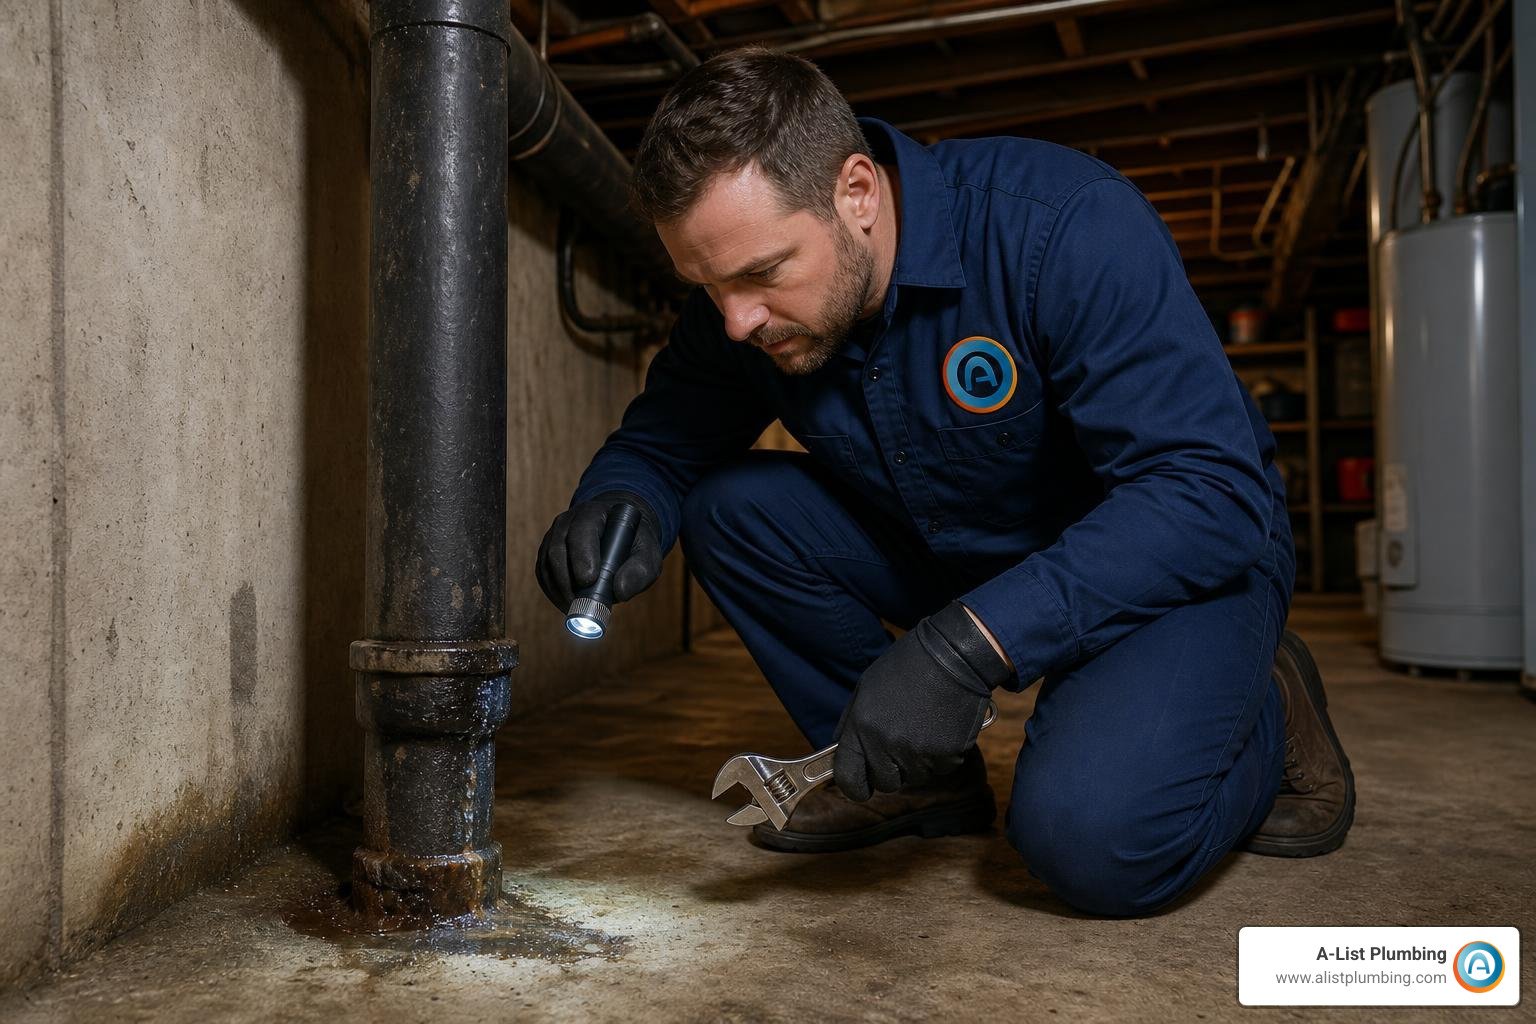
We get a lot of questions from homeowners in Lynnwood, Edmonds, and Shoreline who are dealing with damp basements. Here are the most common questions we hear, along with quick, practical troubleshooting tips.
What are the signs of blocked drains causing pipes leaking in basement?
When your main sewer or secondary drain lines are blocked, they will let you know long before a pipe completely bursts. Watch out for these warning signs:
- Slow Drains: Water takes forever to empty from your kitchen sink, shower, or washing machine.
- Gurgling Sounds: You flush a toilet, and you hear a distinct bubbling or gurgling sound coming from your basement floor drain or utility sink.
- Sewer Backups: Wastewater actively backs up out of your lowest floor drains when you run appliances upstairs.
- Musty Odors: A persistent, damp, sewage-like smell in your basement, indicating that waste is sitting stagnant in your pipes or leaking into wall cavities.
If you notice these signs, do not pour harsh chemical drain cleaners down your pipes — they can eat away at older metal lines and make your problems much worse. Instead, look into a professional Broken Pipes Repair(link verified as active and functional) to clear the line and repair any structural damage safely.
How much does it cost to fix pipes leaking in basement?
The cost of repairing a basement pipe leak varies widely depending on where the leak is located and how easy it is to reach.
- Simple Repairs: Fixing an accessible, exposed copper or PVC pipe leak in your basement ceiling or utility room typically costs between $150 and $450, depending on whether joints need to be resoldered or sections replaced.
- Hidden or Below-Slab Leaks: If the leak is buried behind finished basement drywall or beneath your concrete slab floor, the cost can rise significantly. Accessing these lines requires demolition, excavation, and restoration, which can push costs from $1,500 to $6,000 or more.
- Plumbing vs. Waterproofing: That sealing a foundation crack or installing a full interior drainage system (like a French drain and sump pump) is a structural waterproofing project, which typically ranges from $3,000 to over $10,000.
To help plan your budget and avoid surprise bills, check out our comprehensive breakdown on the cost to fix leaking pipe(link verified as active and functional).
When should I call a plumber vs. a waterproofing contractor?
Knowing who to call is all about identifying the source of the water:
- Call a Licensed Plumber (like us!) if: The water is dripping from overhead pipes, spraying from a wall, bubbling out of a floor drain, leaking only when you run fixtures, or if your water meter is spinning when all your faucets are turned off. These are active plumbing failures.
- Call a Waterproofing Contractor if: The water is seeping slowly through cracks in your concrete foundation walls, dampening the "cove joint" where the wall meets the floor, or if your basement floods only during heavy rainstorms with no plumbing fixtures running.
If you are dealing with a sudden plumbing emergency, don't wait. We offer same-day availability and transparent pricing to get your home back in order. You can Get 24 hour leak repair help(link verified as active and functional) from our experienced local team.
Conclusion
At the end of the day, dealing with pipes leaking in your basement is all about early detection and taking fast, decisive action. Whether you are dealing with a slow, sweating cold-water pipe or a major drain line backup after a family shower, ignoring the moisture is a guaranteed path to wood rot, ruined structural drywall, and unhealthy mold growth.
To protect your basement moving forward, we highly recommend taking a few simple preventive measures:
- Install Smart Water Sensors: Place inexpensive Wi-Fi-enabled leak detectors on the floor near your water heater, sump pump, and main sewer line. They will send an instant alert to your smartphone the second they detect moisture.
- Insulate Your Pipes: Wrap cold-water lines in foam sleeve insulation to prevent them from sweating during humid summer months.
- Maintain Your Drains: Avoid pouring grease, oil, or flushable wipes down your drains, and have your main sewer line professionally inspected and cleared if you live in an older home with mature tree roots.
If you are in Lynnwood, Edmonds, Shoreline, Bothell, Seattle, or the Greater Seattle area, you don't have to tackle these plumbing mysteries alone. With 22 years of experience, same-day availability, and honest, upfront pricing, our team at A-List Plumbing is always ready to help.
Don't let a small leak turn into an expensive basement disaster. Schedule professional residential plumbing services today(link verified as active and functional) to get your home's plumbing running perfectly!