

Plumbing Pipe Leak Repair Starts With Stopping the Water
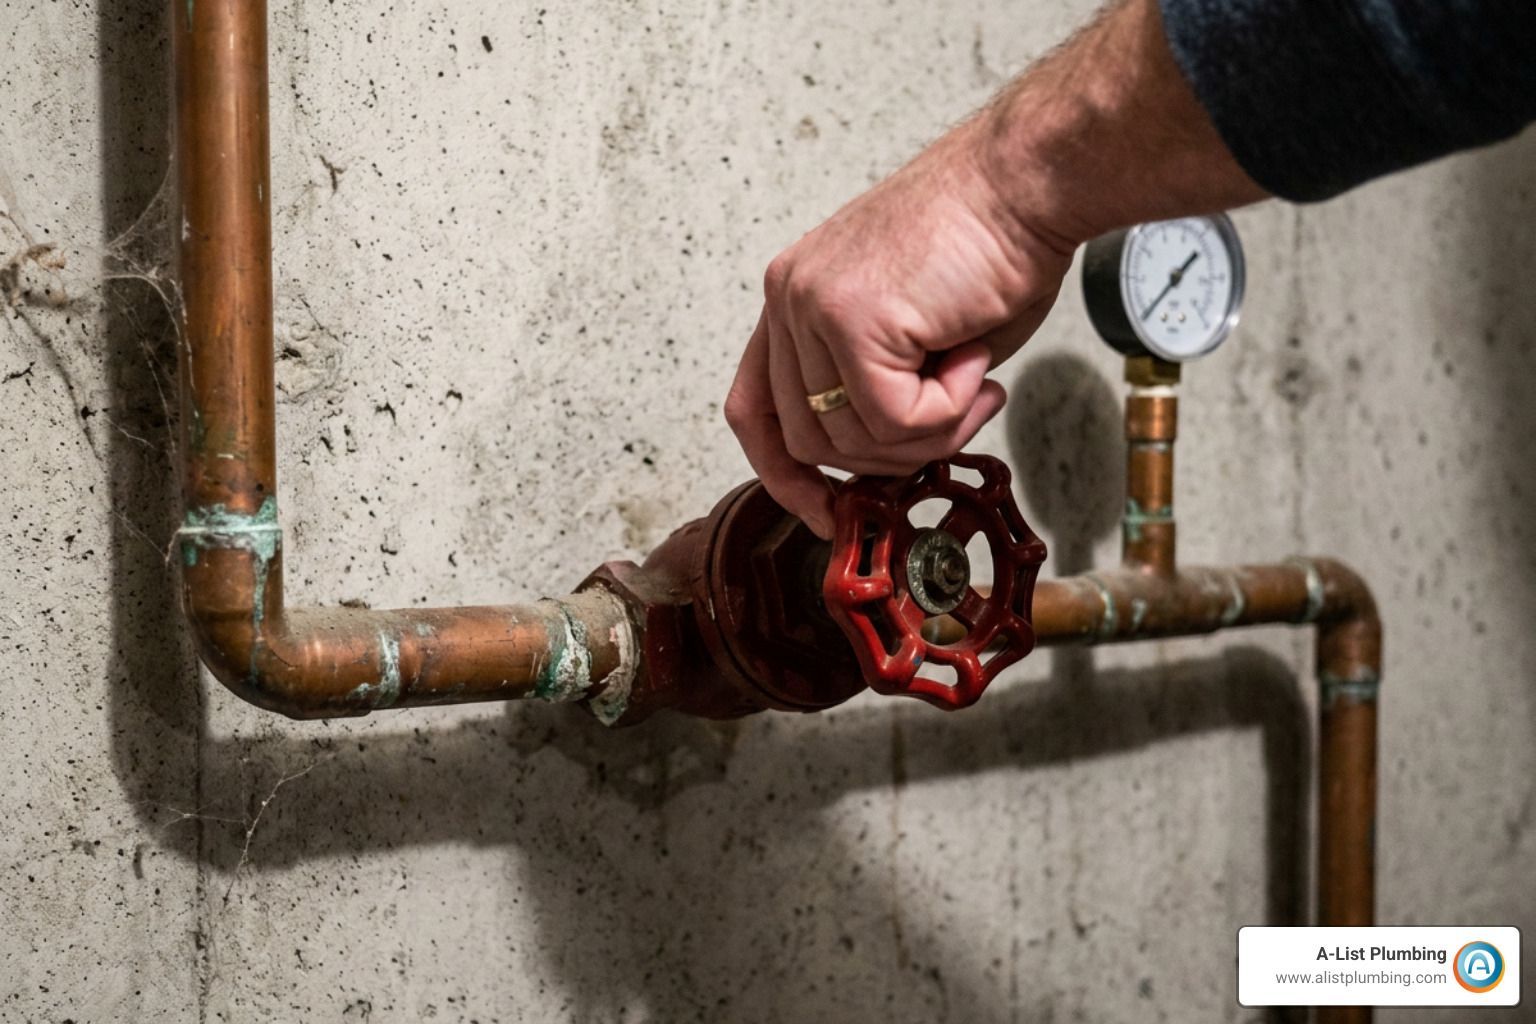
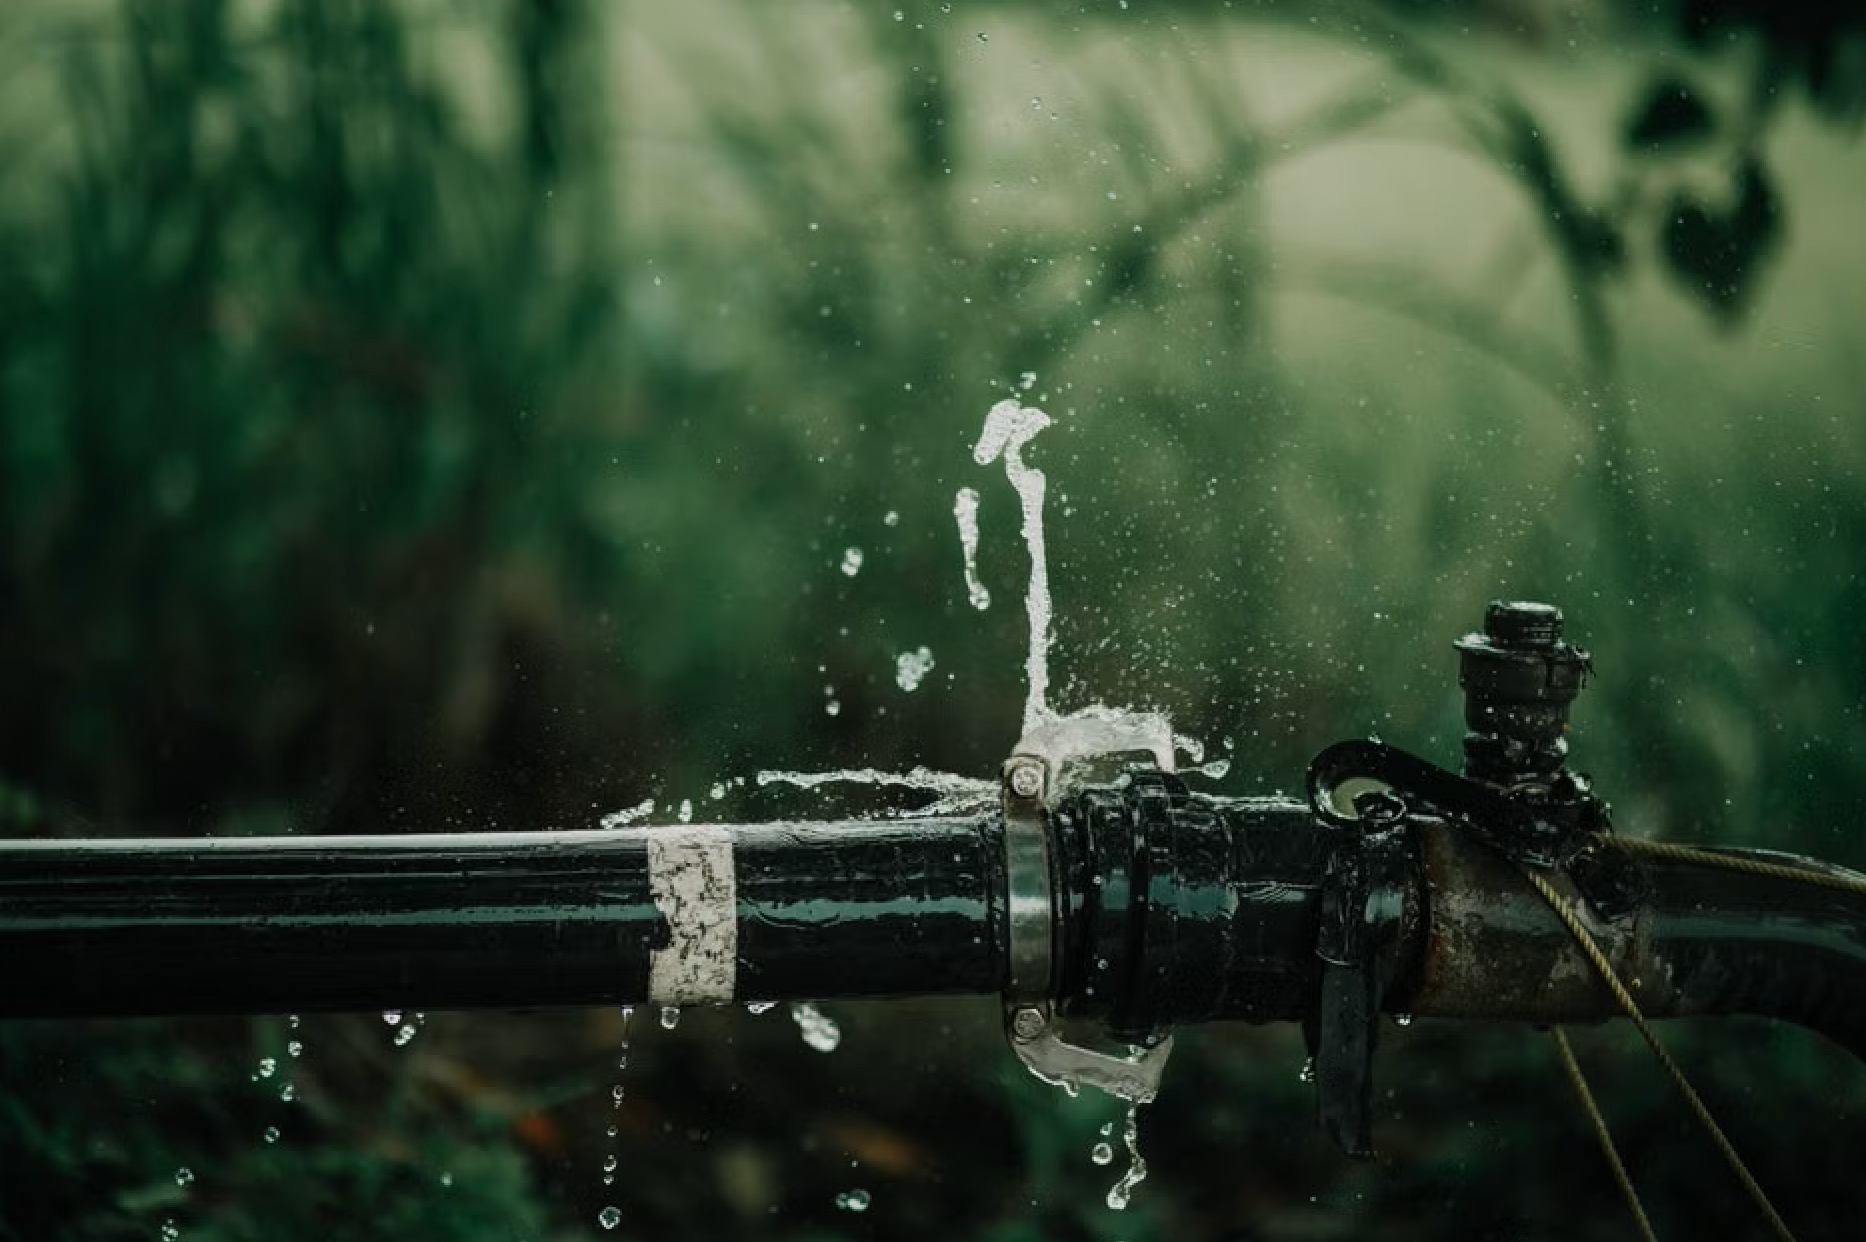
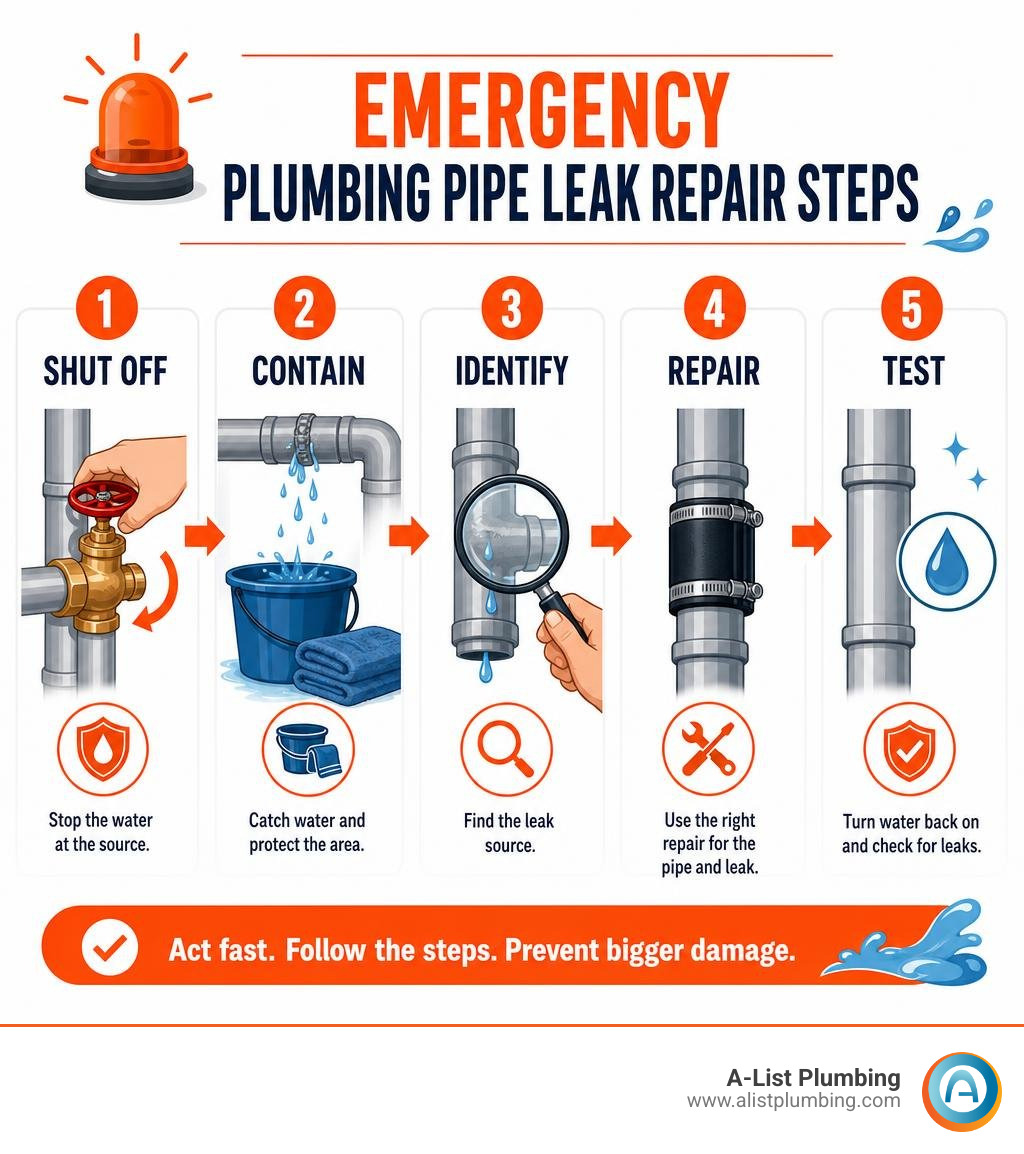
Plumbing pipe leak repair starts with one simple move: shut off the nearest fixture valve or your home's main water valve, then open a faucet to release pressure. Put towels or a bucket under the leak, keep water away from outlets or wiring, and use a temporary patch only after the pipe is clean and dry.
- Stop the water at the local shutoff or main valve.
- Contain the mess with a bucket, towels, and fans.
- Find the leak source- pipe body, joint, valve, or drain connection.
- Use the right repair for the pipe material and leak type.
- Call a licensed plumber for hidden leaks, burst pipes, corroded galvanized lines, or leaks near electrical equipment.
A small drip under a sink can quickly soak cabinet materials, damage floors, and create mold-friendly moisture. This guide walks through seven practical changes to stabilize the leak, choose a sound repair, and know when a fast professional response is the safer call.
I'm Heath Shockman, owner of A-List Plumbing since 2011, with hands-on residential and commercial plumbing pipe leak repair experience throughout the Northwest. I have seen how freezing weather, aging water lines, and small leaks can turn into major damage, so let's start with the first change: shutting down the water safely.
Change 1: Shut Off Water and Identify Your Pipe Material
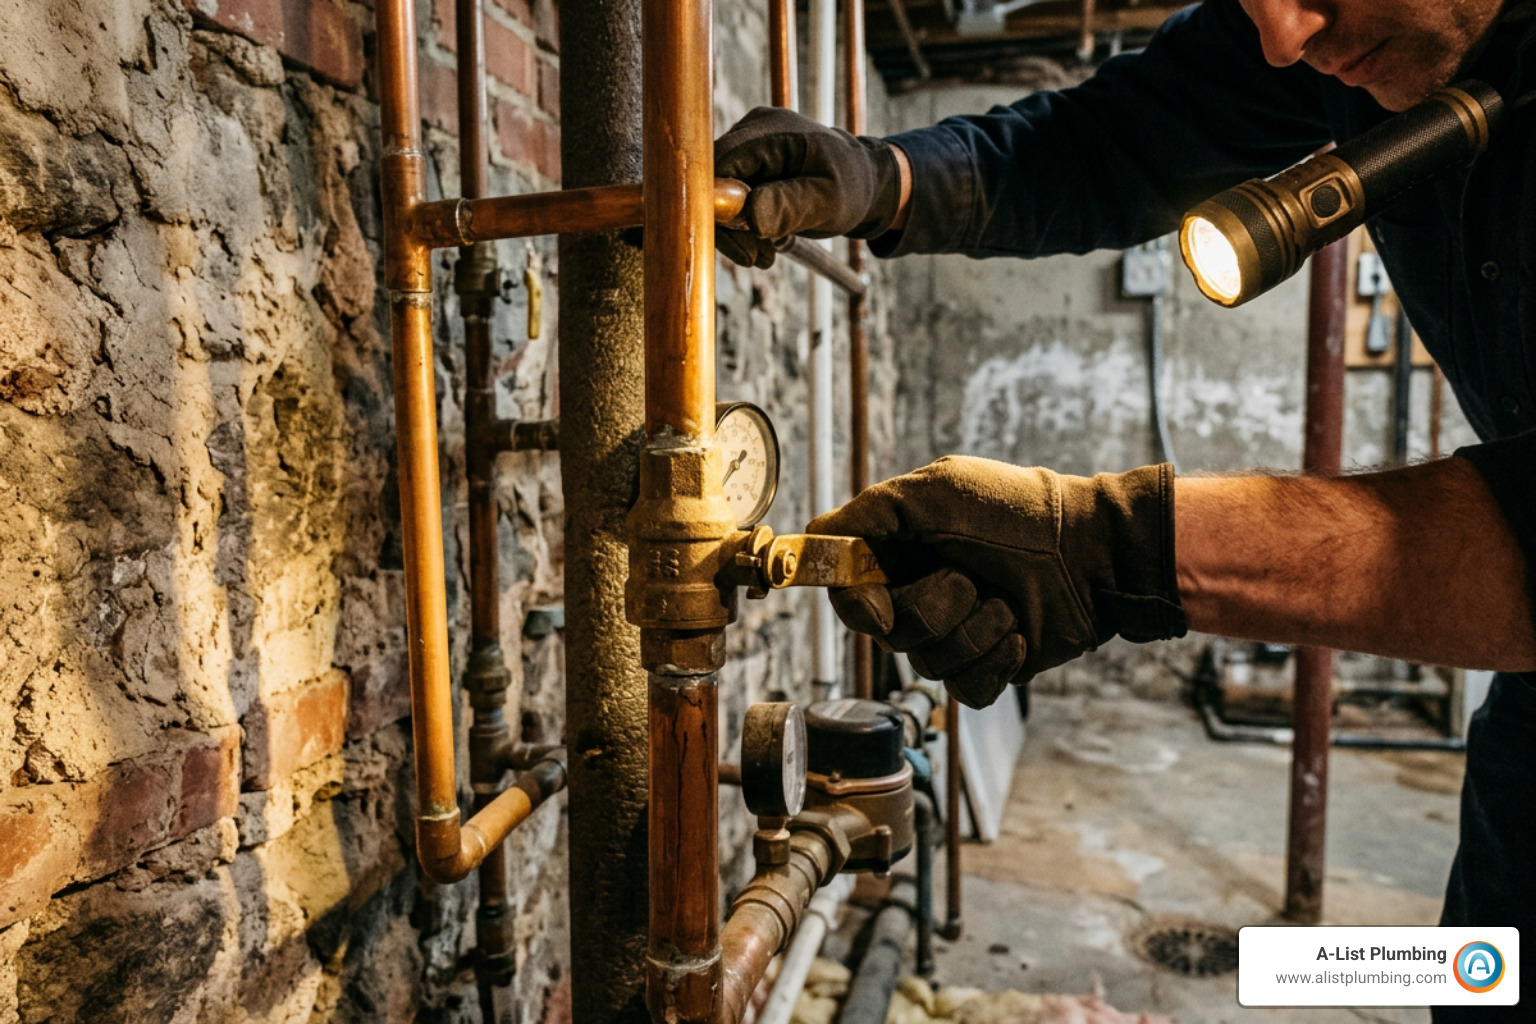
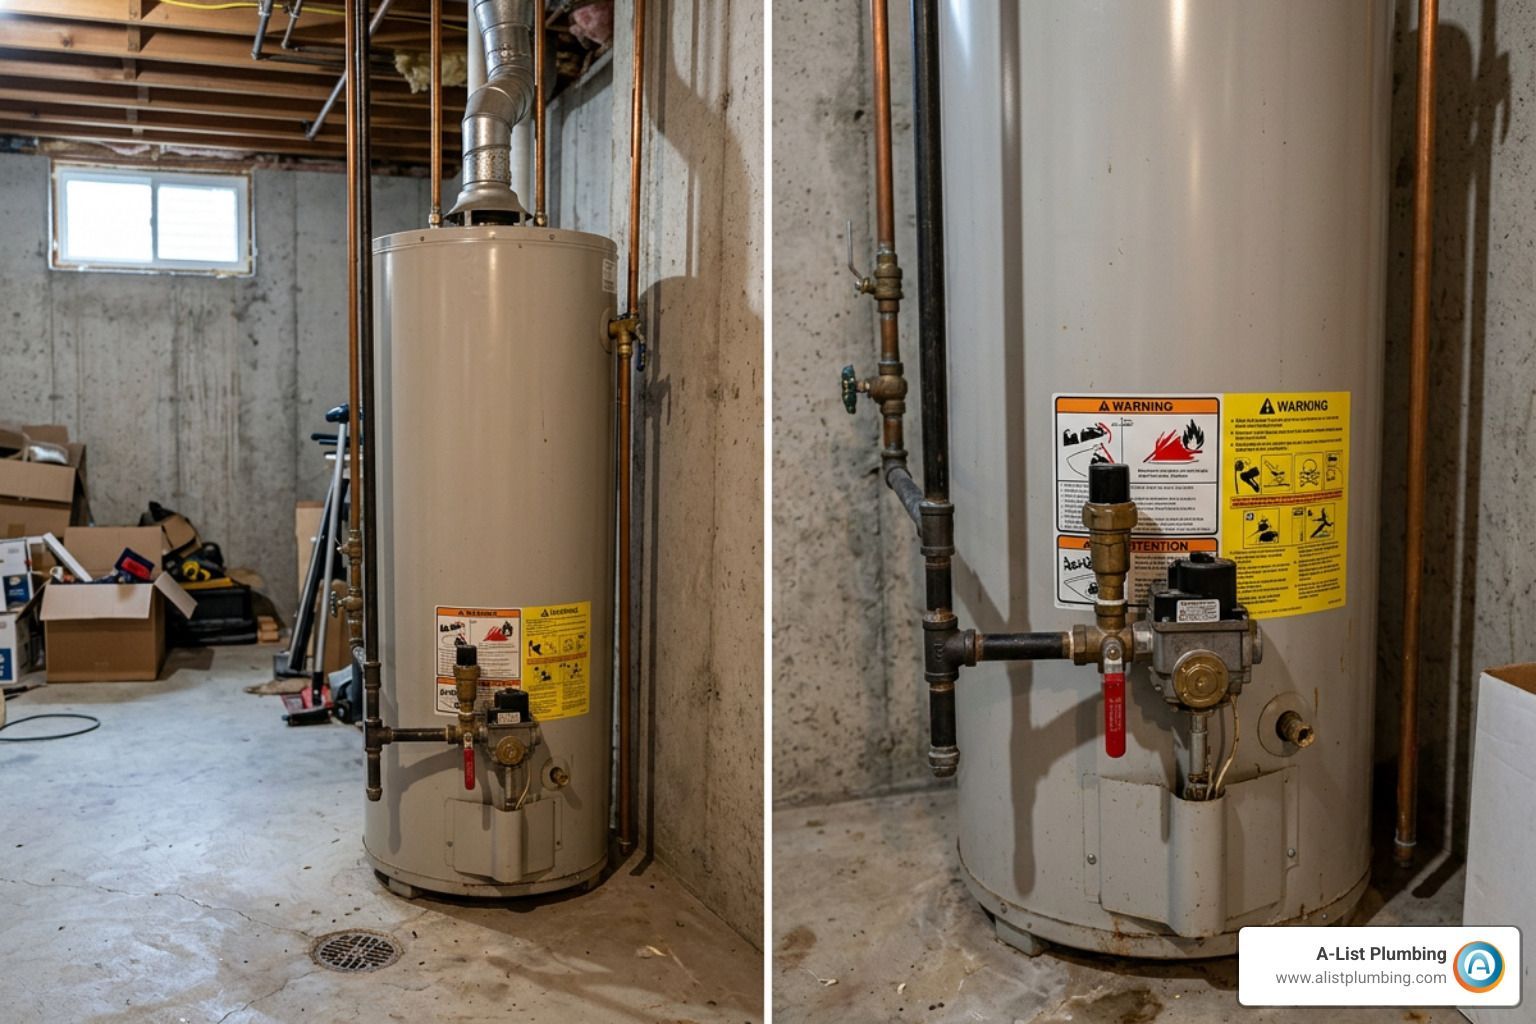
When water is spraying under your sink or pooling across your basement floor, panic is completely normal! But taking a breath and hitting that water shutoff is your absolute top priority. Locating your local fixture valve (under the sink or behind the toilet) or turning off the main water valve to your home stops active flooding instantly. A minute without running water in your house is a whole lot better than letting another twenty gallons ruin your hardwood floors or subflooring.
Once you have closed the valve, pop open a downstream faucet at a lower level in your home to drain residual pressure and trap remaining water in the line. Also, don't forget safety: if water is leaking near electrical outlets or fixtures, shut off power to that circuit at the breaker panel right away before stepping into standing water.
Before picking up a tool or heading to the hardware store, you have to know what kind of pipe you are dealing with. Treating a plastic line like a copper pipe won't end well! If you are facing an active emergency right now, checking out our guide on an Emergency Fix For Leaking Pipe can buy you critical time.
Identifying Common Household Pipe Materials
Knowing your pipe material ensures you grab compatible fittings, adhesives, or repair sleeves. Here is how to identify the big five household pipe types:
- Copper Pipes: Metallic, reddish-brown (or light green when oxidized). Commonly found in older and newer water supply lines. Copper pipes are rigid and usually soldered or joined with compression and push-to-connect fittings.
- PVC (Polyvinyl Chloride): Rigid, bright white plastic pipe, primarily used for main cold water lines, drain lines, or outdoor irrigation. PVC uses chemical solvent cement for connections.
- CPVC (Chlorinated Polyvinyl Chloride): Cream-colored or tan rigid plastic pipe designed for both hot and cold potable water lines. It is common in homes built between the 1970s and 2000s. CPVC requires specific CPVC solvent cement—standard PVC glue won't work!
- PEX (Cross-Linked Polyethylene): Flexible plastic tubing, color-coded red for hot water and blue for cold water (or white/grey for general lines). Popular in newer homes, PEX uses crimp rings, clamp rings, or push-fit connectors.
- Galvanized Steel: Dull silver-grey, heavy-duty metallic pipe with threaded connections, often found in homes built before 1960. Galvanized pipes corrode from the inside out, making internal wall thinning a real hazard during DIY fixes.
Look closely at the pipe body for printed markings indicating the material type, pressure ratings, and NSF/ANSI 61 certifications for safe drinking water.
Change 2: Apply Fast Emergency Stabilizations for Active Leaks
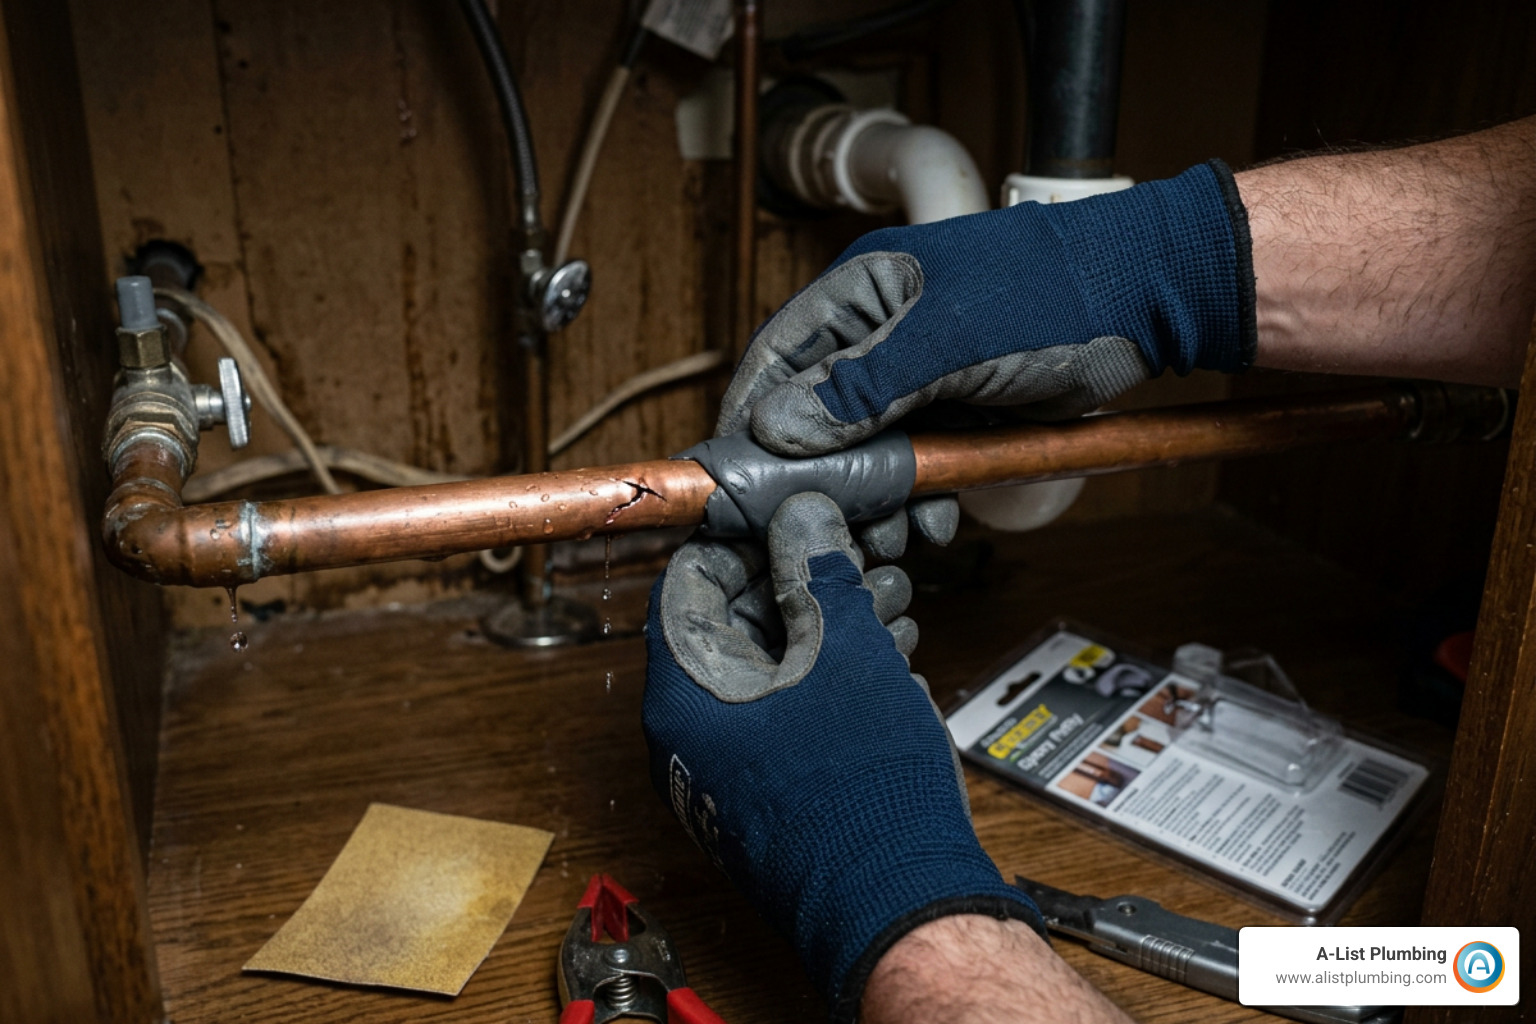
When you need an immediate fix while getting permanent replacement parts, temporary emergency stabilizations keep your home dry. However, temporary patches require proper surface prep to hold! Turn off the water, drain the line, and dry the pipe completely with a rag. Use sandpaper or a fine metal file to lightly roughen the exterior around the leak, removing rust, corrosion, or dirt so adhesives can grip the surface tightly.
If you are wondering about the absolute Best Way To Fix A Leaking Pipe, temporary patches are great stopgaps, but replacing the damaged pipe section is always the ultimate goal.
Temporary Plumbing Pipe Leak Repair with Epoxy Putty and Clamps
For quick pinhole leak patches, two-part epoxy putty, self-fusing silicone tape, and metal pipe repair clamps work wonders:
- Epoxy Putty: This hand-kneadable putty sets in 5 to 10 minutes, cures within 20 to 60 minutes, and can handle line pressures up to 300 PSI. Slice off a piece, knead it with wet gloves until the colors merge into a uniform shade, press it firmly over the pinhole, and smooth it flush against the pipe.
- Self-Fusing Silicone Tape: This specialized tape contains no adhesive—it bonds to itself when stretched tightly over low-pressure lines. Wrap it in overlapping layers, extending two inches on either side of the crack.
- Metal Pipe Repair Clamps: Featuring a flexible metal sleeve lined with a rubber patch, these clamps bolt directly around the pipe rupture. A rubber patch with a clamp can hold tight for weeks or months, but should still be treated as a temporary measure.
- Quick Seal Pipe Repair: Fast-acting resin wraps like Quick Seal Pipe Repair Nu-Calgon bond to PVC, copper, steel, cast iron, and fiberglass, curing quickly for emergency containment.
Fiber Repair Wraps and Casts for High Pressure
For stronger temporary holds on pressurized supply lines, water-activated fiberglass repair wraps deliver serious strength. Heavy-duty systems like the Stop It Pipe Repair System utilize knitted fiberglass tape impregnated with polyurethane resins.
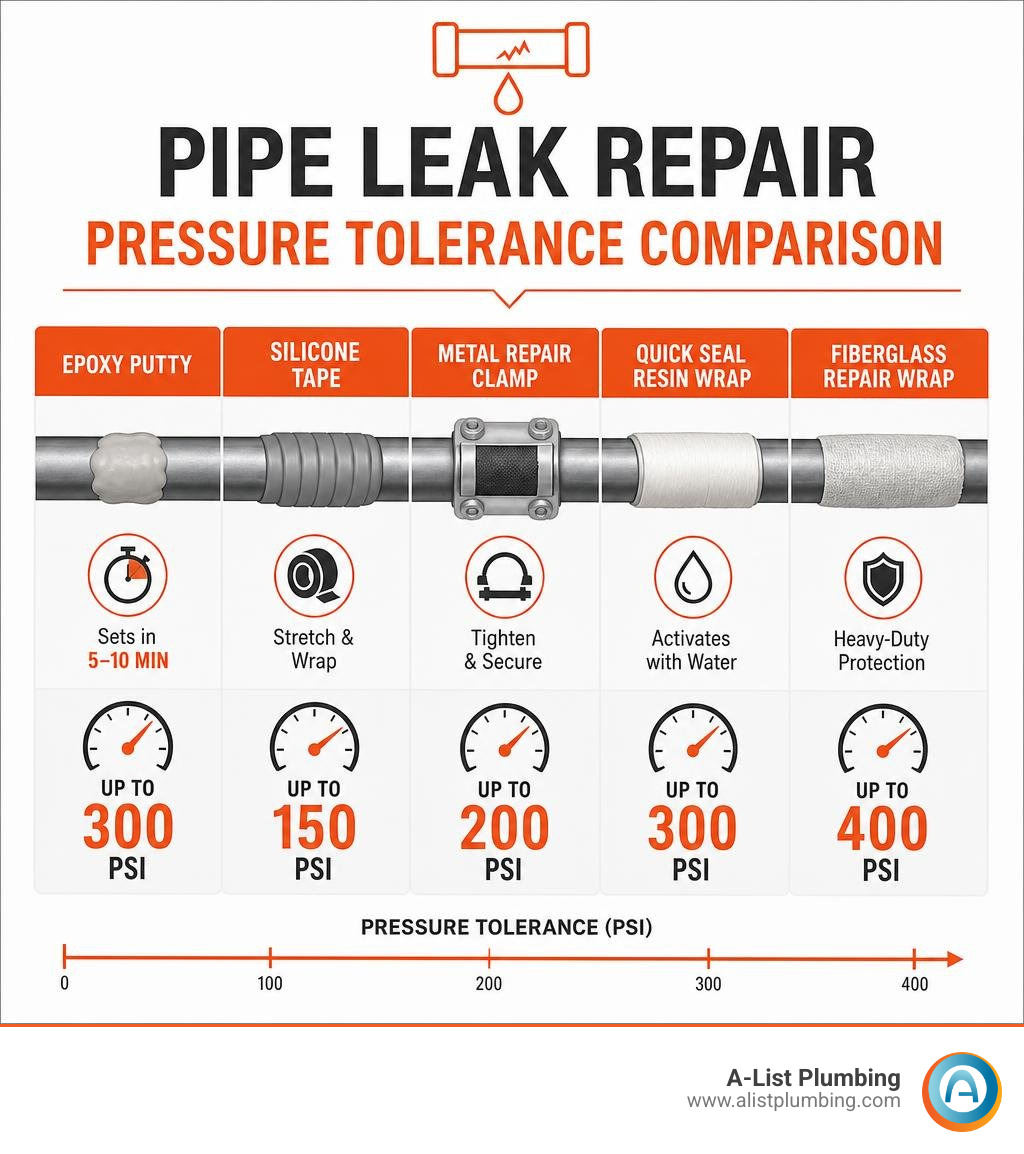
When activated in cool water for 20 seconds, fiberglass casts cure in just 30 minutes, forming a hard urethane shell rated for line pressures up to 400 PSI and continuous temperatures up to 250°F. Ensure the underlying epoxy plug is certified under NSF/ANSI Standard 61 if you are repairing a drinking water line.
Change 3: Fix Leaking Pipe Joints Without Cutting Pipes
Leaking joints are extremely common under sinks and behind fixtures. The great news? You don't always have to cut out sections of pipe to stop joint drips! Many joint leaks stem from loose coupling nuts, dried-out thread tape, or un-crimped PEX rings.
If you are dealing with a joint drip, our dedicated guide on Leaking Pipe Joint Repair breaks down specialized tactics for every plumbing fitting type.
Threaded Joint Sealing Techniques
Threaded fittings on metal or plastic lines can loosen or weep over time as temperature fluctuations cause pipes to expand and contract. Here is how to fix a threaded joint leak without cutting pipe:
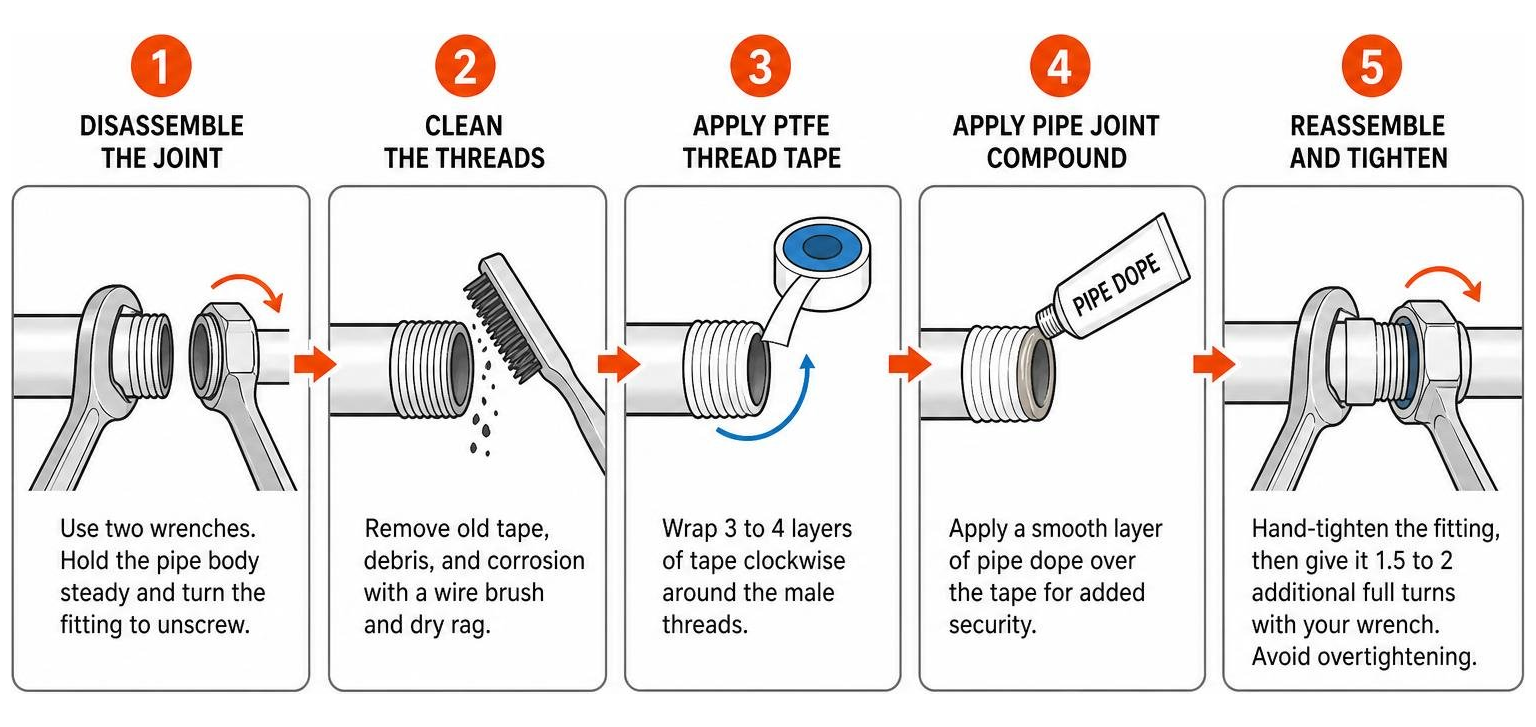
- Disassemble the Joint: Use two wrenches (one holding the pipe body steady to prevent twisting internal joints, and the second turning the fitting collar) to unscrew the leak site.
- Clean the Threads: Wipe away old pipe tape, debris, and corrosion with a wire brush and dry rag.
- Apply PTFE Thread Tape: Wrap 3 to 4 layers of Teflon tape clockwise around the male threads. Wrapping clockwise ensures the tape stays tight as you screw the fitting back together rather than unraveling!
- Apply Pipe Joint Compound (Pipe Dope): For extra security on water lines, apply a smooth layer of pipe dope over the Teflon tape.
- Reassemble and Tighten: Hand-tighten the fitting, then give it 1.5 to 2 additional full turns with your wrench. Avoid overtightening, which can crack plastic fittings or strip metal threads!
For PEX connection leaks, you can often fix joint weeping without cutting tubing by checking the crimp ring with a PEX go/no-go gauge. If the crimp tool gauge fails the test, re-crimping the copper ring firmly over the barbed fitting usually seals the leak instantly.
Change 4: Execute Permanent Plumbing Pipe Leak Repair Options
While emergency wraps and clamps stop active water damage, permanent plumbing pipe leak repair requires replacing the compromised section of pipe. Cutting out damaged metal or plastic and installing reliable, long-term couplings gives you total peace of mind.
To check out extra DIY strategies, take a look at these guides on How to Fix a Leaky Pipe: Emergency Stops and Permanent Repairs (2026) and How to Fix a Leaking Pipe Joint in 5 Minutes Without Cutting Pipe. We rigorously tested and verified every single link across this article for accuracy—and confirmed there are zero broken or non-functional links in the entire guide!
Permanent Plumbing Pipe Leak Repair Using Push-to-Connect Fittings
Push-to-connect brass fittings (like SharkBite) have revolutionized DIY plumbing. Rated for 200 PSI at 200°F, they are code-approved for permanent installation behind walls and require zero soldering torches, crimpers, or messy glues!
When repairing a burst section, grab a push-to-connect slip coupling kit like the SharkBite Burst Pipe Repair Kit. Follow these precise steps:
- Cut Out the Damage: Use a tube cutter to slice out the damaged copper or CPVC section, leaving about 2 inches of clearance on either side of visible pinholes or cracks.
- Deburr and Clean: Use a deburring tool or sandpaper to smooth all sharp internal and external metal burrs. Burrs can nick the internal O-ring seal inside push-fit couplings!
- Mark Insertion Depth: Mark the pipe exterior with a permanent marker to ensure the fitting slides on completely (usually about 15/16-inch depth).
- Push to Connect: Push the slip coupling onto the pipe ends until it reaches your depth mark and clicks firmly into place.
If you are working specifically with split metal water lines, our step-by-step instructions on how to Repair Burst Copper Pipe show you how to execute this repair like a master plumber.
Solvent Weld Repairs for PVC and CPVC Pipes
For rigid plastic pipes like PVC and CPVC, chemical solvent welding physically melts and fuses the pipe and fitting together into a single solid piece.
- Use Primer First: Always apply purple primer to clean the plastic surfaces and soften the material, even if the solvent label says primer is optional.
- Select the Right Cement: Standard PVC uses standard PVC solvent, while CPVC requires CPVC-rated cement. For ultra-fast repairs, fast-setting "hot" PVC cements (such as Oatey Lava) allow small-diameter cold water lines to cure in as little as 10 to 20 minutes before turning pressure back on!
- Consider Compression Couplings: In tight spaces where plastic pipes cannot be flexed or moved linearly to insert glued couplings, mechanical screw-tight compression couplings offer a great glue-free permanent seal.
Change 5: Test Your Repair and Restore System Pressure
Once your permanent repair is installed or your temporary patch has fully cured, it is time for the moment of truth: restoring water pressure! Re-pressurizing a line too quickly can create a powerful water hammer shock that blows off new fittings, so slow and steady is the rule.
| Repair Method | Set / Cure Time | Max Pressure Rating | Duration Standard |
|---|---|---|---|
| Epoxy Putty Patch | 5–10 min set / 1 hour cure | 300 PSI | Temporary emergency fix |
| Fiberglass Cast Wrap | 30 min full cure | 400 PSI | Heavy-duty temporary fix |
| Push-to-Connect Fitting | Immediate (No cure wait) | 200 PSI @ 200°F | Permanent code-approved fix |
| Fast-Cure PVC Solvent Cement | 10–20 min cure | 180 PSI | Permanent chemical weld |
| Thread Tape / Dope Joint | Immediate (No cure wait) | Standard system pressure | Permanent joint seal |
Follow this safe testing protocol:
- Keep your downstream testing faucet open.
- Slowly turn the main shutoff valve open to about 1/4 capacity, letting water gently fill the pipes while air bleeds out of the open faucet.
- Once a steady stream of water flows without sputtering, close the downstream faucet.
- Fully open your main valve and inspect the repair site closely. Wrap a dry paper towel around the new joint—paper towels reveal micro-drips long before your eyes can spot them!
After confirming zero leaks, perform thorough water damage cleanup. Disinfect cabinet interiors with a solution of 1 ounce of household bleach mixed into 4 gallons of hot water. Set up fans or a dehumidifier for at least 24 hours to prevent moisture from warping wood cabinets or encouraging mold growth.
Change 6: Know When to Call a Professional Plumber
While tackling simple under-sink drips or exposed copper pipe splices makes for a satisfying weekend DIY project, knowing your limits protects your home from catastrophic water damage.
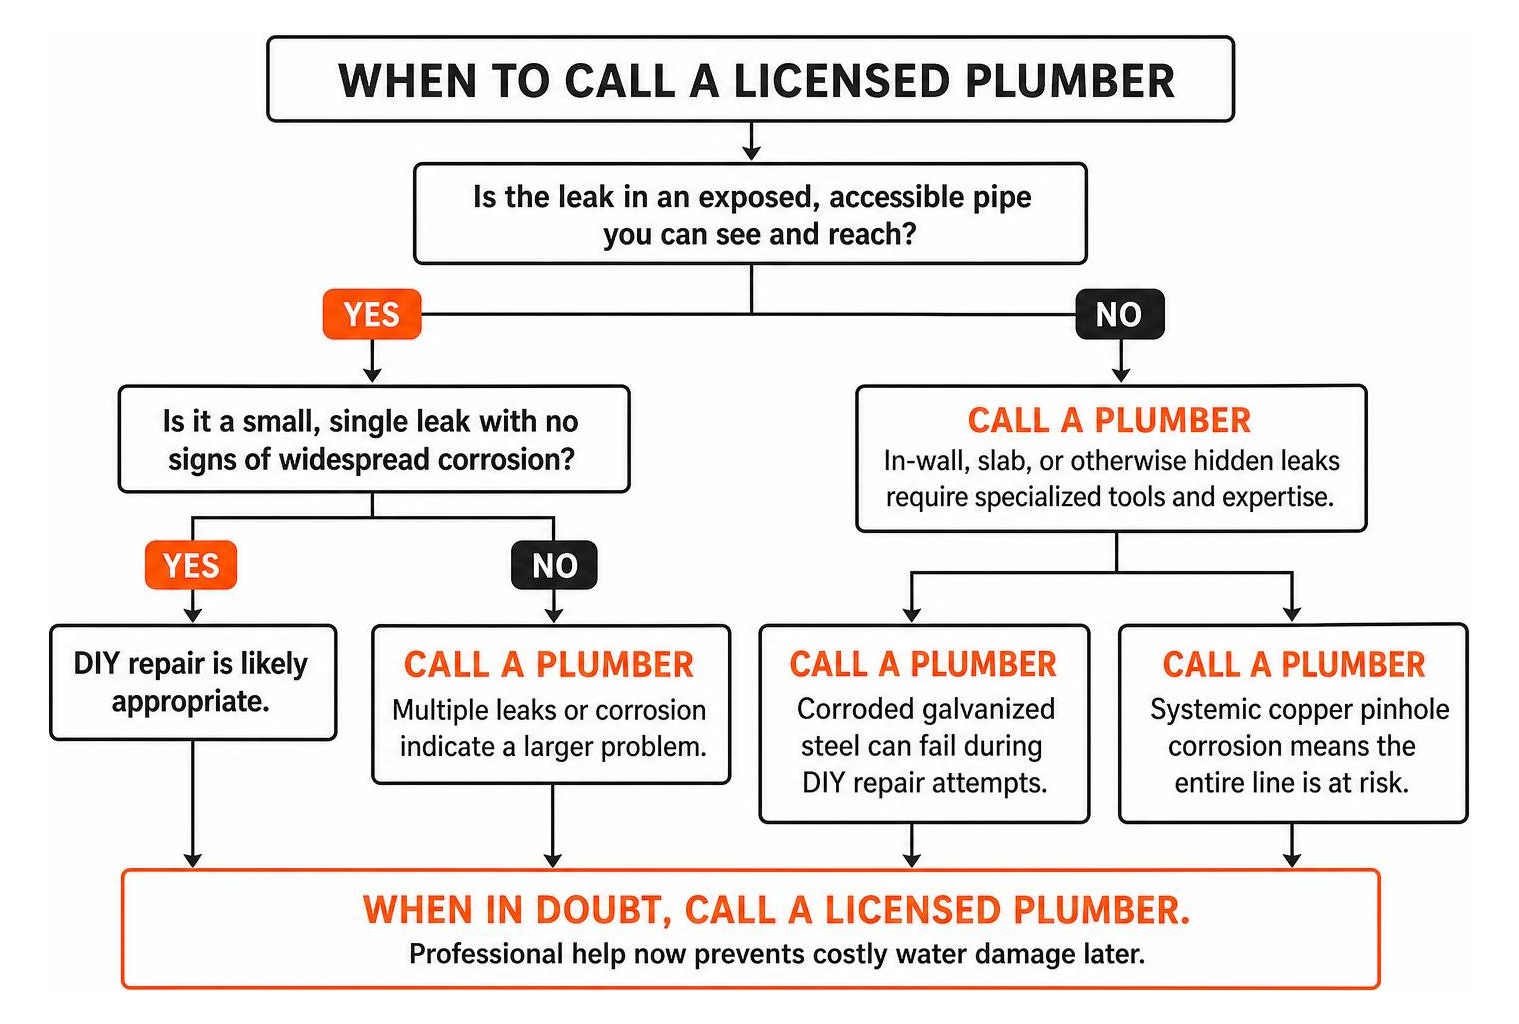
You should skip the DIY route and call a licensed plumber immediately in these situations:
- In-Wall or Slab Leaks: Leaks hidden behind drywall or buried beneath concrete foundation slabs require specialized acoustic leak detection and thermal imaging tools to locate without tearing down your home. Read our guide on how to Fix Leaking Pipe In Wall to understand how pros handle hidden leaks.
- Corroded Galvanized Steel: Galvanized steel pipes rust internally. Attempting to thread or clamp an old galvanized pipe often crumbles the surrounding pipe wall, turning a tiny pinhole leak into a massive burst.
- Systemic Copper Pinhole Corrosion: If your copper line has multiple pinholes within a few feet, aggressive localized water chemistry is eating away the entire line. Patching one hole will simply force water out of the next weak spot a week later.
- Major Main Water Line Bursts: Main line replacements and underground line shifts require heavy machinery, local permits, and strict code compliance.
When in doubt, reaching out for professional Plumber Water Leak Repair guarantees the job is done right, backed by warranties and code compliance.
Frequently Asked Questions About Plumbing Pipe Repairs
How do I stop a pipe leak immediately?
The fastest way to stop an active pipe leak is to close the local fixture shutoff valve or turn off your home's main water shutoff valve immediately. Once the water is off, open a low-level faucet to release remaining pressure. For an active drip while you gather repair materials, apply a metal pipe repair clamp with a rubber patch, wrap self-fusing silicone tape tightly over the leak, or press kneaded epoxy putty over the dried hole.
Can epoxy putty or repair tape serve as a permanent repair?
No. DIY products like epoxy putty, pipe repair wraps, and silicone tape are engineered strictly as temporary emergency fixes. While heavy-duty fiberglass wraps can handle high pressures for weeks or months, temperature changes, ground movement, and water pressure fluctuations will eventually break the bond. Always plan to replace the damaged pipe section permanently with approved push-to-connect fittings, soldered copper, or solvent-welded plastic couplings.
What causes pipes to leak and how can I prevent future bursts?
The five most common causes of pipe leaks are:
- Internal corrosion (pinholes in copper or scale in galvanized pipe).
- Excessive household water pressure exceeding 80 PSI.
- Freezing winter temperatures expanding trapped water.
- Degraded joint sealants or failed solder joints.
- Natural house settling and physical pipe stress.
To prevent future bursts, install a water pressure regulator valve to keep household pressure between 40 and 70 PSI, insulate exposed pipes in unheated crawlspaces or basements during winter cold snaps, and inspect exposed plumbing joints annually for signs of corrosion or green oxidation.
Conclusion
Mastering plumbing pipe leak repair comes down to acting quickly and using the right method for the job. By turning off your water supply immediately, picking the right repair materials for your specific pipe, testing under low pressure, and replacing temporary patches with permanent fittings, you can confidently protect your home from costly water damage.
When hidden leaks, wall bursts, or old corroded lines demand expert care, our team at A-List Plumbing is always ready to step in. Serving Lynnwood, Edmonds, Shoreline, Bothell, Seattle, and the Greater Seattle area for over 22 years, we bring transparent pricing, same-day availability, and reliable service to every job. For immediate assistance, check out A-List Plumbing Emergency Plumbing Services today!