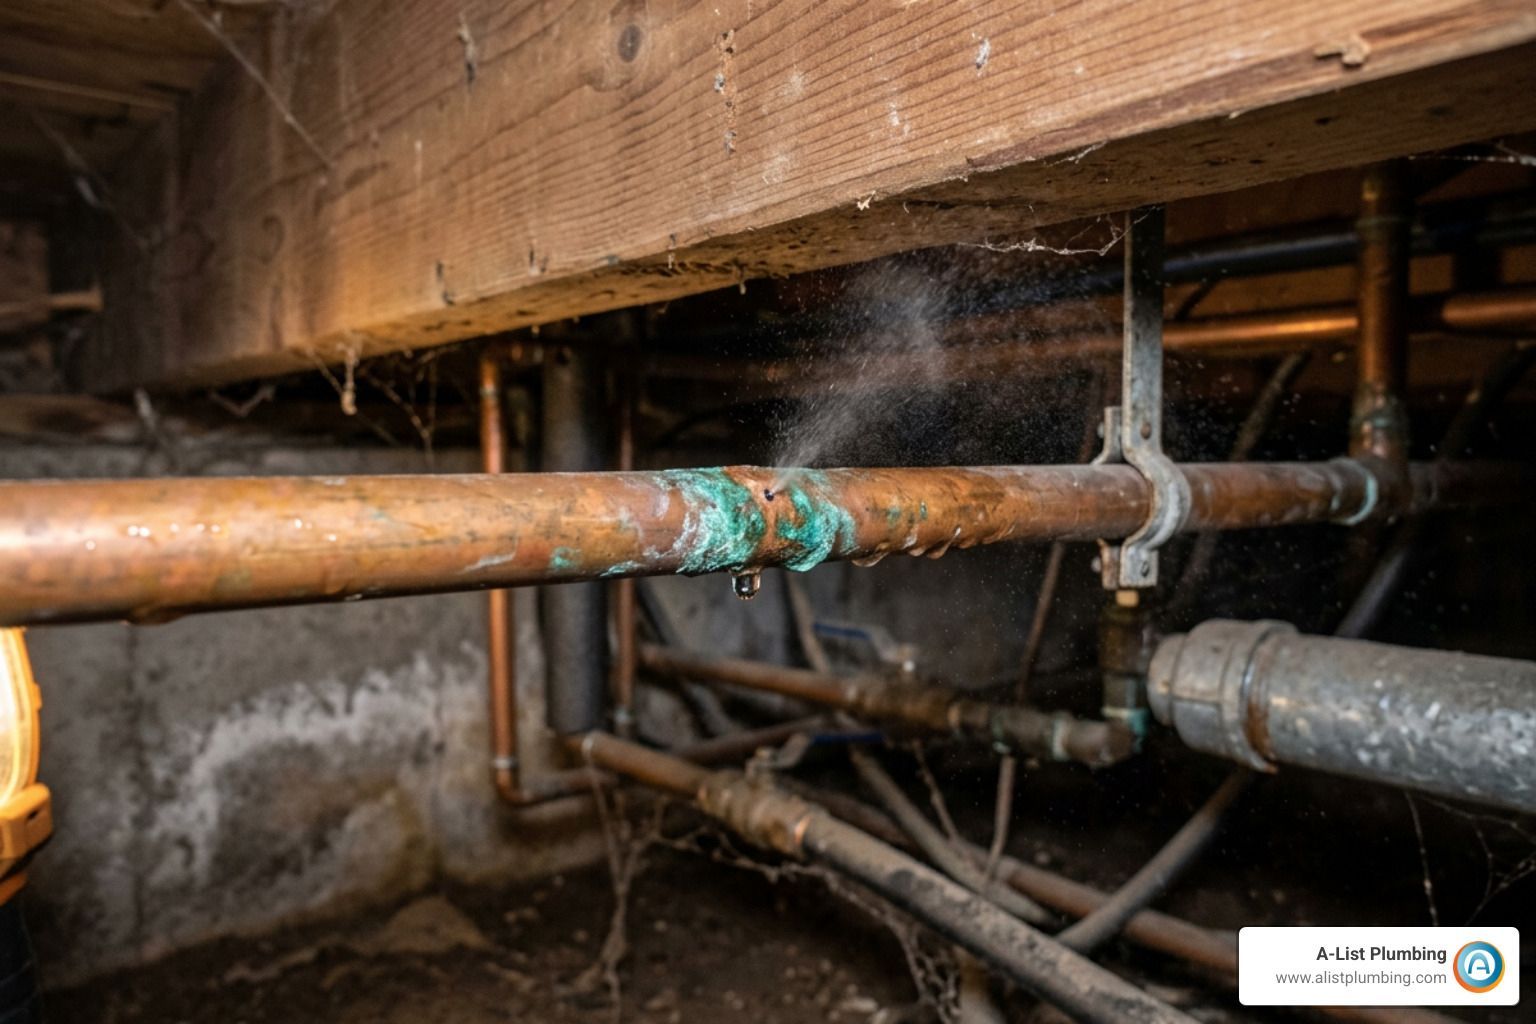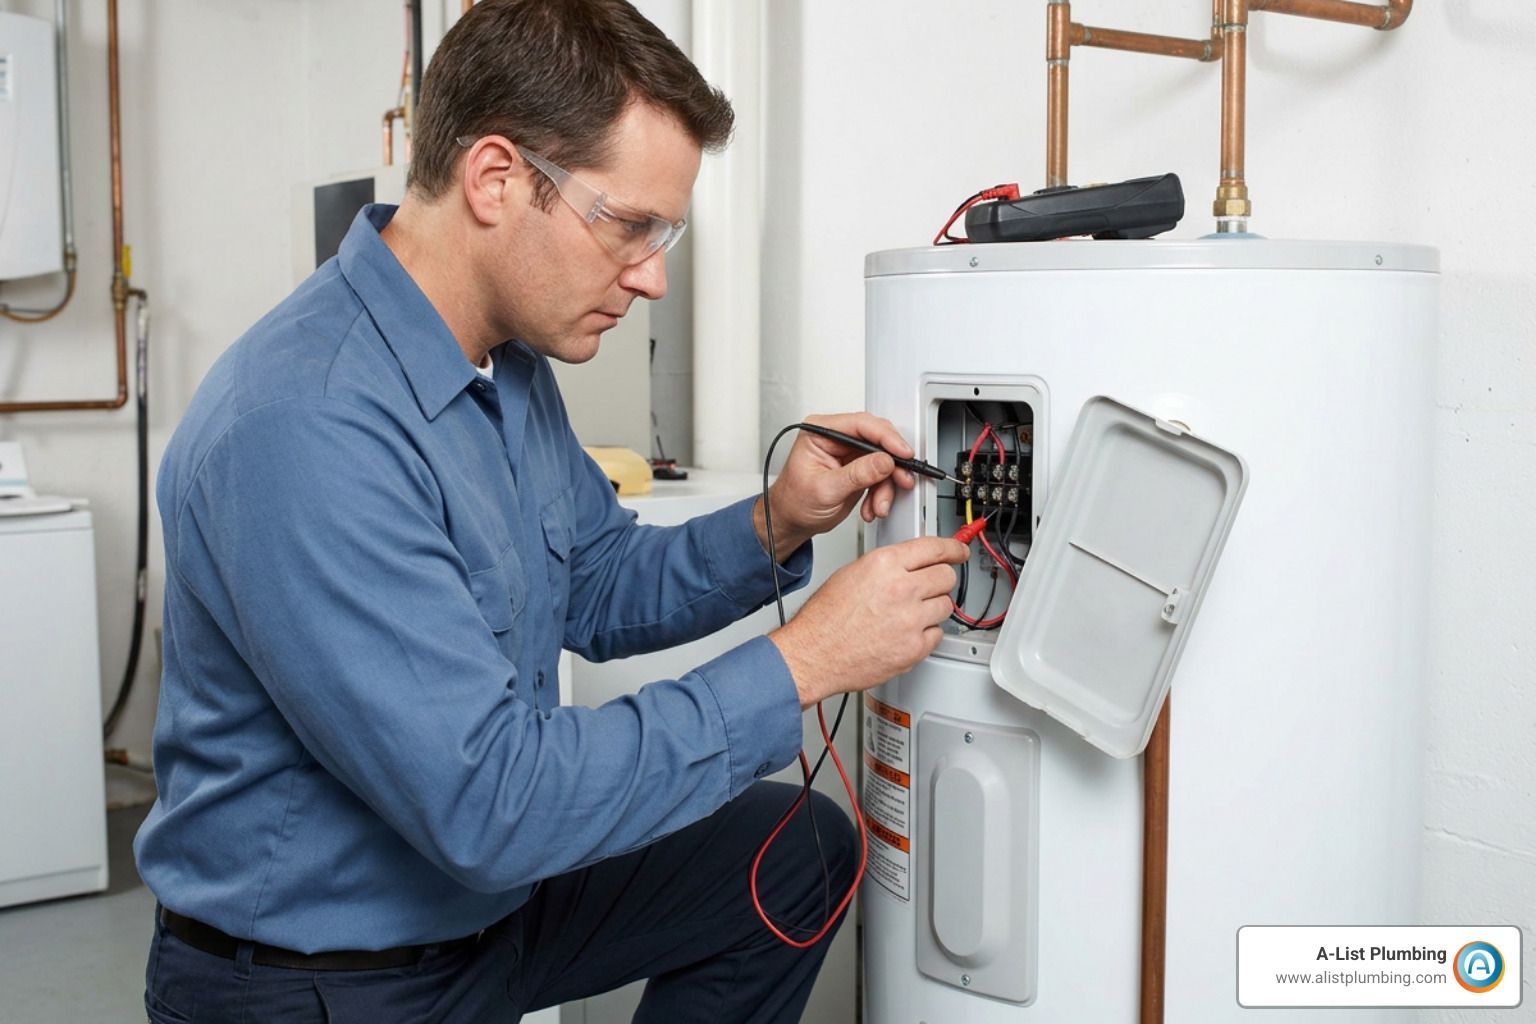


Why Hot Water Pressure Valve Replacement Matters
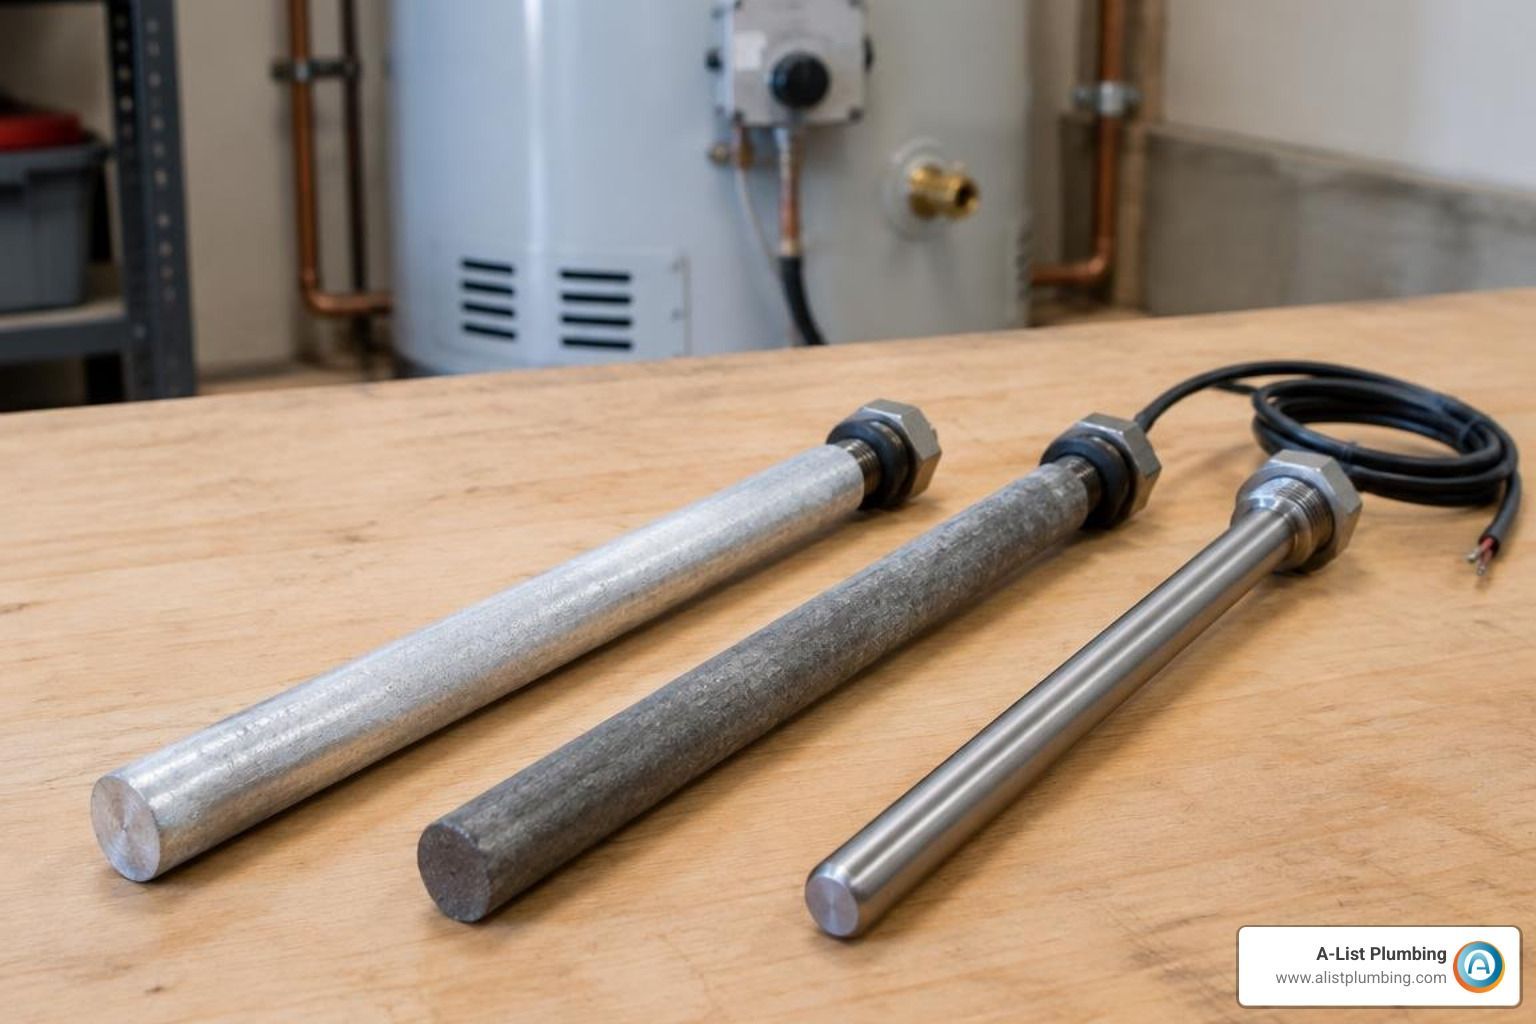
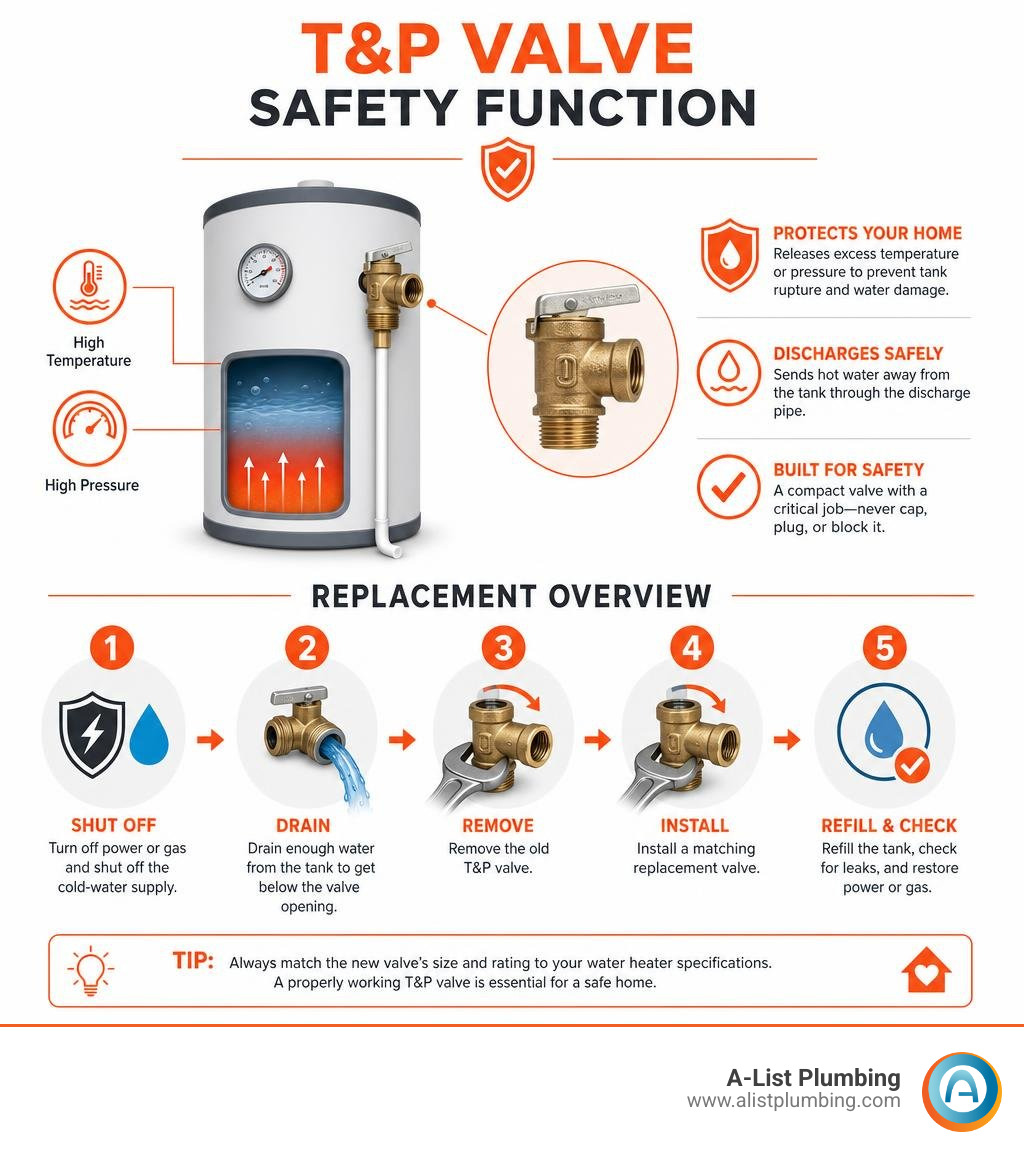
Hot water pressure valve replacement is the right move when a water heater's temperature-and-pressure (T&P) relief valve leaks, sticks, or shows corrosion. This small safety valve helps prevent dangerous pressure and heat buildup inside the tank - so never cap, plug, or block its discharge pipe.
Here is the quick answer:
- Turn off the heater's power or gas and shut off the cold-water supply.
- Drain enough water from the tank to get below the valve opening.
- Remove the old T&P valve, install a matching replacement, refill the tank, and check for leaks before restoring heat.
Most home water-heater T&P valves use a 3/4-inch NPT connection and are rated for 150 PSI and 210 F. Still, match the new valve's thread size, shank length, temperature-pressure rating, and - for gas heaters - BTU capacity to the water heater label. A dripping valve can be worn out, but it can also be warning you about high water pressure, thermal expansion, or overheating.
I'm Heath Shockman, owner of A-List Plumbing since 2011, with hands-on residential and commercial experience diagnosing and completing hot water pressure valve replacement work across the Northwest. Next, we'll cover the warning signs that tell you whether the valve itself is the problem.
Signs You Need a Hot Water Pressure Valve Replacement
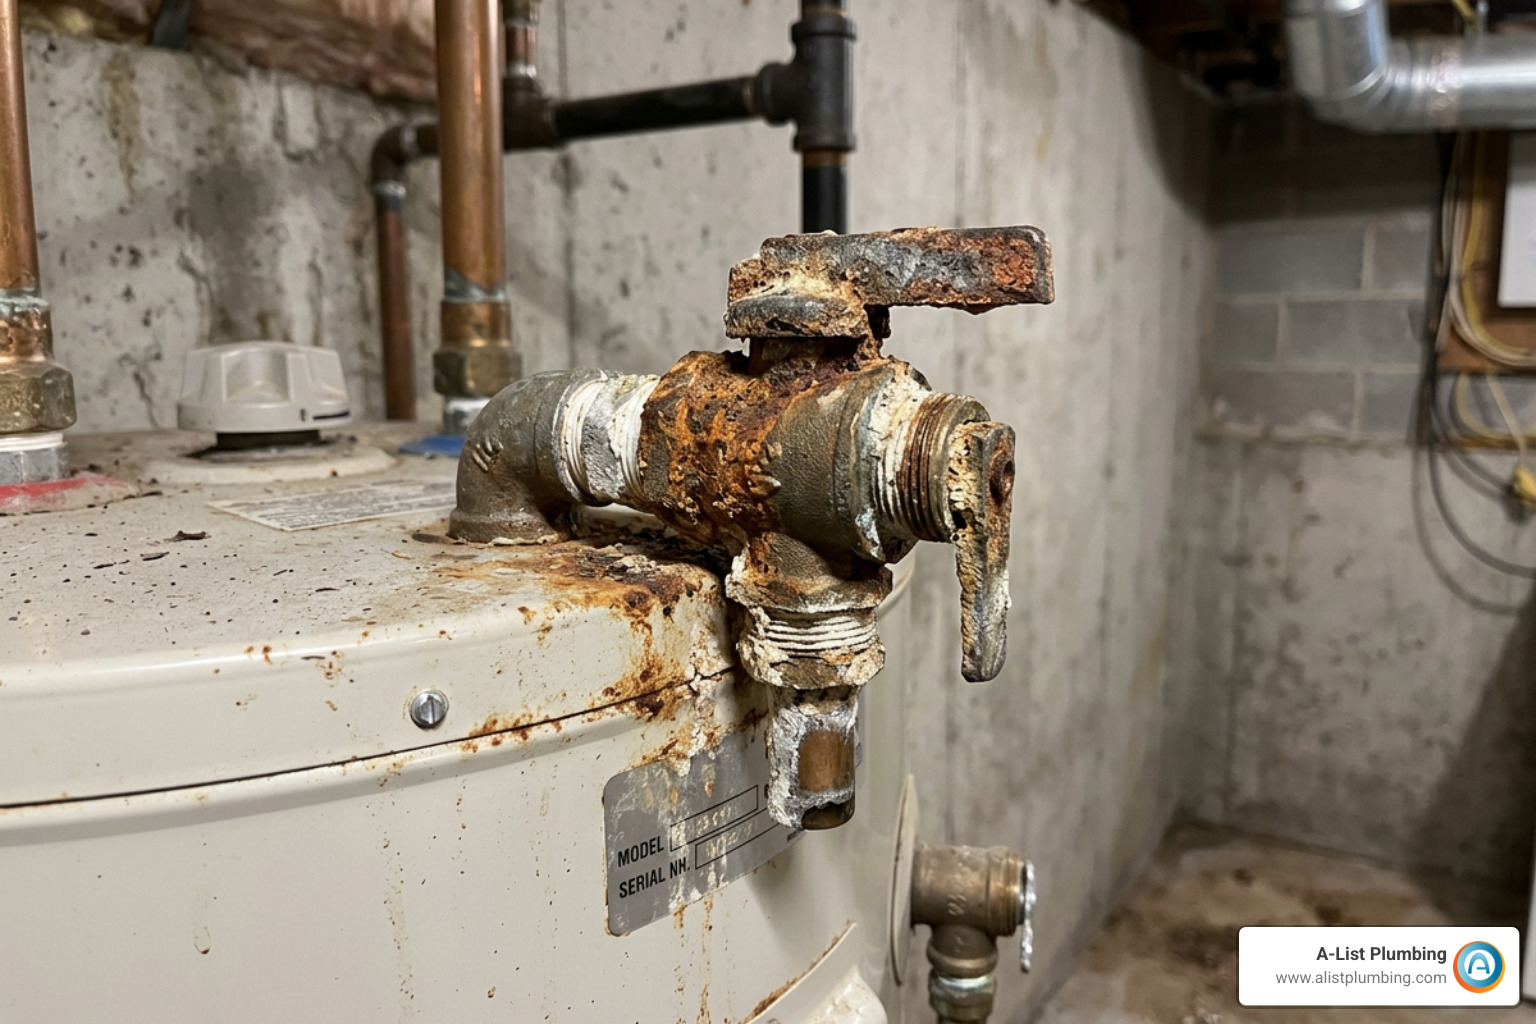
When your water heater is feeling under the weather, it rarely keeps quiet about it. The temperature and pressure relief valve (often called the TPR or T&P valve) acts as your tank's ultimate safeguard. When things start going sideways inside that steel tank, the valve is the first line of defense. But how do you know if the valve itself is failing or if it's just reacting to system trouble?
Here are the most common signs that you're due for a hot water pressure valve replacement:
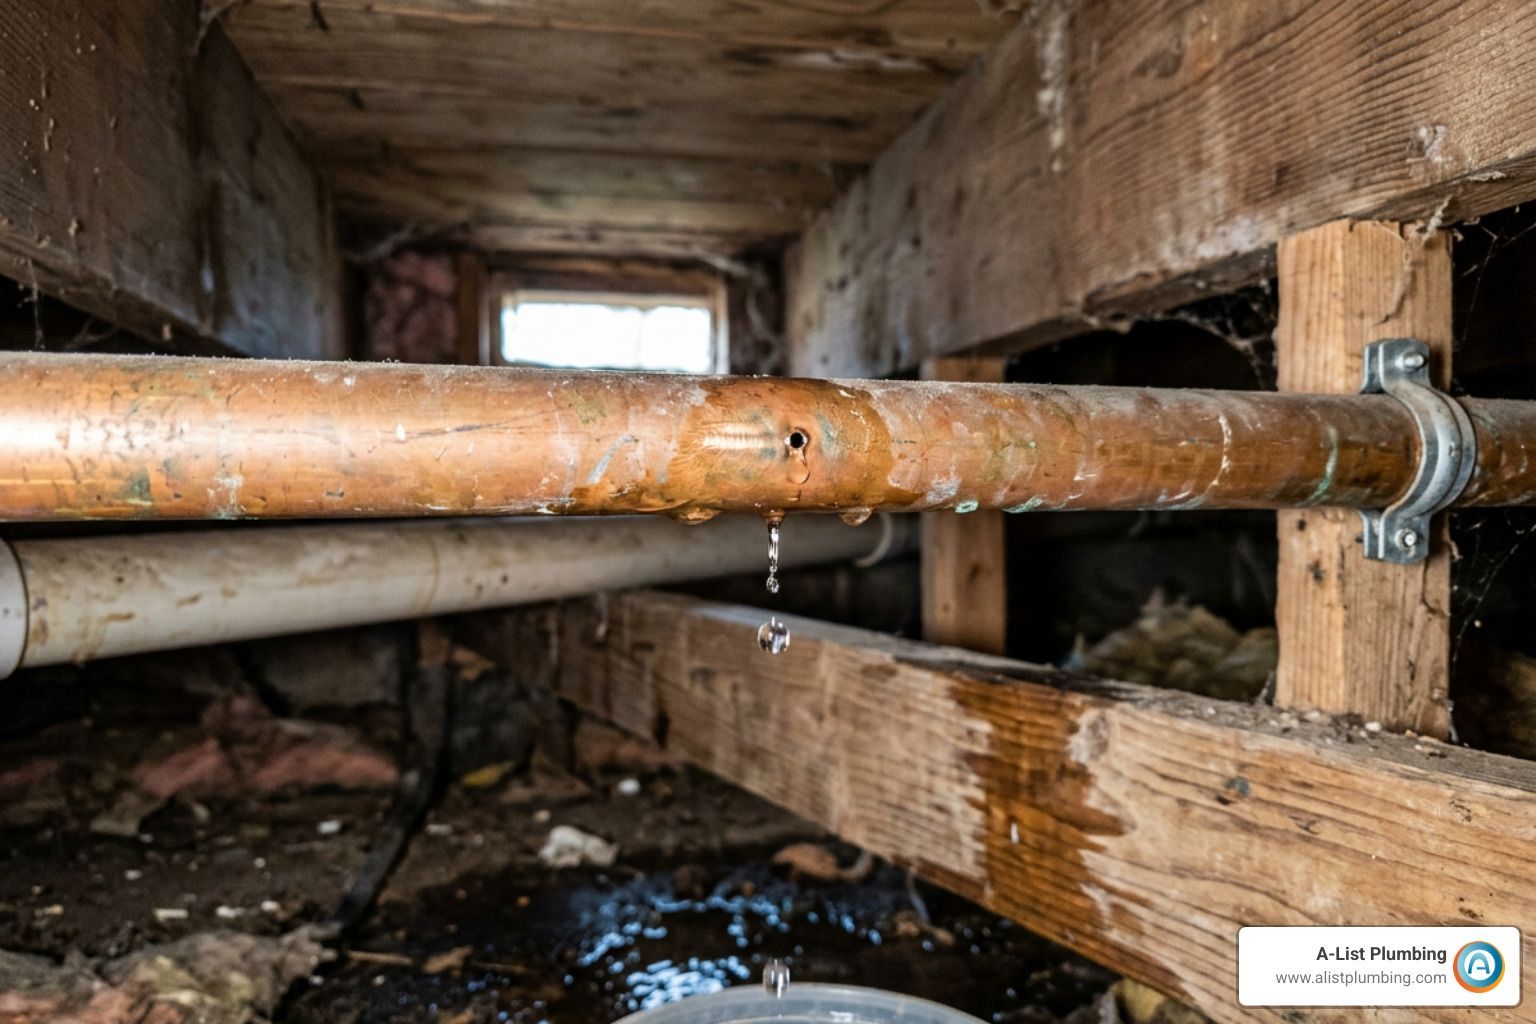
- Constant Dripping or Puddles: If you notice a steady drip coming from the discharge pipe or water pooling around the base of your heater, don't ignore it. While a tiny drop after heavy hot water use might just be thermal expansion, a continuous trickle usually means the valve's internal rubber seal has degraded or calcified. Check out our guide on Water Heater Leaks for more on tracking down mystery puddles.
- Stuck or Frozen Test Lever: Every water heater manufacturer recommends lifting the little metal flip lever on top of the valve once a year to test it. If you pull the lever and nothing happens, or if it feels totally seized and won't budge, the internal pin is locked up. A stuck valve can't pop open during a dangerous pressure spike, which is a big safety hazard.
- Heavy Crust and Calcification: Notice a powdery white, green, or rusty buildup around the valve threads? That's mineral buildup from hard water. Over time, calcium and magnesium deposits crust over the spring mechanism inside, preventing the valve from seating cleanly or opening when needed.
- The Valve Won't Reseal After Testing: You did the right thing and flipped the test lever, but now water won't stop running out of the discharge tube! When an older valve is opened, loose sediment in the tank can get caught right on the rubber seat, preventing it from closing tightly ever again.
- Age Over 5 Years: Valves don't live forever. Plumbing manufacturers and field pros suggest replacing your T&P valve every 5 years as routine preventative maintenance. If your water heater is entering its second decade and still sporting its factory original valve, it's borrowed time!
Tools, Materials, and Selection Criteria
Before running out to the hardware store, you've got to make sure you grab the exact right replacement part. Picking a valve isn't just about finding something that screws into the hole; you need to match the safety specs on your water heater's data plate.
Most standard residential tank water heaters require a valve with a 3/4-inch NPT (National Pipe Thread) inlet and outlet, calibrated to open at 150 PSI(pounds per square inch) or 210°F(degrees Fahrenheit). For gas water heaters, the valve must also carry an AGA/CSA BTU rating that meets or exceeds the heater's maximum input rating (for example, 40,000 BTU/hr).
Here is a quick look at standard vs. long shank T&P valves so you pick the right model:
| Feature / Spec | Standard Shank T&P Valve | Long Shank T&P Valve |
|---|---|---|
| Typical Shank Length | 1.25 inches to 2.5 inches | 3.25 inches up to 4.3125 (4-5/16) inches |
| Best Used For | Standard thin-wall insulated tanks | Modern high-efficiency tanks with thick foam insulation |
| Thread Size | Standard 3/4" MNPT inlet x FNPT outlet | Standard 3/4" MNPT inlet x FNPT outlet |
| Popular Model Example | Cash Acme 3/4" Bronze NCLX-5LX ($21.47) | Cash Acme NCLX-5L or Rheem PROTECH Long Shank |
| Primary Advantage | Fits flush on basic water heater jackets | Reaches deep through heavy foam to hit internal tank threads |

Required Tools and Materials Checklist
Gather these items before turning off your water supply:
- New 3/4" T&P relief valve (matching your tank's PSI, temperature, and BTU specs)
- Pipe thread sealant tape (Teflon/PTFE tape)
- Large adjustable wrench or pipe wrench (channel-lock pliers work too)
- Standard garden hose with hose bib connection
- Bucket or drain pan
- Work gloves and safety glasses
- Pipe thread wire brush or rag
Link Verification Note: All resource links in this guide are routinely verified for accuracy. When looking over manufacturer reference guides like the T&P Valve Installation Guide(note: third-party PDF links may occasionally become non-functional or be relocated by manufacturers), keep in mind that older online documentation can move. Always double-check your physical water heater label on the tank jacket to confirm exact thread sizes and tank depth!
How to Replace a Water Heater Relief Valve in 3 Easy Steps
Replacing a temperature and pressure relief valve is one of the most accessible DIY plumbing repairs. If you take your time, respect the electricity or gas, and follow safety steps, this whole job usually takes between 20 to 45 minutes.
Here is how to get it done without calling in a full crew!
Step 1: Shutoff and Tank Drainage
Safety comes first whenever you are working on pressure vessels or hot water equipment.
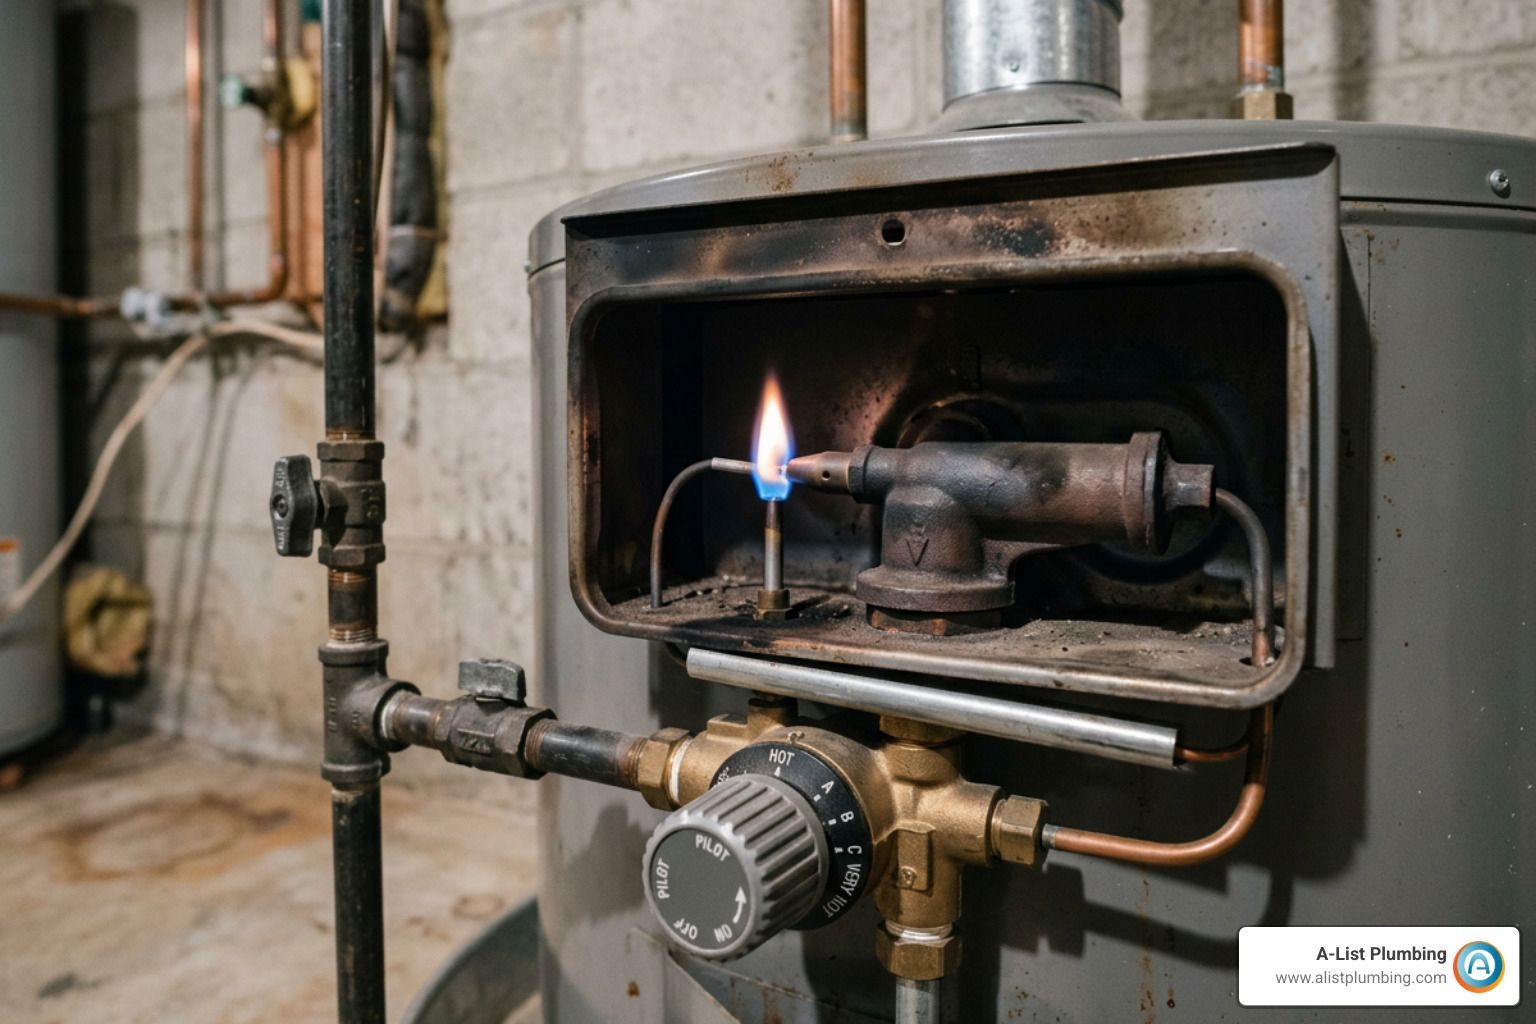
- Kill the Power or Gas: For an electric water heater, head to your main breaker panel and flip the circuit breaker powering the water heater to OFF. Never work on an electric tank while power is live, and never run power back to an empty tank or you'll burn out the heating elements! For gas water heaters, turn the gas control valve knob on the front of the thermostat box to "PILOT" or "OFF".
- Turn Off Cold Water Supply: Locate the cold water shutoff valve sitting on the pipe above the top right side of your water heater. Turn the handle clockwise (or perpendicular to the pipe for ball valves) to stop incoming water flow.
- Attach a Garden Hose: Connect a standard garden hose to the drain valve located at the bottom of the water heater tank. Run the other end of the hose outside to your yard or into a floor drain.
- Drain Partial Water: You don't need to empty the entire 50-gallon tank! You only need to lower the water level below the height of the T&P valve. Open the drain valve at the bottom and let out roughly 5 to 10 gallons of water. If you want to clean out sediment while you're at it, check out our step-by-step Water Heater Flush Service guide (link verified functional).
- Disconnect the Discharge Pipe: Use your adjustable wrench to unscrew the metal or rigid plastic discharge tube attached to the outlet of the old T&P valve. Set this pipe aside carefully—you will reinstall it on the new valve.
Step 2: Executing the Hot Water Pressure Valve Replacement
Now that the tank water level is lowered below the valve port, you are clear to swap the old valve out.
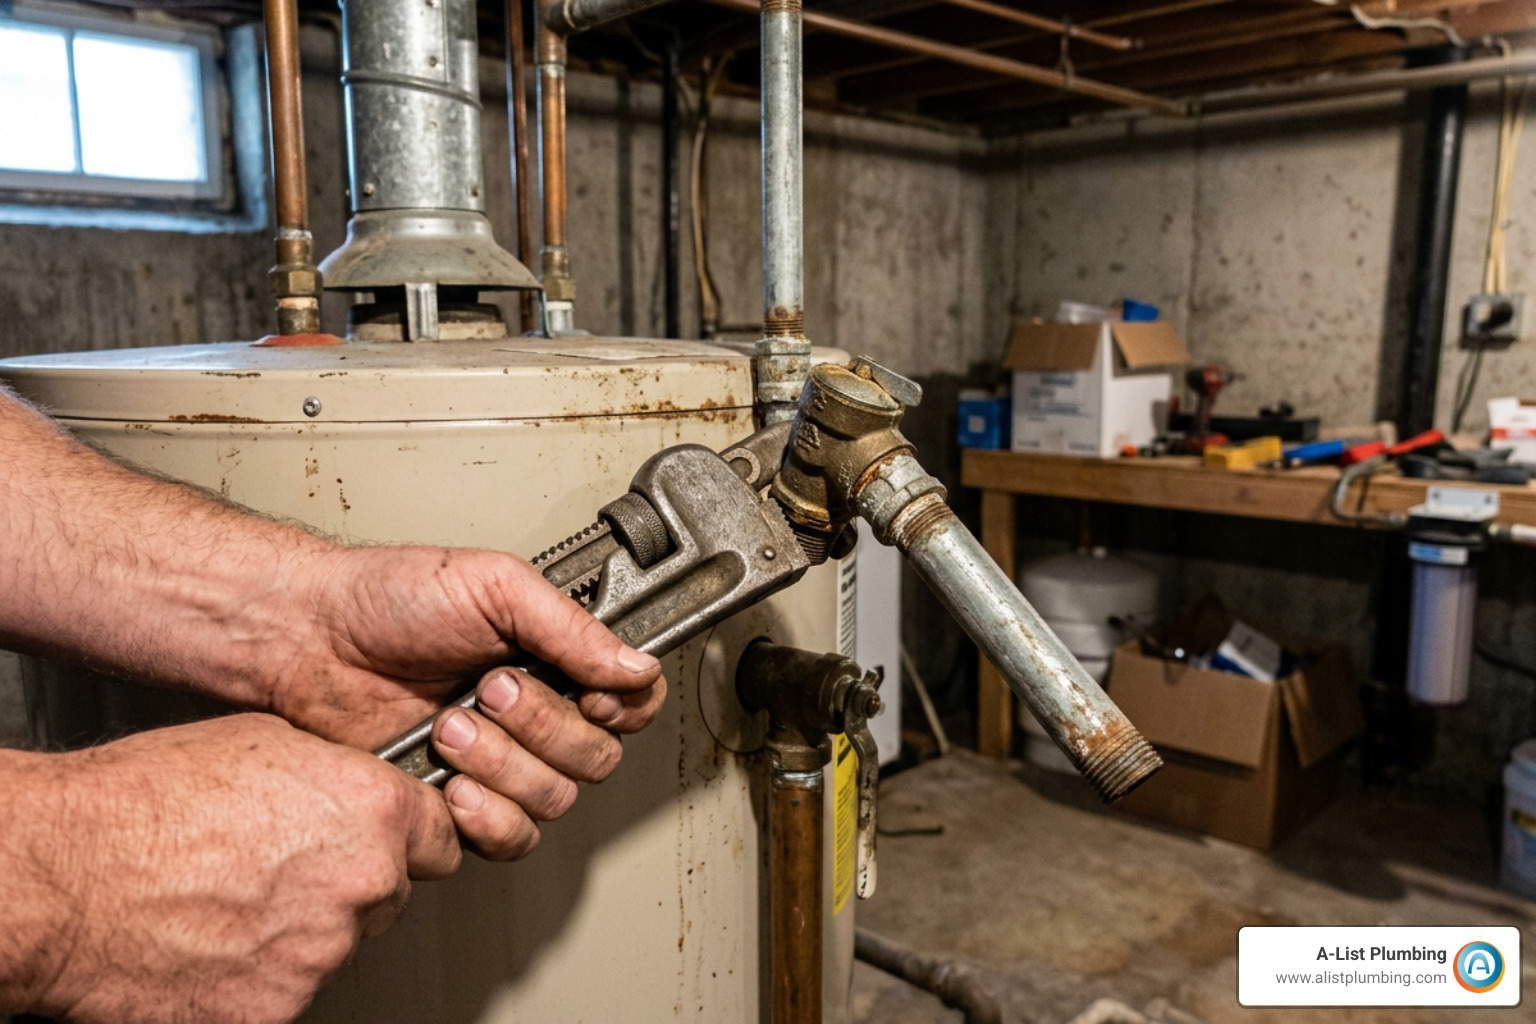
- Unscrew the Old Valve: Place your wrench securely onto the wrench flats of the old valve body. Turn counterclockwise to break it loose. If the valve has been in place for a decade, it might take a little elbow grease! Once loose, unthread it by hand and pull it straight out.
- Clean the Tank Threads: Inspect the female threads inside the water heater port. Use a clean rag or small wire brush to clean away old pipe dope, frayed Teflon tape, or mineral scale.
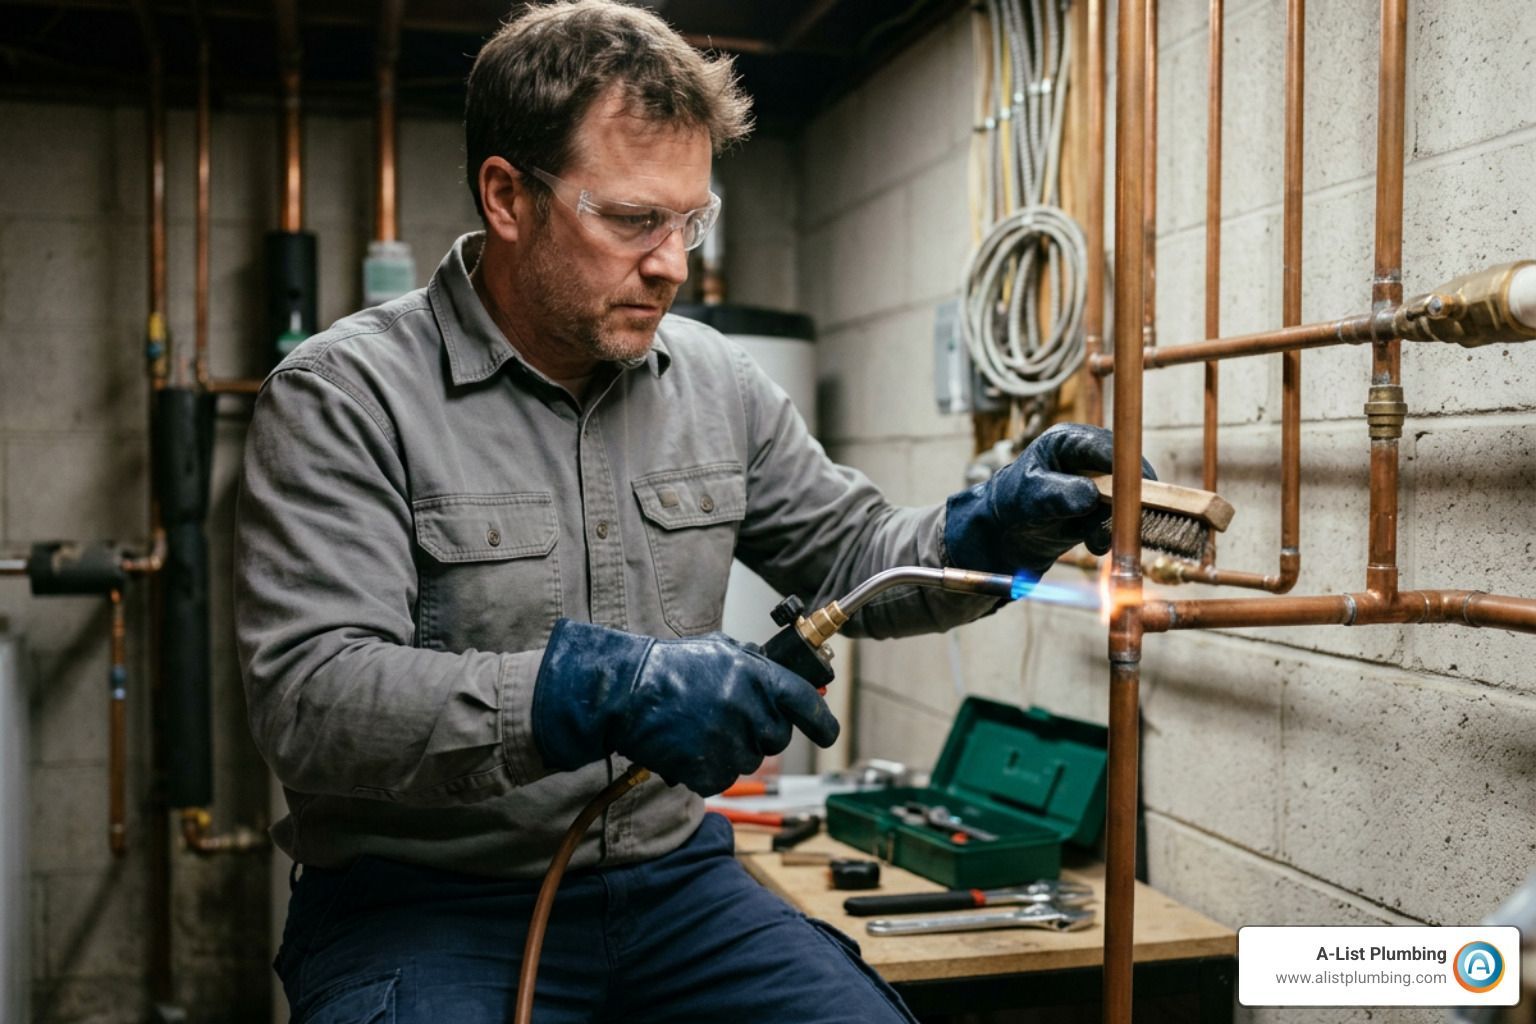
- Wrap the New Valve Threads: Take your new T&P valve and wrap the male 3/4-inch threads with PTFE Teflon tape. Apply 4 to 6 clockwise wraps around the threads, starting near the bottom of the threads and working up. Wrapping clockwise ensures the tape won't unspool or bunch up when you screw the valve into the tank.
- Thread and Tighten: Screw the new valve into the tank opening by hand to make sure you don't cross-thread the soft metal. Once hand-tight, use your wrench to tighten it clockwise until snug. Position the discharge outlet pointing straight down toward the floor. Avoid over-tightening, as excessive force can crack internal tank linings!
If you like visual learning, watching a practical video tutorial like Replace A Leaking Temperature & Pressure Relief Valve on Water ...(verified video link) can give you a great visual walkthrough of wrench placement and thread wrapping techniques before you start. Should any third-party video link ever become broken or non-functional, rely directly on the written steps provided above.
Step 3: Refilling, Purging, and Testing
With the new valve sitting tight in place, it's time to put everything back together and make sure we have zero leaks.
- Reattach the Discharge Pipe: Thread your old discharge pipe (or a new copper/CPVC tube) into the outlet of the new T&P valve. Make sure the pipe extends to within 6 inches of the floor or floor drain and points straight down.
- Close the Drain Valve: Make sure the drain valve at the bottom of the water heater is completely closed, and remove your garden hose.
- Refill the Tank & Purge Air: Turn the cold water supply valve back on above the heater. Next, head into your home and turn on the hot water side of a nearby sink or tub faucet. At first, you'll hear sputtering and air coughing out. Leave the faucet open until a steady, smooth stream of water flows without air pockets. This purges trapped air out of the tank top.
- Inspect for Leaks: Carefully inspect around the threaded fitting of the new T&P valve. Look for any tiny bead drops or weeping threads.
- Restore Power or Gas: Once you are 100% sure the tank is filled with water and free of leaks, turn the electric breaker back ON or ignite your gas pilot light.
- Perform a Test Flip: Once the water heats up, lift the manual test lever on your new valve for 2 or 3 seconds, then let it snap shut. It should discharge a quick burst of water down the pipe and shut off cleanly without dripping.
For a full breakdown of average repair pricing and maintenance schedules, dive into our Hot Water Heater Repair Costs Guide 2026(link verified functional).
Troubleshooting Post-Installation Leaks and High Pressure
What if you just finished installing a shiny new T&P valve, turned the heat back on, and 20 minutes later the new valve starts dripping? Don't panic! It's rarely a defective valve. More often, the valve is doing its job by responding to system pressure problems.
Here are the top three root causes for post-installation leaks:
1. Thermal Expansion Spikes
When cold water enters your water heater tank and gets heated up to 120°F or 140°F, that water expands in volume. In older homes, expanding water simply pushed back out into the city main lines. Modern plumbing codes require backflow preventers or check valves at the water meter, creating what plumbers call a "closed system."
When expanding hot water has nowhere to go, pressure inside your tank skyrockets past 150 PSI! This forces the T&P valve to pop open and weep to keep your tank from bursting. The fix? Install a potable thermal expansion tank on your cold water line.
2. Excessive Municipal Water Pressure
Standard home water pressure should sit comfortably between 50 and 60 PSI. Local building codes state that home water pressure should never exceed 80 PSI. If your city main delivers water at 90 or 100 PSI, your water heater will operate under constant stress, forcing safety valves to leak.
You can check your home pressure with a simple $10 hose-bib pressure gauge. If pressure is over 80 PSI, you need a Pressure Reducing Valve (PRV) installed on your main supply line, or your existing PRV needs adjustment. If you need assistance tracking down hidden pressure leaks, explore our expert Leak Detection service.
3. Thermostat Failure and Overheating
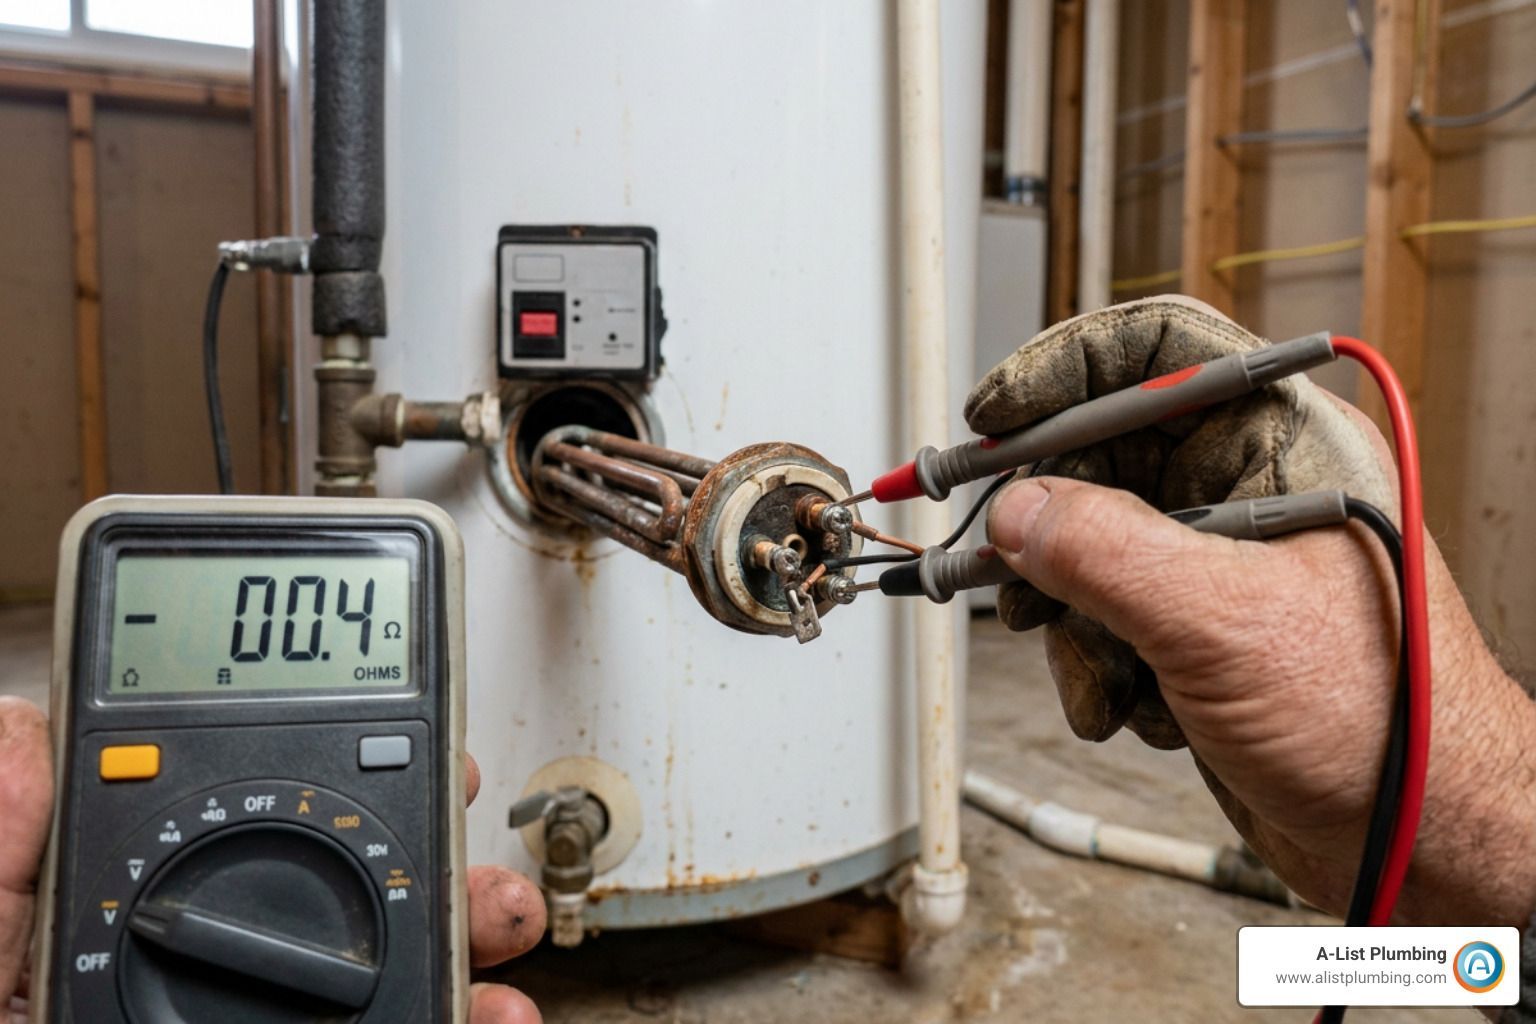
If your water heater's upper or lower thermostat fails in the "closed" position, the heating elements or gas burner won't turn off. Water inside the tank can reach boiling temperatures (>210°F), producing scalding steam. The T&P valve will open wide to dump dangerous boiling water.
If your tap water feels dangerously hot, turn off power to your unit right away and read our guide on Scalding Hot Water Repair.
Frequently Asked Questions
DIY vs Professional Hot Water Pressure Valve Replacement Costs
Is replacing a T&P valve yourself worth it?
- DIY Costs: Purchasing a quality replacement valve like a Cash Acme NCLX-5LX costs roughly $15 to $30. Add a roll of PTFE thread sealant tape, and your total DIY investment runs between $20 and $35.
- Professional Plumber Costs: Hiring a licensed professional plumber typically ranges from $150 to $300, which covers professional labor ($100 to $250) plus standard parts and warranties.
- Total Savings: Tackling this project yourself saves you roughly $120 to $250!
If you feel comfortable using a wrench, shutting off electricity safely, and handling basic plumbing threads, it's a great DIY project. However, if your shutoff valves are frozen, your piping is badly rusted, or your system requires a thermal expansion tank installation, calling a licensed plumber is the safest bet.
How Often Should a T&P Valve Be Replaced?
Most major water heater manufacturers recommend replacing the T&P relief valve every 5 years. Even if the valve isn't actively dripping, internal springs can weaken and rubber seals deteriorate over time.
In addition to replacement every 5 years, perform a quick lever test once a year. Flip the lever to flush out small mineral deposits and confirm that the discharge passage is wide open.
Is It Safe to Cap or Plug a Leaking Safety Valve?
ABSOLUTELY NOT! This is one of the most dangerous things anyone can do in a home. Capping or plugging a leaking safety relief valve turns a water heater tank into a pressurized vessel with no outlet. If a thermostat fails and water boils inside a sealed tank without a working relief valve, pressure will build until the water heater explodes like a rocket, blowing through floors and roofs!
If your valve is leaking, fix it or replace it properly. Always make sure the discharge pipe is made of approved materials (such as copper, CPVC, or galvanized steel) and extends down to within 6 inches of the floor. For extra safety standards and guidelines, reference helpful resources like Water Heater Pressure Relief Valve Safety Standards - This Old House (Note: External third-party reference links can occasionally become non-functional or unlinked; always verify guidelines against your local plumbing code).
Conclusion
Hey, you made it to the end! Replacing a hot water pressure valve really comes down to three basic steps: shut off the power and drain a bit of water, swap the old valve out with proper Teflon tape, then refill, purge the air, and test for leaks. Doing this quick job keeps your home safe from dangerous pressure spikes and stops annoying drips from driving up your utility bill.
If you ever run into stuck pipes, crazy pressure spikes, or you just don't feel like wrestling with a rusty wrench on your day off, don't worry—we've got your back! Here at A-List Plumbing, we've been serving Lynnwood, Edmonds, Shoreline, Bothell, Seattle, and the Greater Seattle area for over 22 years. We bring transparent pricing, same-day availability, and friendly service to every job.
Need a hand with your water heater or a tricky plumbing leak? Give us a call today or head over to our Water Heater Repair page to get scheduled fast!