

A Leaking Water Tank Can Wreck Your Home Fast — Here's What to Do
Fix water tank leak problems quickly with these steps:
- Turn off the water supply to the tank immediately
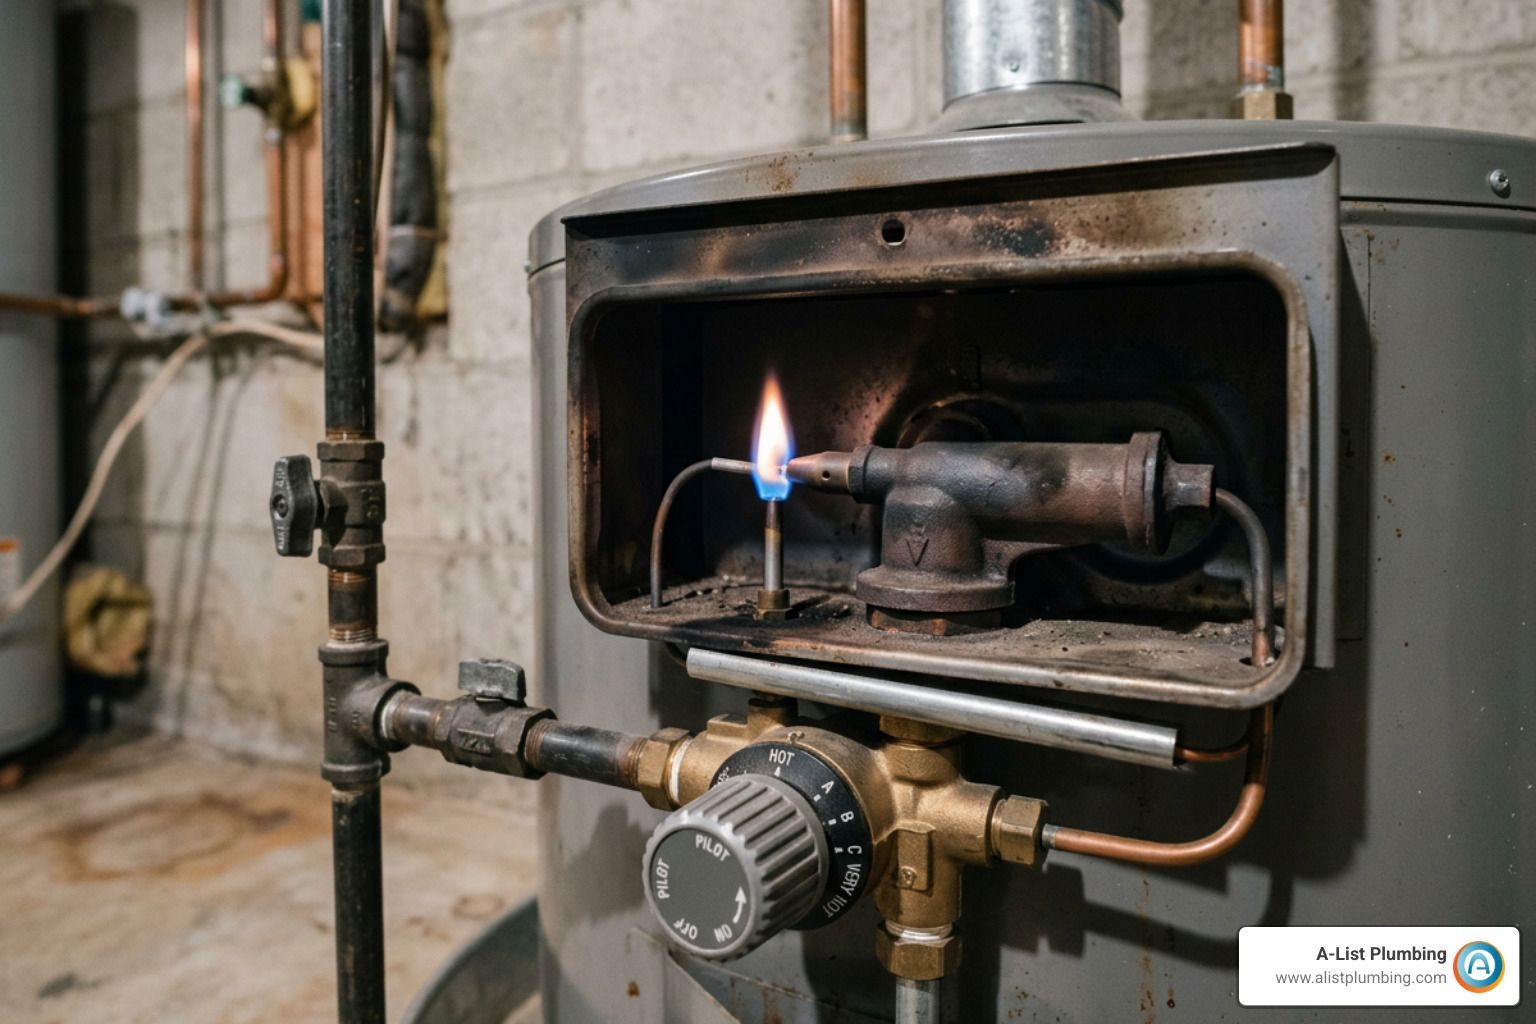
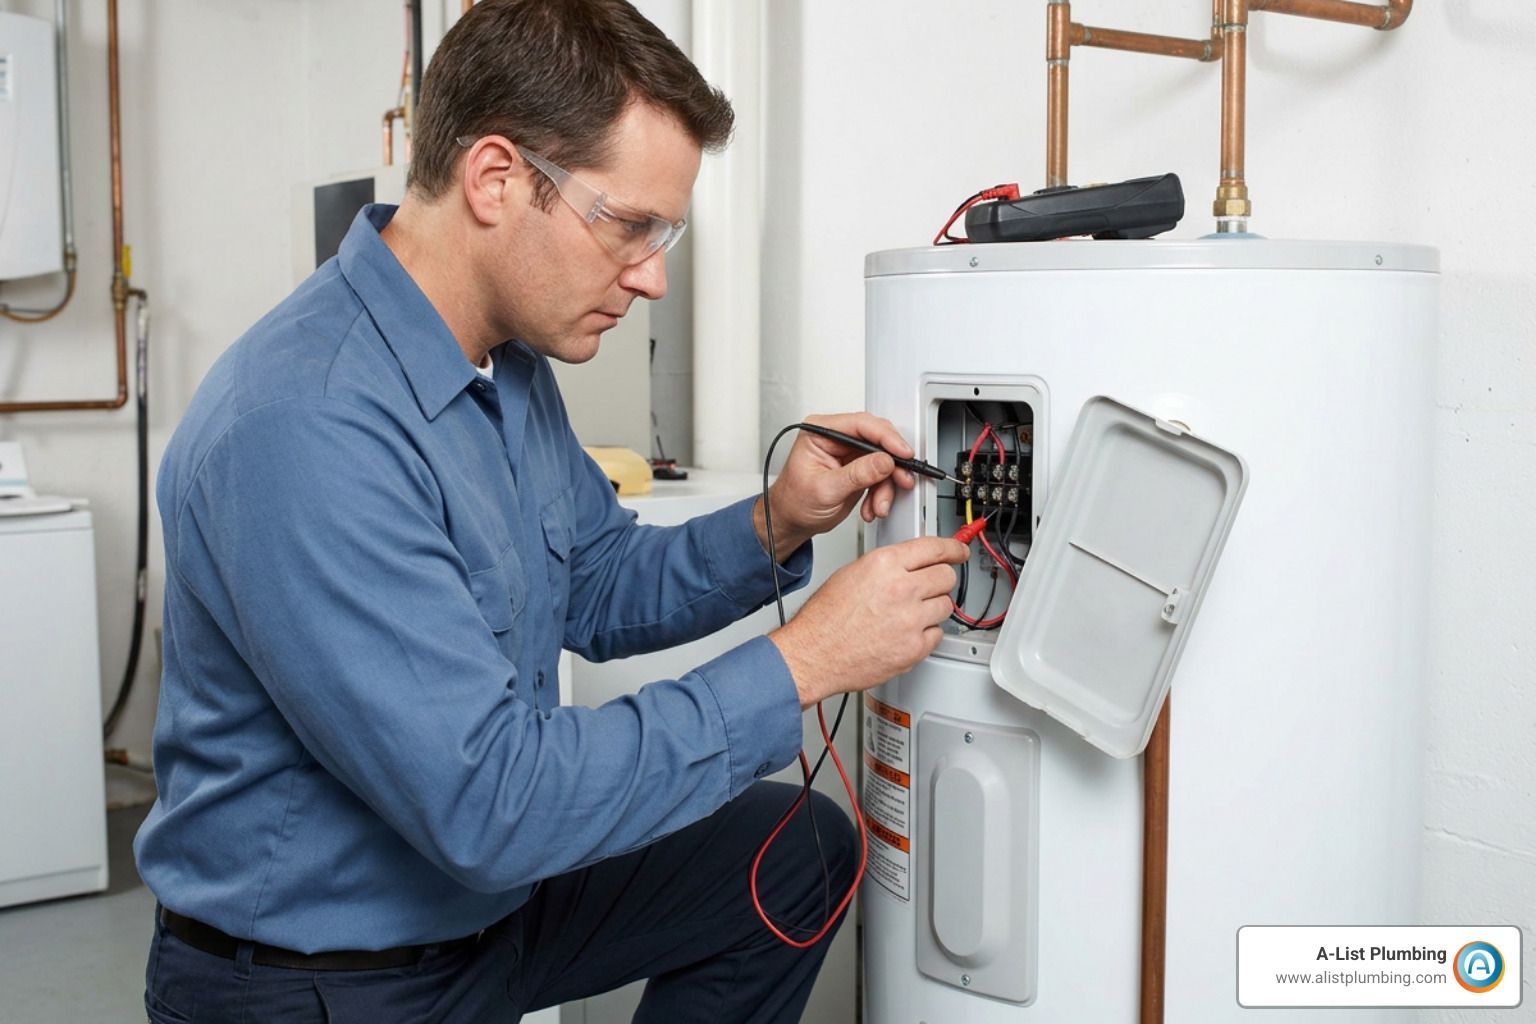
- Shut off power — flip the breaker for electric heaters, or turn the gas valve to "pilot"
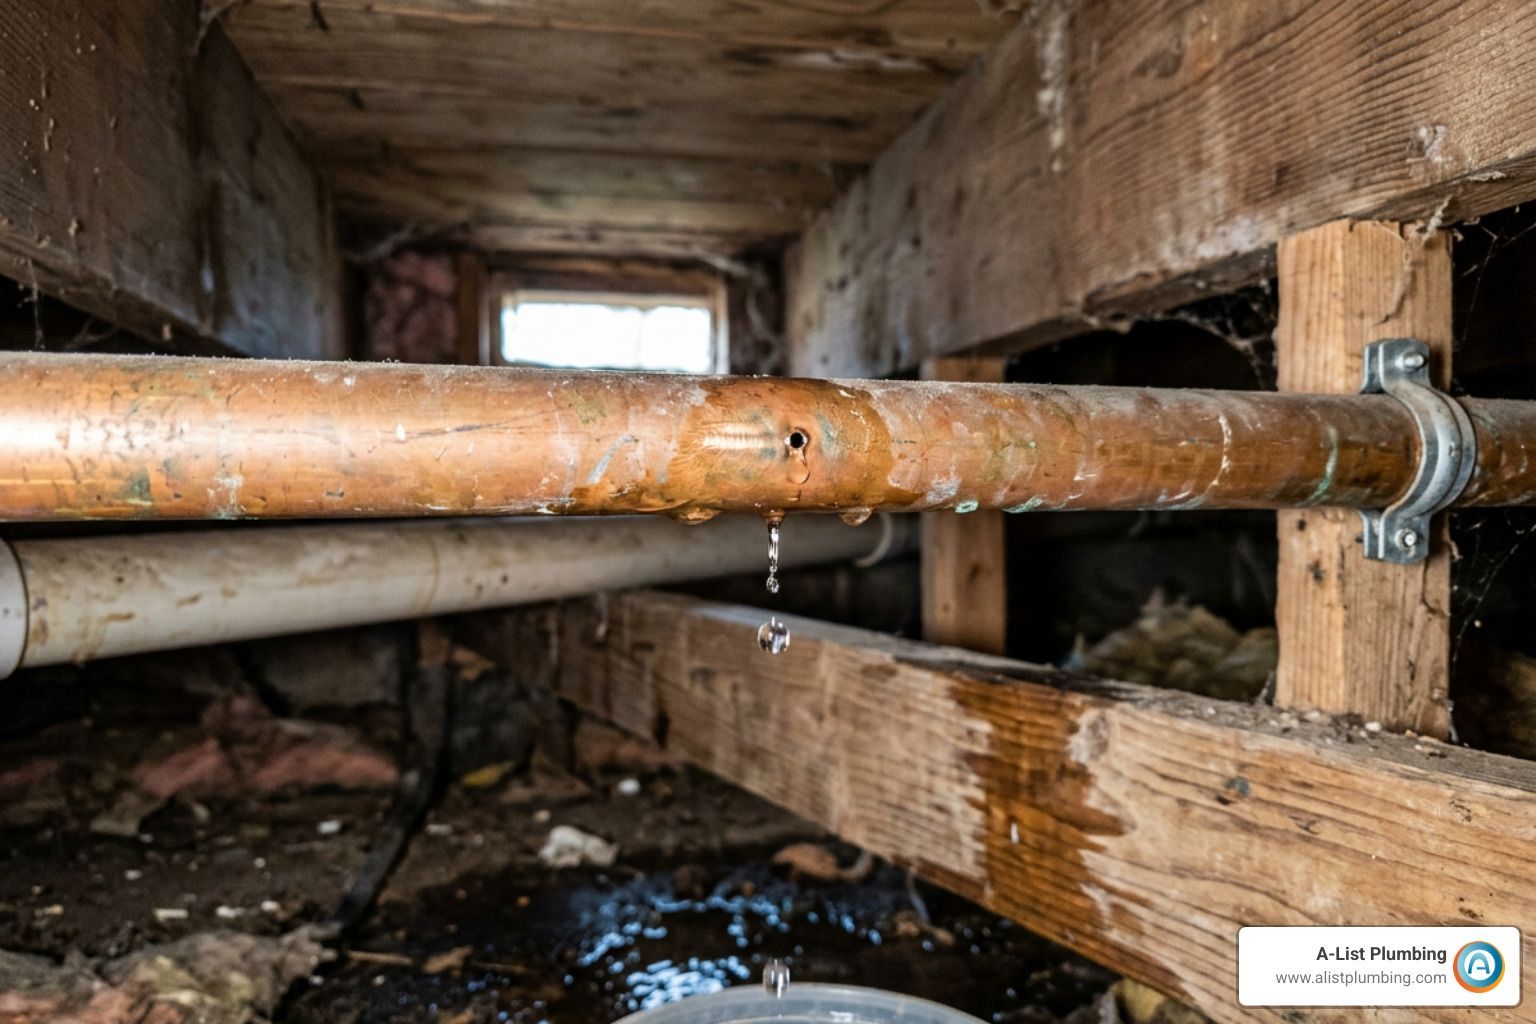
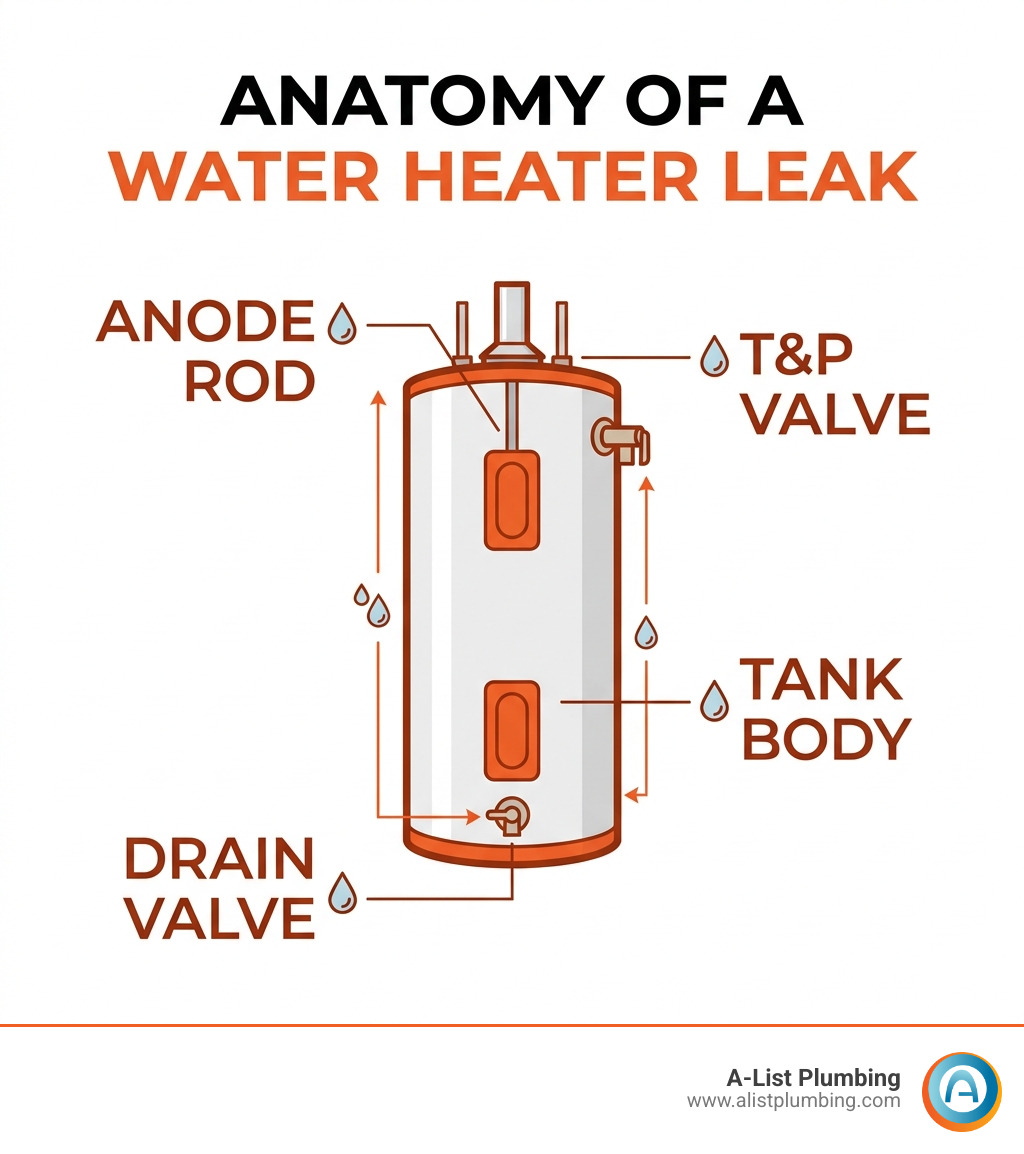
- Locate the leak — check the drain valve, T&P valve, supply line connections, and the tank body
- Apply a temporary fix — epoxy putty or waterproof sealant for small cracks; tighten loose fittings
- Call a plumber if the tank itself is corroded, cracked, or older than 10 years
Finding water pooling around your water heater is stressful — especially when you're not sure if it's a quick fix or a sign of something serious. A small drip can turn into 40 to 80 gallons of water on your floor during a catastrophic tank failure. And mold can start growing within just 24 to 48 hours of water exposure.
The good news? Many water tank leaks are fixable with the right tools and a clear plan. Whether it's a loose valve, a cracked fitting, or a corroded tank body, knowing where to look and what to do makes all the difference.
I'm Heath Shockman, owner of A-List Plumbing since 2011, and I've helped hundreds of homeowners across Greater Seattle diagnose and fix water tank leak issues before they turned into costly disasters. Let's walk through exactly what you need to know.
Common Causes and How to Identify a Water Tank Leak
Understanding why your tank is crying on the basement floor is the first step toward a dry home. In our 22 years of experience serving the Seattle area, we’ve found that most leaks aren't random accidents; they are the result of predictable wear and tear.
Internal Corrosion
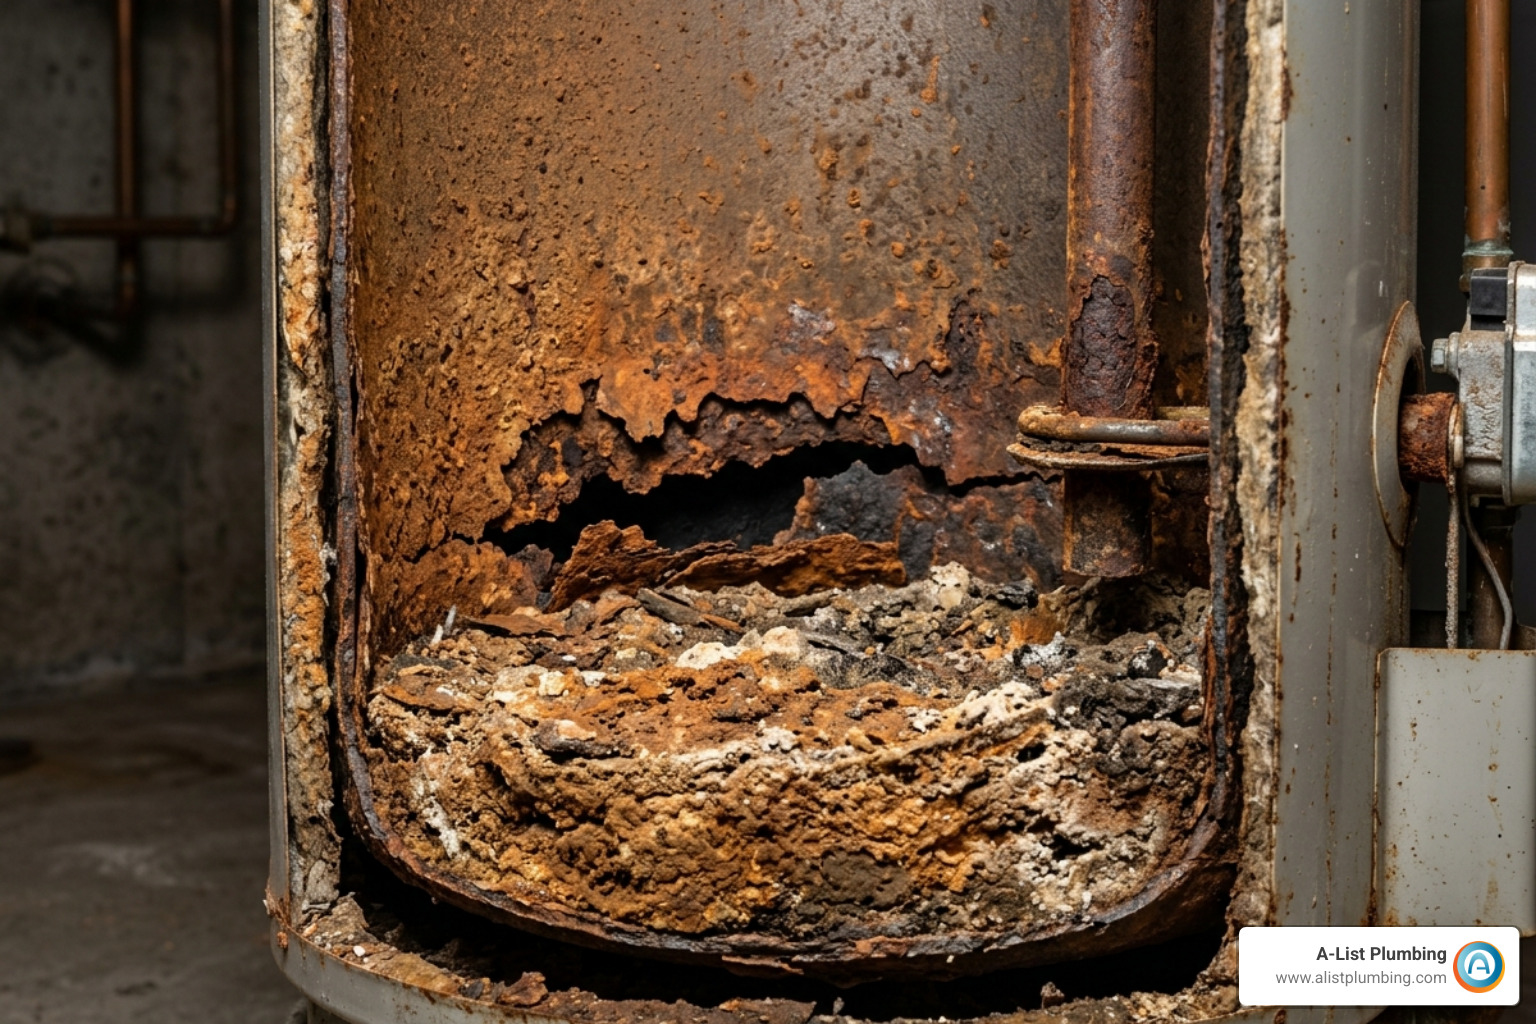
Most water heater tanks are made of steel, which naturally wants to rust when it meets water. To prevent this, tanks are lined with glass, but over time, tiny cracks in that lining allow water to reach the steel. Once the "cancer" of rust starts inside the tank, it’s only a matter of time before it eats a hole through the side. If you see rusty water or tea-colored stains near the base, internal corrosion is the likely culprit.
Sediment Buildup
In areas like Lynnwood and Edmonds, minerals in the water can settle at the bottom of the tank. This "scale" acts as an insulator, trapping heat between the burner and the water. This causes the metal at the bottom of the tank to overheat and eventually fatigue, leading to cracks. This is why Water Heater Leaks in Seattle WA are so often linked to a lack of annual flushing.
The Sacrificial Anode Rod
Think of the anode rod as a lightning rod for rust. It’s a magnesium or aluminum rod that hangs inside the tank and attracts corrosive elements so they eat the rod instead of the tank. When the rod is completely dissolved (usually every 3 to 5 years), the tank is left defenseless.
High Water Pressure and Thermal Expansion
If your home’s water pressure is consistently above 80 psi, it puts massive stress on the tank's seams. Furthermore, when water heats up, it expands. If there is nowhere for that extra volume to go (like an expansion tank), the pressure can cause the tank to split. For more on the mechanical causes of failure, check out this guide on How to Stop Leakage in Water Tank | Easy Methods (2026).
Diagnosing the Source Without Draining
You don't always have to empty the whole 50 gallons just to find a drip. Here is how we troubleshoot on-site:
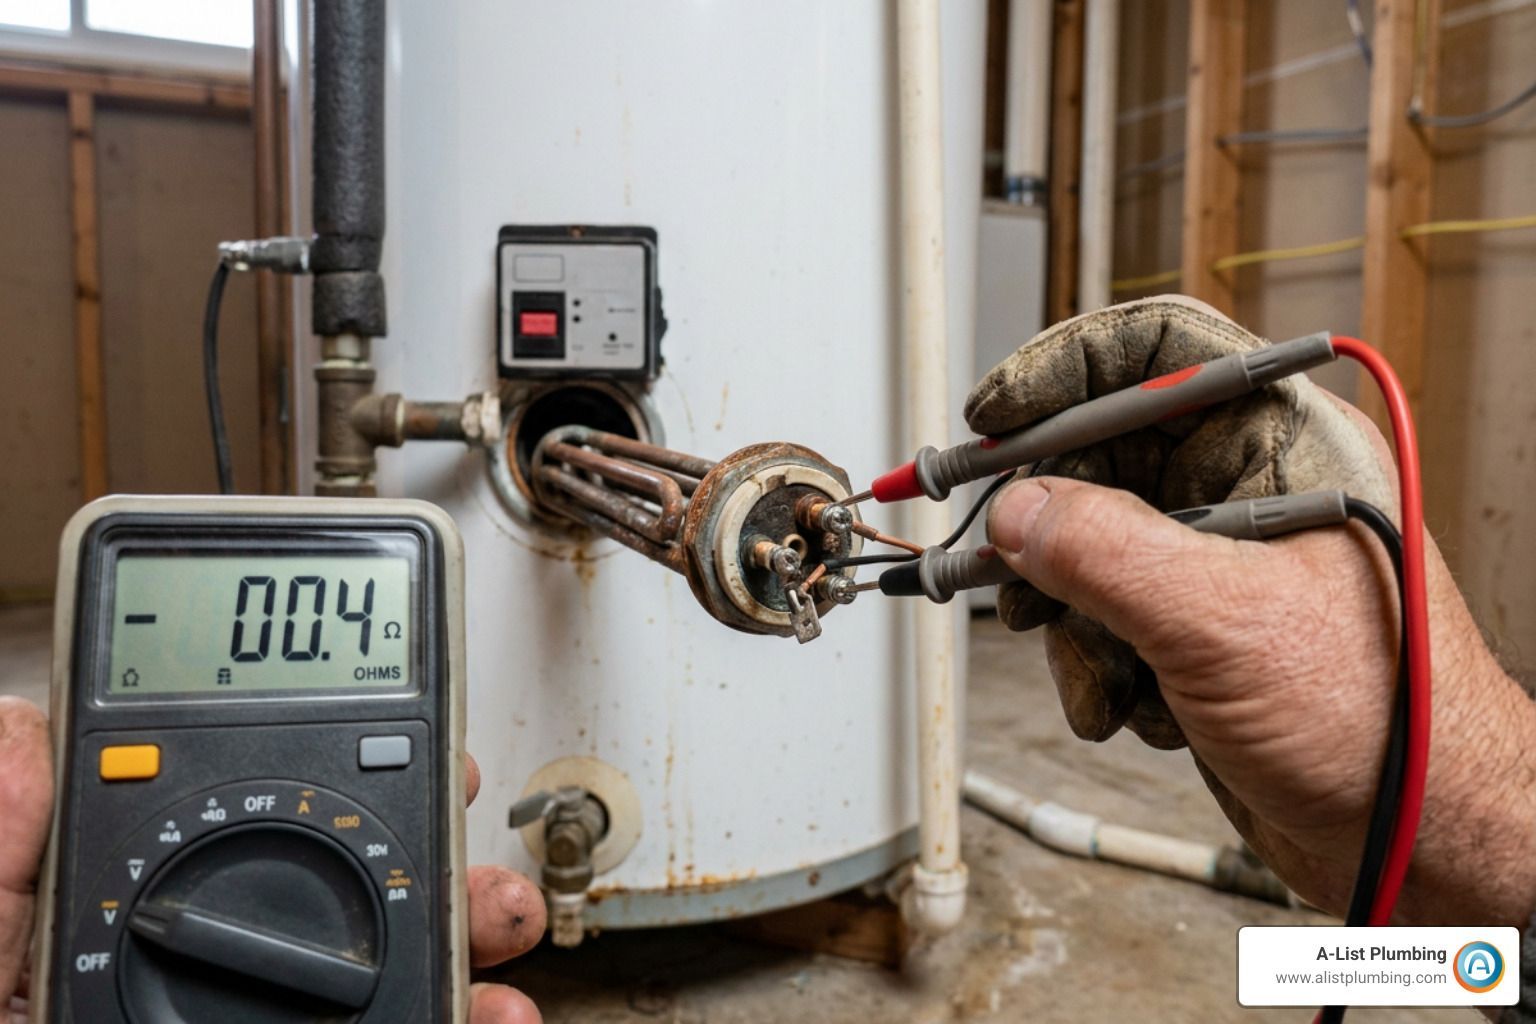
- Visual Inspection: Dry the entire tank with a towel. Wait 10 minutes and use a high-powered flashlight to look for "tracks" of water. Check the top (inlet/outlet pipes), the side (T&P valve), and the bottom (drain valve).
- The Paper Towel Test: Wrap a dry paper towel around joints or valves. Even a tiny "weep" will show up as a dark spot on the towel before it’s visible to the eye.
- Soapy Water: For air-pressurized tanks (like well expansion tanks), spray a mixture of dish soap and water on the seams. Bubbles will form exactly where the air—and eventually water—is escaping.
- Borescope: For hard-to-reach areas behind the tank jacket, a small waterproof camera (borescope) can help us see if the leak is coming from the inner tank or just a loose fitting. This is a common tool we use when investigating Water Heater Leaks in Edmonds WA.
Essential Tools and Materials to fix water tank leak Issues
Before you channel your inner MacGyver, you need the right kit. Using the wrong sealant on a pressurized tank is like putting a Band-Aid on a fire hose—it won't end well.
| Material | Best Use | Durability |
|---|---|---|
| Epoxy Putty | Small cracks in plastic or metal | Temporary/Semi-permanent |
| Hydraulic Cement | Cracks in concrete tanks | Permanent |
| Teflon Tape | Leaking threaded pipe joints | Permanent |
| Marine-Tex | High-strength repairs (even wet) | Very High |
| Silicone Sealant | Non-pressurized gaps/seams | Temporary |
The Must-Have Toolkit:
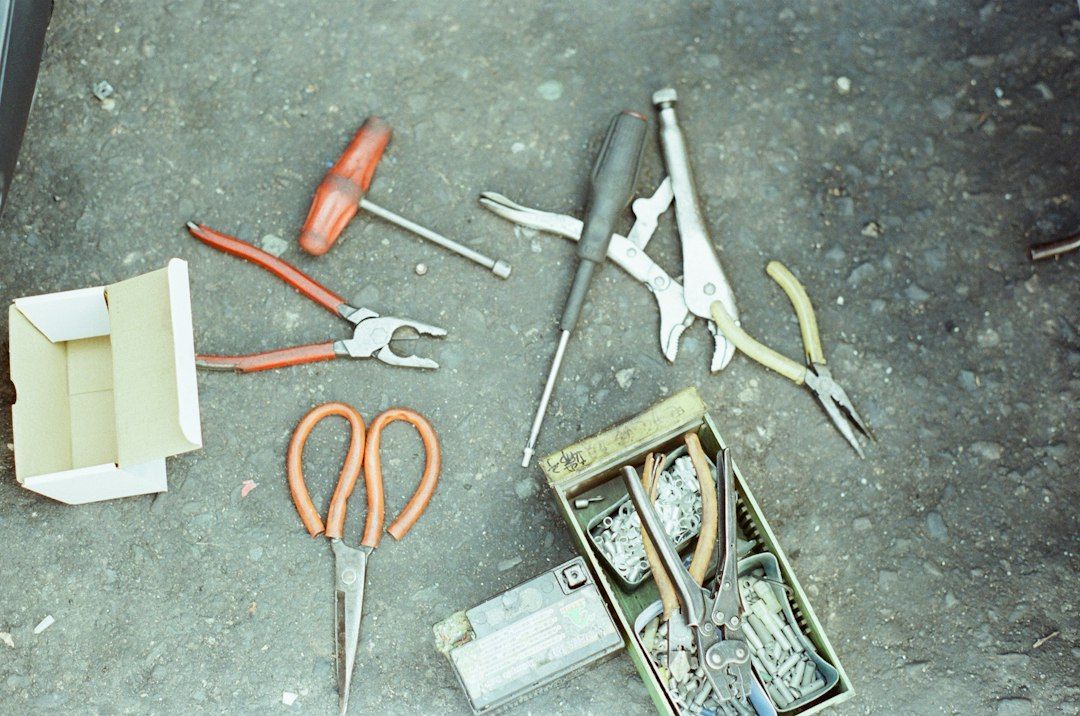
- Pipe Wrench: For tightening the heavy-duty nipples at the top of the tank.
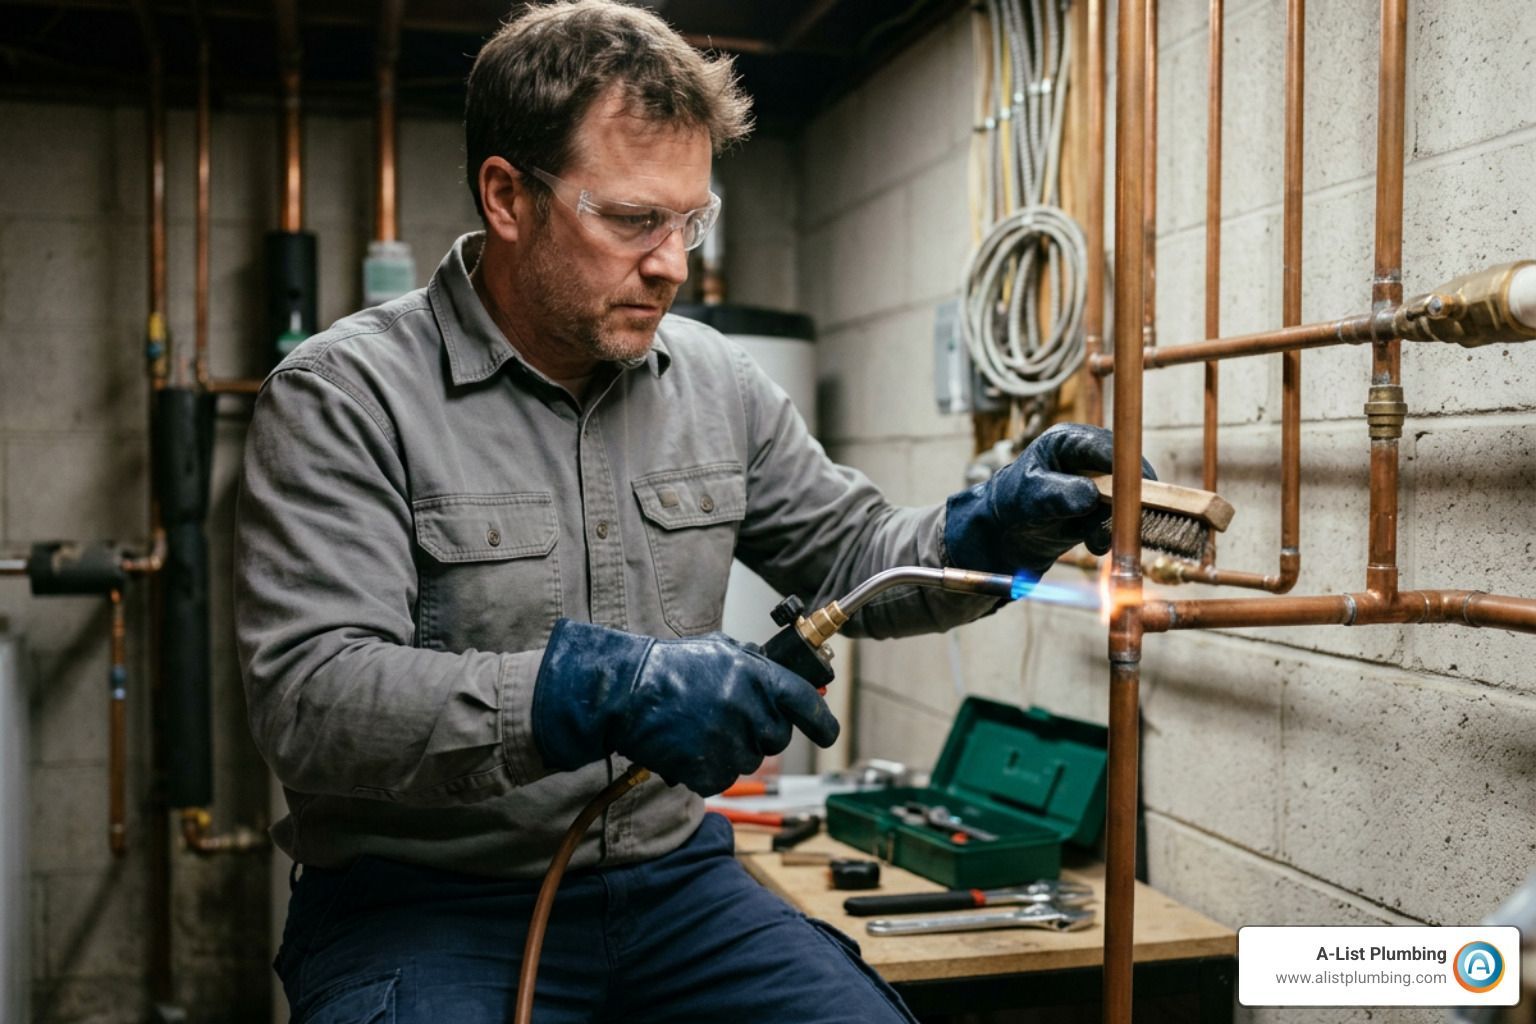
- Wire Brush: Essential for scrubbing away rust so your repair materials actually stick.
- Flashlight: You can't fix what you can't see!
- Belzona 9611: A high-performance emergency repair polymer often used in industrial settings for "live" leaks.
If you find yourself missing these tools, it might be time to look into professional Water Heater Repair in Lynnwood WA to ensure the job is done safely.
Step-by-Step Guide to Repairing Different Tank Materials
The method you use to fix water tank leak issues depends entirely on what the tank is made of. A plastic rain barrel needs a different touch than a galvanized steel heater.
Surface Preparation: The Secret to Success
No matter the material, the "bond" is only as good as the surface.
- Clean: Use a wire brush to remove rust or a stiff brush for concrete.
- Roughen: Use 400-grit sandpaper to give metal or plastic some "tooth" for the epoxy to grab.
- Dry: Most DIY sealants fail because the surface was damp. Use a hair dryer if necessary to bone-dry the area.
Temporary Fixes for Immediate Relief
If it’s 2 AM in Bothell and the tank is dripping, you need a "right now" solution.
- Epoxy Putty: Knead the two-part putty until it’s a uniform color. Press it firmly into the crack and hold it for several minutes. This can buy you a few days to call for Water Heater Leaks in Bothell WA.
- Pipe Tape (Teflon): If the leak is at a threaded joint, unscrew the fitting, wrap the threads clockwise 3-4 times, and re-tighten.
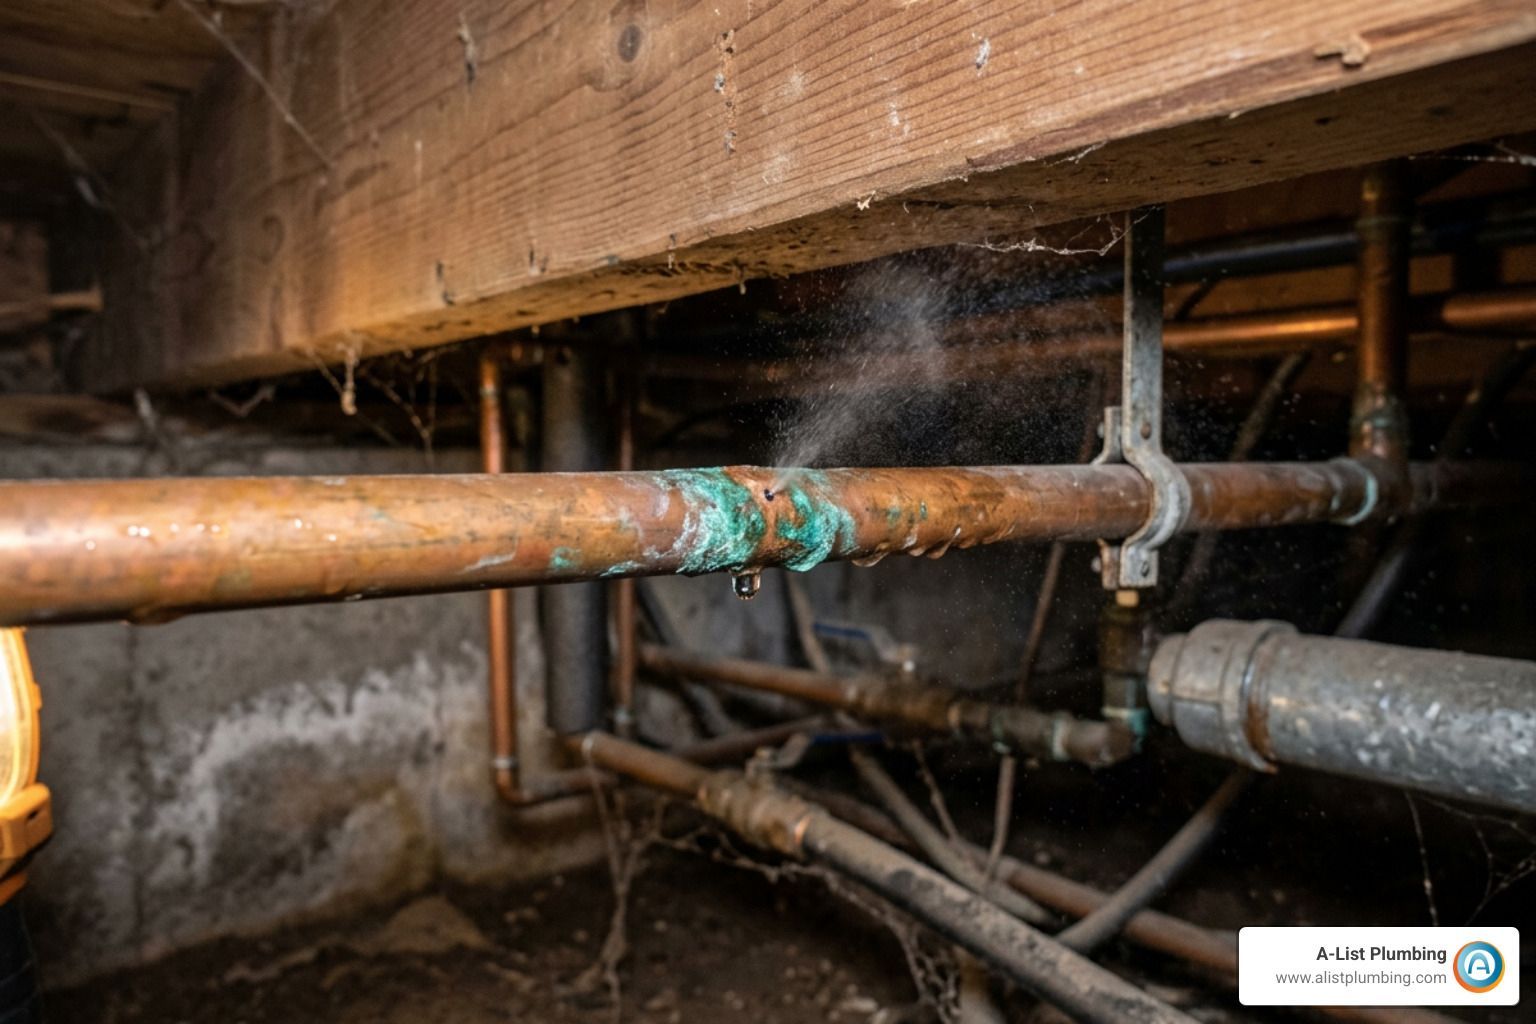
- Emergency Clamps: For pinhole leaks in copper pipes leading to the tank, a rubber patch held by a hose clamp can stop the spray.
Permanent Repairs for Metal, Concrete, and Plastic
- Metal Tanks: For industrial or large-scale galvanized tanks, "cold-bonding" using a metal plate and high-strength polymer (like Belzona) can create a permanent patch without the fire risk of welding.
- Concrete Tanks: Use hydraulic cement. It actually expands as it cures and can even be applied while water is seeping out. For a deep dive into this, see Fixing Leaks In Concrete Water Tanks: A Comprehensive Guide | ShunTool.
- Plastic Tanks: A specialized plastic welding kit or a high-flexibility epoxy patch is best. Plastic expands and contracts significantly with temperature changes, so the patch must be able to move with the tank.
For homeowners in the city, most "permanent" repairs on a residential water heater tank are actually just delays. When the inner tank fails, we usually recommend Water Heater Repair in Seattle WA to evaluate if a replacement is safer.
When to Repair vs. Replace Your Water Tank
This is the "million-dollar question" (or at least the thousand-dollar one).
Repair it if:
- The leak is coming from a replaceable part (T&P valve, drain valve, or supply lines).
- The tank is less than 6 years old.
- The leak is a simple loose connection.
Replace it if:
- The tank is 8–12 years old: Most heaters are designed for a 10-year lifespan. Once you hit a decade, the metal is thin and more leaks are inevitable.
- The leak is from the bottom: This usually means the inner liner has disintegrated.
- Catastrophic Failure Risk: A rusted tank can dump 40 to 80 gallons of water in minutes, ruining floors and furniture.
- Structural Cracks: If a concrete or plastic tank has "radiating" cracks (like a spiderweb), it has lost its structural integrity.
We often see these issues when handling Water Heater Leaks in Magnolia WA. If you see heavy rust at the base, don't wait for a flood.
Preventive Maintenance to Avoid Future Leaks
The best way to fix water tank leak problems is to make sure they never happen in the first place.
How to Maintain Your Tank to Prevent a fix water tank leak
- Annual Flushing: Drain a few gallons of water from the bottom valve once a year to remove sediment. This prevents the "hot spots" that cause tank fatigue.
- Check the Anode Rod: Every 3 years, have a pro check your anode rod. Replacing a $50 rod can save you a $1,500 tank.
- Test the T&P Valve: Lift the lever on the Temperature and Pressure relief valve. Water should discharge. If it doesn't, or if it keeps dripping after you close it, the valve is faulty and your tank is at risk of over-pressurizing.
- Monitor Pressure: Ensure your home has a pressure-reducing valve (PRV) if your street pressure is high.
Consistent care is why many of our clients seeking Water Heater Repair in Edmonds WA end up with heaters that last 15 years instead of 8.
Frequently Asked Questions about Water Tank Leaks
Can I fix water tank leak issues while the tank is full?
Yes, but it's tricky. Products like Belzona 9611 or Marine-Tex are designed to cure in wet conditions. However, you must "kill the pressure" first. Even if you don't drain the tank, you must turn off the water supply and open a hot water faucet elsewhere in the house to relieve the internal pressure. If you don't, the water pressure will simply push the sealant out of the crack before it can harden.
Is a leaking water heater an emergency?
In Seattle, we consider any tank leak an emergency. Why?
- Flooding: It can go from a drip to a deluge without warning.
- Mold: Within 24-48 hours, damp drywall and carpet become breeding grounds for mold.
- Electrical/Gas Hazards: Water and electricity don't mix. A leak can short out the thermostat or put out the pilot light, leading to gas buildup.
How do I test a repair to ensure the leak is fully sealed?
Once the sealant has cured (usually 24 hours), slowly turn the water supply back on. Do not turn the power/heat back on yet. Let the tank sit under full pressure for at least 1-2 hours while observing the patch. If it stays dry, turn the heat back on. The final test is "thermal expansion"—watch the patch as the water gets hot, as the heat will cause the metal to expand and put the most stress on your repair.
Conclusion
Dealing with a water tank leak doesn't have to be a nightmare. By identifying the source early, using the right materials for your specific tank type, and knowing when to call in the experts, you can protect your home from significant water damage.
At A-List Plumbing, we bring 22 years of experience to every job in Lynnwood, Edmonds, Shoreline, and throughout the Greater Seattle area. We pride ourselves on same-day availability and transparent pricing—no "hidden" fees, just honest work. Whether you need a quick valve replacement or a full system upgrade, we're here to help.
Don't let a small drip turn into a big disaster. If you're in Seattle or the surrounding areas and need a professional to fix water tank leak issues, visit our Water Heater Repair page to schedule your service today.