
When a Water Pipe Outside Breaks, Every Minute Counts
If you need to repair outside water pipe damage fast, here are the immediate steps:
- Shut off the main water supply(turn a gate valve clockwise, or give a ball valve a quarter-turn)
- Turn off power near any water-affected areas
- Open faucets to drain residual water from the line
- Locate the damage by checking for soggy soil, puddles, or hissing sounds
- Apply a temporary fix(pipe clamp, epoxy putty, or self-fusing silicone tape) to slow the leak
- Call a licensed plumber for a permanent repair, especially on main service lines
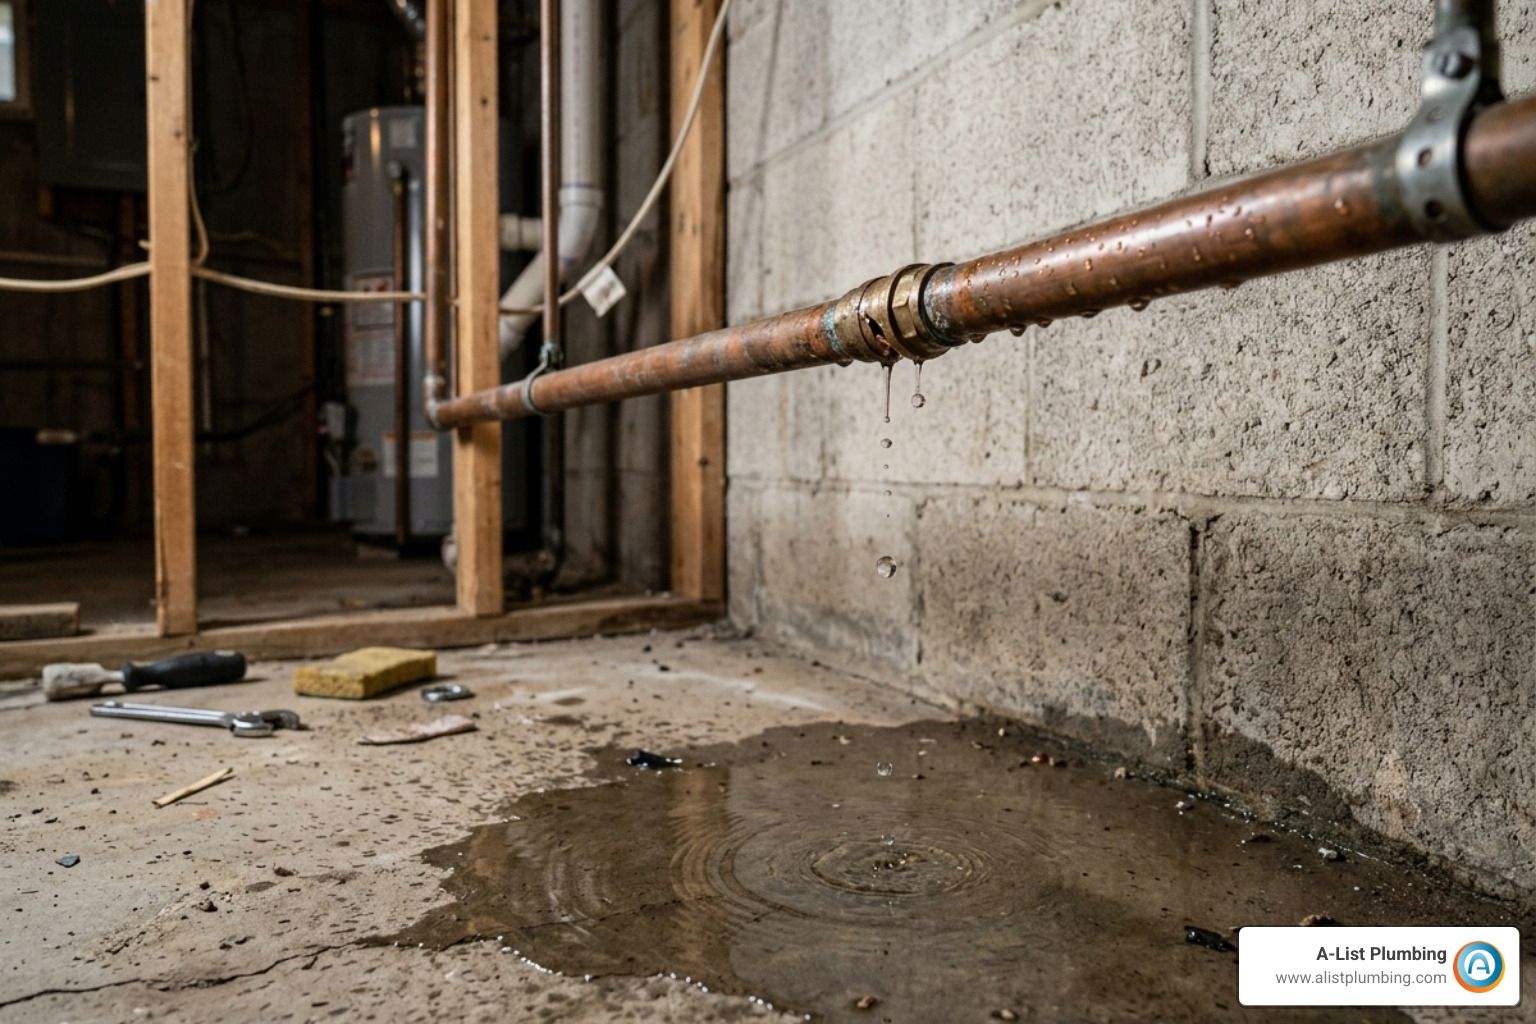
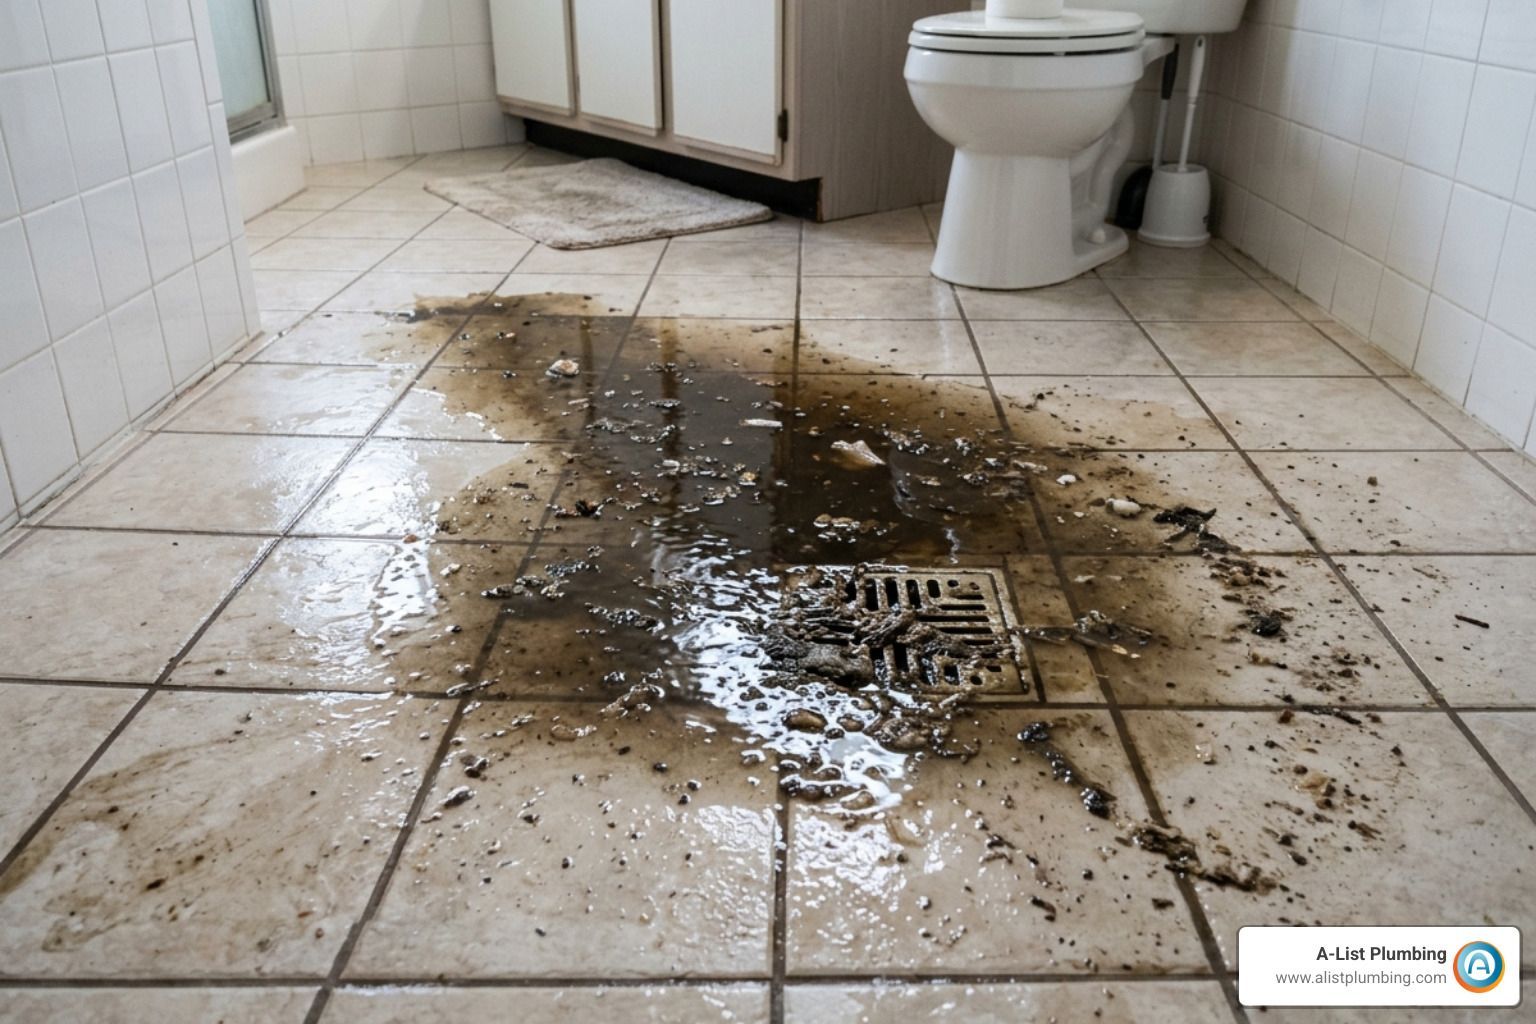
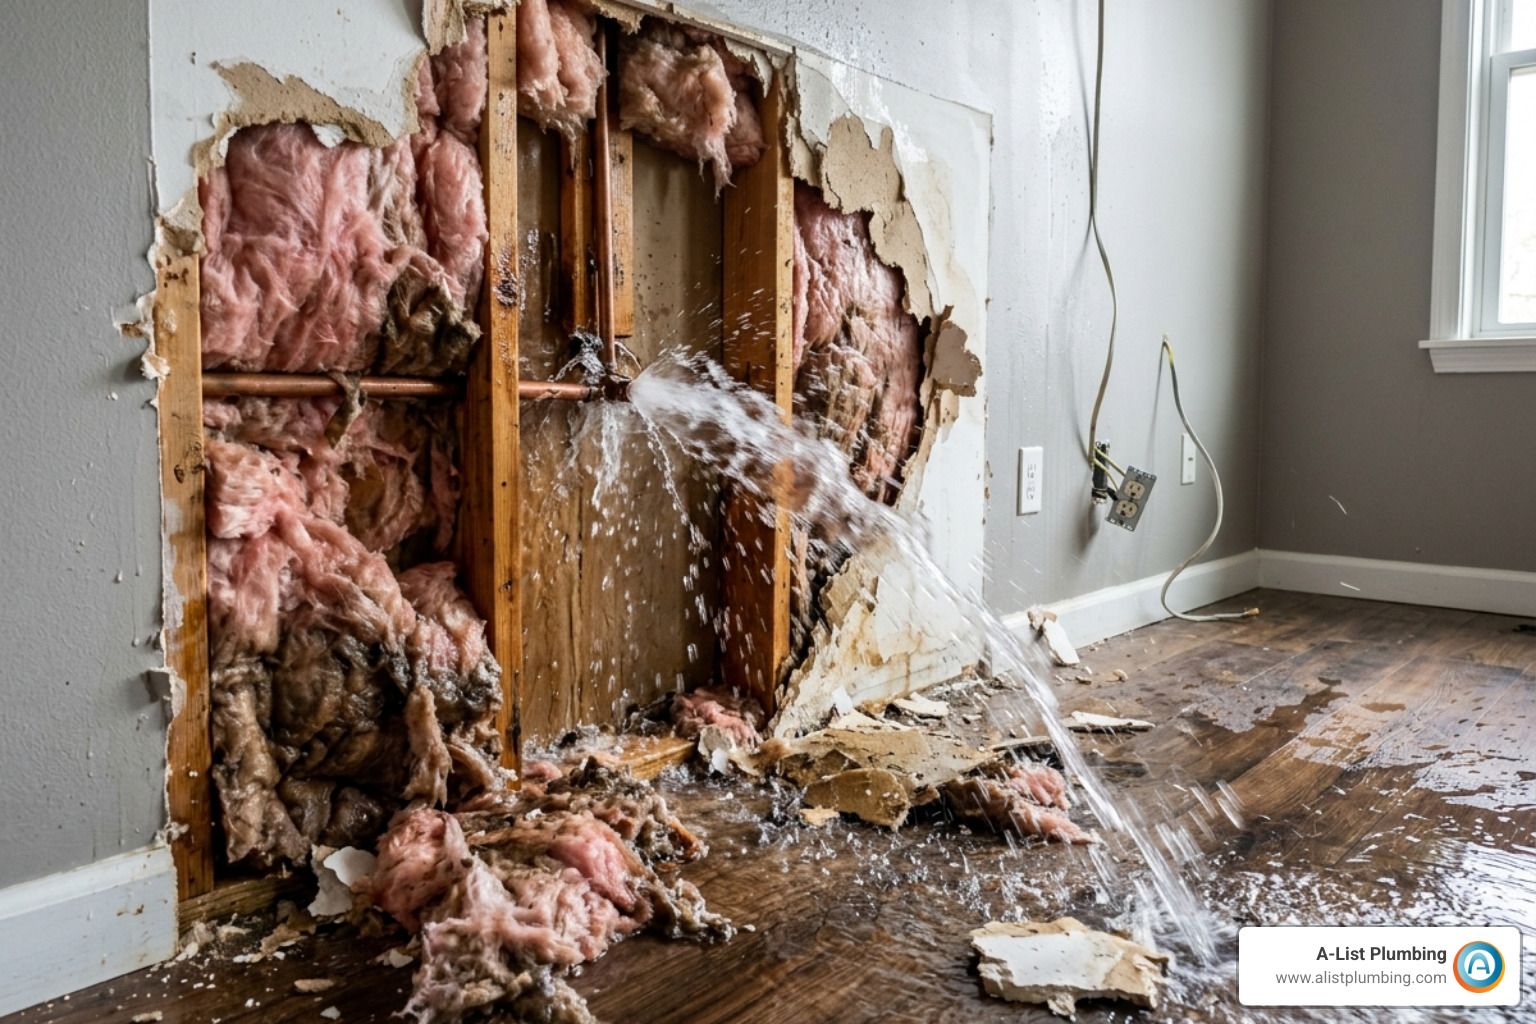
A broken outdoor water pipe is more than an inconvenience. Left alone, even a small underground leak can waste thousands of gallons of water annually, spike your utility bills, and erode the soil around your foundation. A burst pipe can dump a shocking amount of water in very little time — and the cost of water damage restoration can far exceed the cost of simply fixing the pipe early.
In the Greater Seattle area, outdoor pipes face some extra pressure. Tree roots, freeze-thaw cycles, and shifting soil all take a toll on buried lines over time.
I'm Heath Shockman, owner of A-List Plumbing since 2011, and I've spent over a decade helping Northwest homeowners repair outside water pipe problems — from cracked irrigation lines to full main water line replacements. In this guide, I'll walk you through everything you need to know to handle the repair confidently, whether you're doing it yourself or deciding when to call in a pro.

Identifying the Need to Repair Outside Water Pipe
Spotting an underground leak isn't always as obvious as a geyser in the front yard. Often, the signs are subtle until the damage becomes severe. In our experience serving the Greater Seattle area, we’ve seen homeowners ignore small signs only to be met with a massive sinkhole or a foundation that’s beginning to settle unevenly.
Common indicators that you need to repair outside water pipe lines include:
- Unexplained Puddles: If it hasn't rained in days but your lawn has a "swampy" spot, you likely have a subsurface leak.
- Lush Green Patches: Is one area of your grass significantly greener or taller than the rest? It might be getting a constant "fertilizer" of leaking water.
- Low Water Pressure: If your morning shower feels more like a light drizzle, water may be escaping before it ever reaches your home.
- Spinning Water Meter: If all your faucets are off but the little dial on your meter is spinning like a top, water is going somewhere it shouldn't.
- High Utility Costs: A sudden, unexplained spike in your water bill is a primary indicator of an underground leak. These leaks can waste thousands of gallons annually.
If you notice these signs, especially near your foundation, it's time to investigate. For residents in the city, checking our guide on Main Water Line Install & Repair in Seattle WA can help you understand the specific challenges of urban plumbing.

Common Causes of Outdoor Pipe Failure
Why do these pipes break in the first place? It’s rarely just "bad luck." Several environmental factors in Western Washington contribute to pipe failure:
- Soil Shifting: Our region’s clay-heavy soil expands and contracts with moisture levels, putting immense physical stress on buried lines.
- Tree Roots: Roots are naturally drawn to moisture. Even a tiny pinhole leak can attract roots that will eventually wrap around and crush the pipe.
- Freezing Temperatures: When water freezes inside a pipe, it expands with enough force to split even heavy-duty materials.
- Corrosion: Older homes in Lynnwood or Edmonds may still have pipes made of cast iron or galvanized steel, which are particularly susceptible to rust and internal buildup.
- Accidental Impact: We’ve seen many cases where a simple fence post installation or landscaping project ends with a shovel through a CPVC irrigation line.
Materials Needed to Repair Outside Water Pipe
If you’re planning a DIY fix for a minor line, such as a sprinkler pipe, you’ll need a specific kit. Before you start, ensure you have:
- Shovel and Hand Trowel: For careful excavation.
- Pipe Cutter or Hacksaw: To remove the damaged section.
- Permanent Marker: To mark your cut lines and depth.
- Sandpaper: To smooth the edges of the pipe (deburring).
- Primer and Solvent Cement: Essential for PVC/CPVC "chemical welding."
- Replacement Pipe and Fittings: Ensure they match your existing pipe's material and diameter.
For those in Snohomish County, our team provides expert Main Water Line Install & Repair in Lynnwood WA if the job requires heavy machinery or professional expertise.
Preparation and Safety for Outdoor Pipe Repair
Safety should be your first priority. Before you even touch a shovel, you must address the "invisible" dangers.
1. Call 811 Before You Dig: This is the law. In Washington, you must have underground utility lines marked before excavating. Hitting a gas line or an underground power cable is far more dangerous (and expensive) than a water leak.
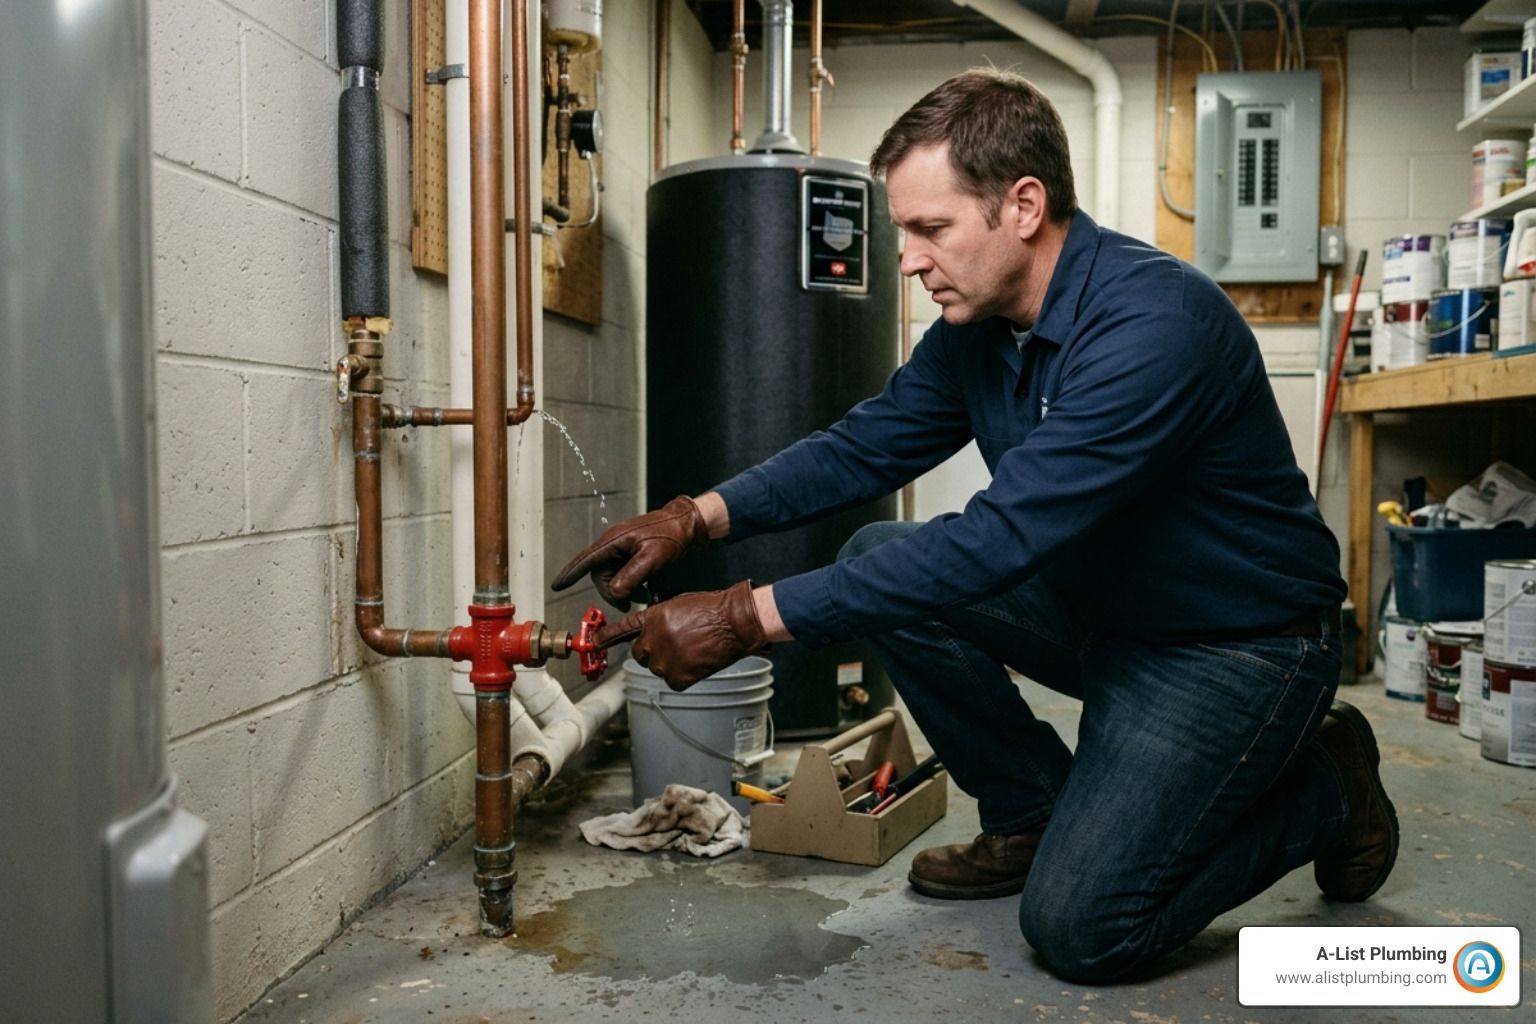
2. Shut Off the Water: Locate your main shutoff valve. This is usually found in a meter box near the street or in your basement/crawlspace.
- Gate Valves: Turn these clockwise until they stop.
- Ball Valves: Turn the lever a quarter-turn so it is perpendicular to the pipe.
3. Address Electrical Hazards: If water is pooling near an outdoor outlet, a pump, or where the electrical service enters your home, turn off the power at the breaker. Use a noncontact voltage tester to ensure the area is safe.
4. Drain the System: Once the water is off, open the lowest faucet on your property (usually an outdoor hose bibb) to drain the residual pressure and water from the lines. This prevents a messy "surprise" when you finally cut into the pipe.
For those who need a hand with the technical side, you can contact us directly at A-List Plumbing for a transparent quote and professional assistance.
Step-by-Step Guide to Fixing PVC and CPVC Lines
Most modern outdoor irrigation and some secondary water lines are made of PVC (white) or CPVC (off-white/cream). It is vital to identify which one you have, as they require different diameters of fittings and different types of solvent cement.
| Feature | PVC | CPVC |
|---|---|---|
| Color | Bright White | Off-White/Cream |
| Usage | Cold water/Irrigation | Hot & Cold water/Potable |
| Adhesive | PVC Cement | CPVC-specific Cement |
How to Repair Outside Water Pipe with a Slip Coupling
A "slip coupling" (or slip fix) is a lifesaver for DIYers. It’s a telescopic fitting that allows you to bridge a gap without having to bend the existing buried pipes.
- Excavation: Dig a hole large enough to give you at least 6 inches of clearance around the pipe. Digging a longer trench (2-3 feet) allows the pipe some flexibility.
- Cut the Damage: Use your pipe cutter to remove the broken section. Make sure your cuts are straight and clean.
- Deburr and Clean: Use sandpaper to remove any plastic "burrs" from the edges. Wipe the pipe ends dry and clean—dirt is the enemy of a good seal.
- Dry Fit: Slide your slip coupling onto the pipe without glue first to ensure everything aligns perfectly.
- Apply Primer and Cement: Apply PVC primer to the outside of the pipe and the inside of the fitting. While still wet, apply the solvent cement.
- The 30-Second Hold: Push the fitting onto the pipe with a slight twist and hold it firmly for 30 seconds. This prevents the pipe from "pushing out" while the chemical weld begins.
- Cure Time: Wait at least one hour before turning the water back on. For a permanent repair outside water pipe solution, let it cure for 24 hours before full pressure.
Pro Tip: If the pipe is exposed to sunlight, paint it with a layer of latex paint. PVC is sensitive to UV rays, which can make it brittle over time.
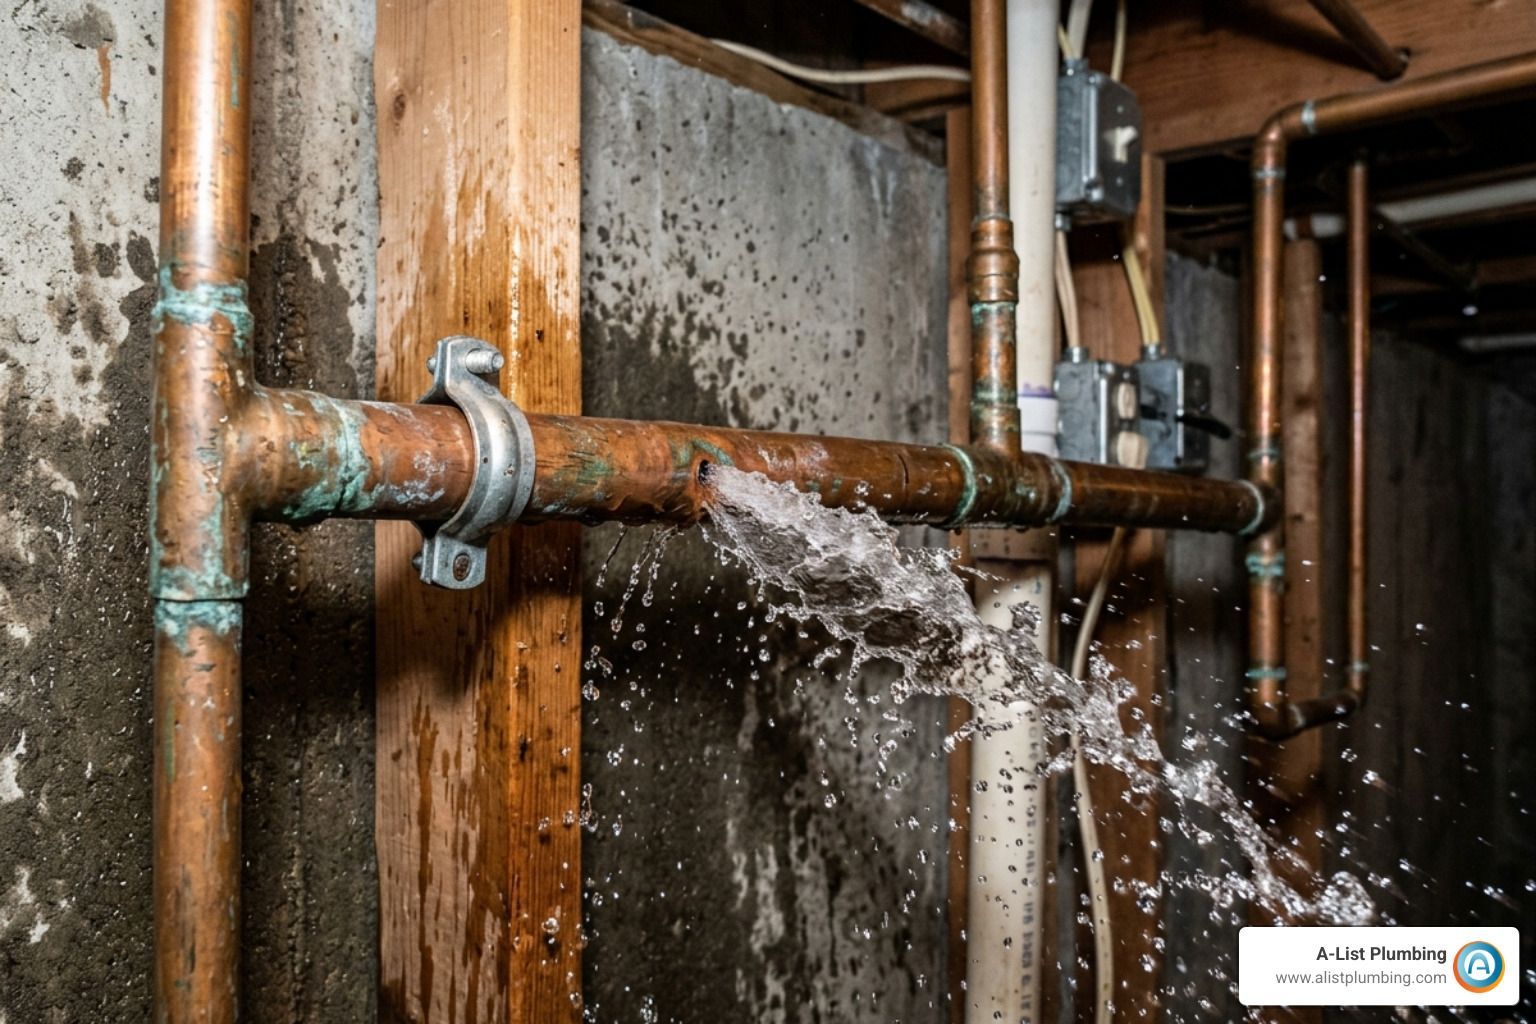
Temporary Emergency Fixes for Small Leaks
Sometimes you just need to stop the bleeding until the weekend or until a plumber arrives. According to How to Fix an Outside Pipe Burst and Prevent Future Damage - Engineer Fix , temporary fixes are for damage control, not permanent solutions.
- Self-Fusing Silicone Tape: This tape only sticks to itself. When stretched tightly, it creates a compression seal that can hold moderate pressure.
- Epoxy Putty: This is a two-part putty you knead together and press over a dry crack. It hardens like steel, but it may eventually fail due to the expansion and contraction of the pipe.
- Pipe Repair Clamps: These consist of a metal sleeve and a neoprene rubber gasket. You bolt the clamp over the leak, and the rubber creates a mechanical seal.
If you’re in Shoreline and a temporary fix isn't holding, check out our Main Water Line Install & Repair in Shoreline WA services for immediate assistance.
Specialized Methods and Trenchless Solutions
Not every pipe is made of plastic. Older homes or main service lines often use copper, PEX, or even MDPE (Medium-Density Polyethylene).
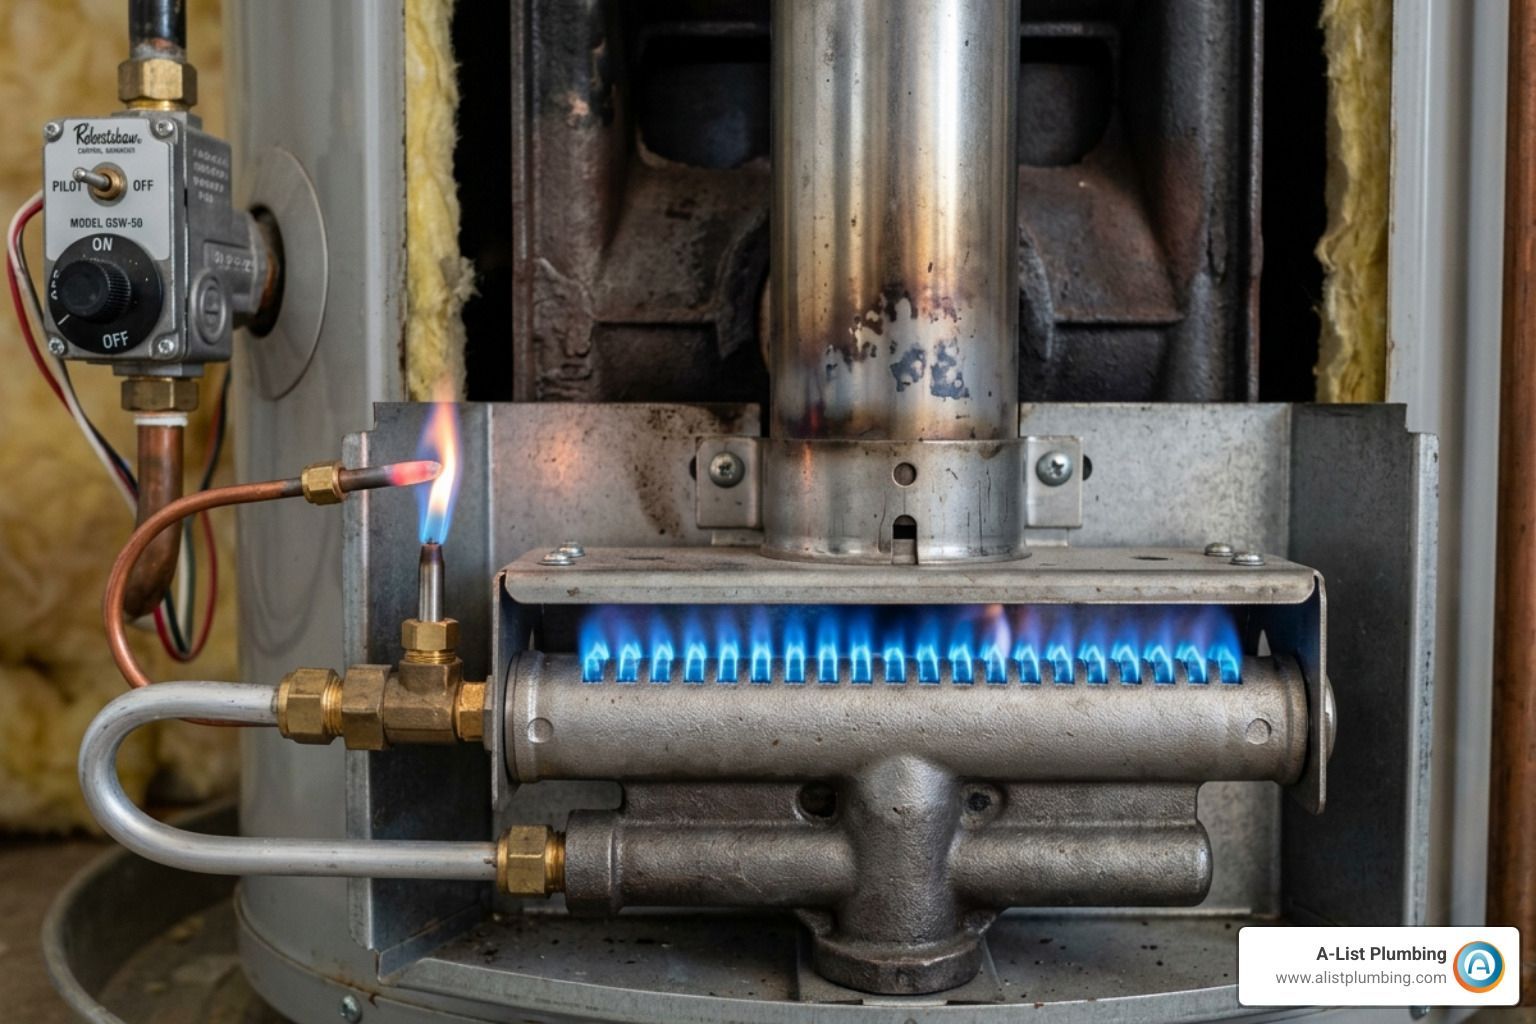
- Copper: Requires soldering (sweating) joints with a propane torch and flux. This is a high-skill task that involves fire safety and ensuring the pipe is completely bone-dry before starting.
- PEX: Often used for its flexibility. Repairs usually involve a crimp tool and a "go/no-go" gauge to verify the connection is tight.
- MDPE: Common for buried garden lines. These require internal "pipe inserts" to prevent the pipe from collapsing when you tighten a compression coupling.
Trenchless Repair Options for Buried Pipes
The biggest fear of any homeowner is seeing a beautiful lawn or expensive driveway torn up to fix a single pipe. Fortunately, modern technology offers trenchless options.
- Pipe Relining: A flexible tube coated with resin is pulled through the existing pipe and inflated. Once the resin cures, you have a "pipe within a pipe" that is seamless and root-proof.
- Horizontal Boring: Using specialized equipment, we can install a new line by boring a hole underground from one point to another, guided by cameras, with minimal surface disruption.
These methods are savvy alternatives preferred by experienced plumbers. If you’re in the city, our Trenchless Waterline Replacement Service in Seattle WA can save your landscaping. We also offer this specialized Trenchless Waterline Replacement Service in Lynnwood WA for our North-end neighbors.
Prevention and Long-Term Maintenance
The best way to repair outside water pipe issues is to prevent them from happening in the first place.
- Winterization: Before the first freeze in Seattle, disconnect garden hoses and blow out irrigation lines.
- Insulation: Use foam sleeves or heat tape on any exposed pipes in your crawlspace or exterior walls.
- Pressure Regulators: High water pressure (above 60-80 psi) stresses your joints. Installing a regulator to keep your home between 40-60 psi can double the life of your plumbing.
- Seasonal Inspections: Walk your yard every spring. Look for those "too green" patches or soft spots before they become full-blown bursts.
For residents in Bothell, keeping an eye on your system and utilizing our Trenchless Waterline Replacement Service in Bothell WA for aging lines can prevent emergency middle-of-the-night disasters.
Frequently Asked Questions about Main Water Line Repair
How much does a professional outdoor pipe repair cost?
According to industry data, repairs for a broken water pipe outside can cost anywhere from $300 to $1,500. The price depends on:
- Depth: How deep is the pipe? Deeper pipes require more excavation time.
- Material: Copper and specialized trenchless liners cost more than PVC.
- Location: Is the leak under a flower bed or a concrete driveway?
- Emergency Rates: After-hours or weekend calls typically cost more than scheduled maintenance.
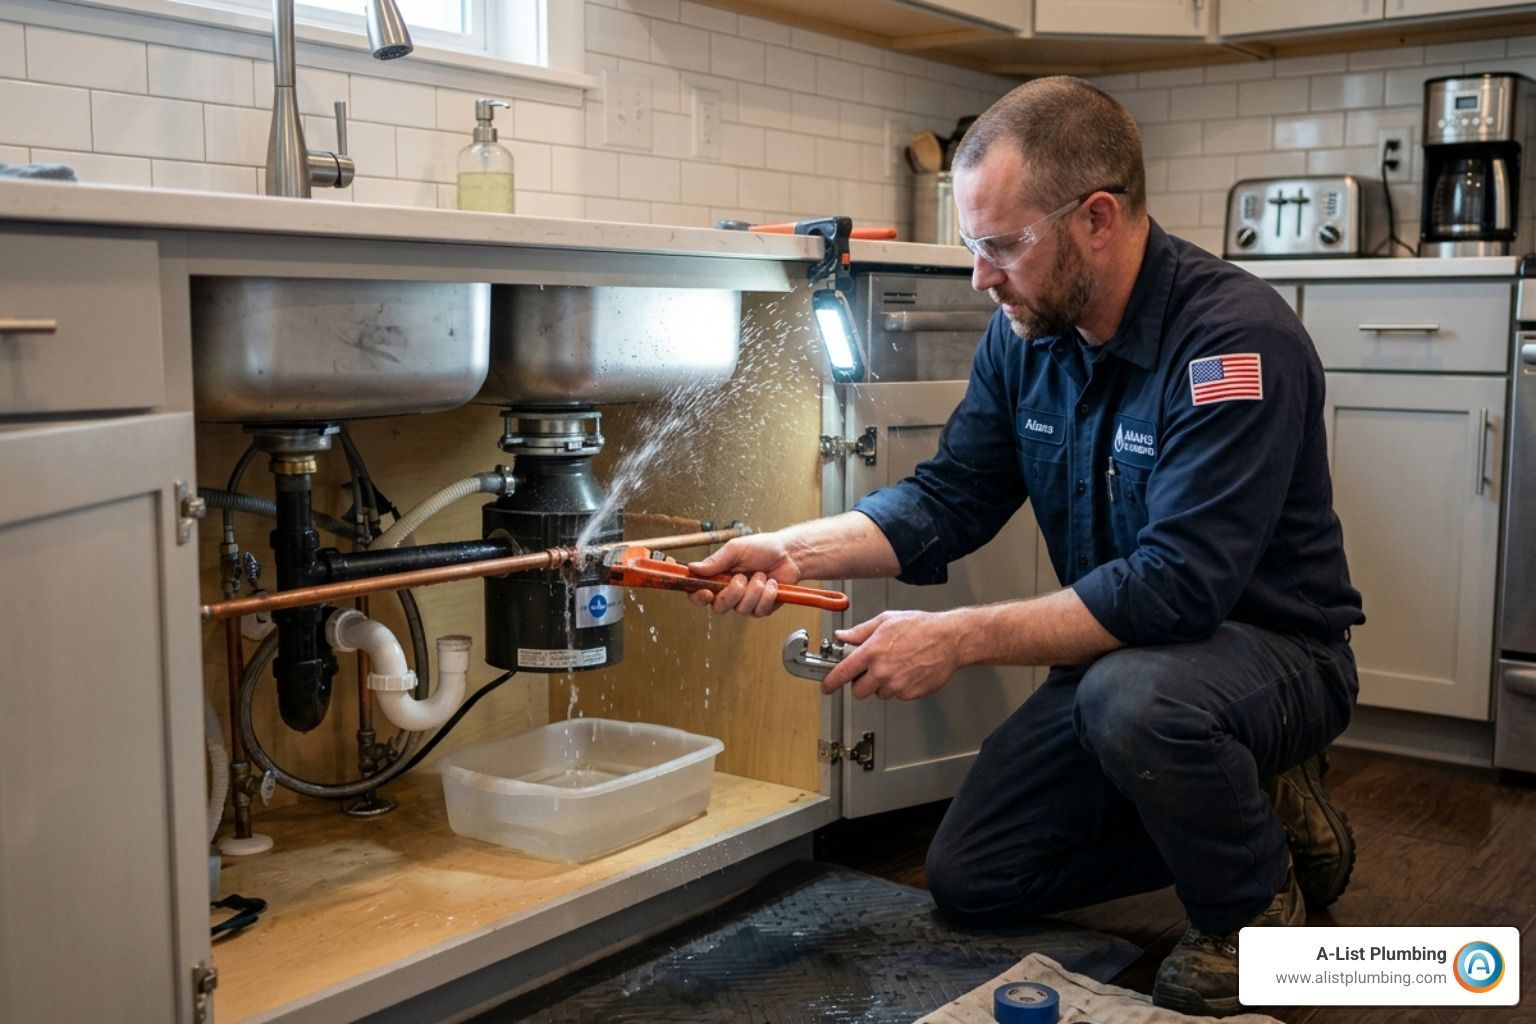
When should I call a professional plumber instead of DIY?
While fixing a sprinkler line is a great Saturday project, you should call a pro if:
- The leak is on the main service line(the one that feeds your whole house).
- The pipe is buried deeper than 2-3 feet.
- The leak is near gas, electric, or sewer lines.
- You are dealing with galvanized steel or cast iron.
- The repair requires a permit or must meet specific city codes to maintain your home insurance.
How do I test the repair to ensure it is leak-free?
Never backfill the hole immediately!
- Slow Restoration: Turn the water back on very slowly to avoid a "water hammer" (a pressure surge that can break your new joint).
- Flush the Air: Open an outdoor faucet to let the air escape until the water flows steadily.
- The Tissue Paper Test: Wipe the new joint with a piece of dry tissue paper. If the paper shows even a tiny damp spot, the seal isn't perfect.
- Observation: Let the pipe sit under full pressure for at least 30 minutes before you start shoveling dirt back in.
Conclusion
Once you’ve verified your repair outside water pipe is successful, it’s time for the final step: backfilling. Use a hand trowel to pack soil firmly under the pipe first to provide support, then fill the rest of the hole. Tamp the soil down in layers to prevent future sinking.
Plumbing issues are stressful, but they don't have to be a disaster. Whether you're tackling a small PVC crack or you've realized the job is bigger than a weekend DIY project, we're here to help. At A-List Plumbing, we bring 22 years of experience, same-day availability, and transparent pricing to every job in Lynnwood and the Greater Seattle area.
Don't let a small leak turn into a foundation-eroding nightmare. If you're in over your head or just want the peace of mind that comes with a professional guarantee, Contact a licensed plumber for permanent repairs today. We’ll get your water flowing—and staying—exactly where it belongs.